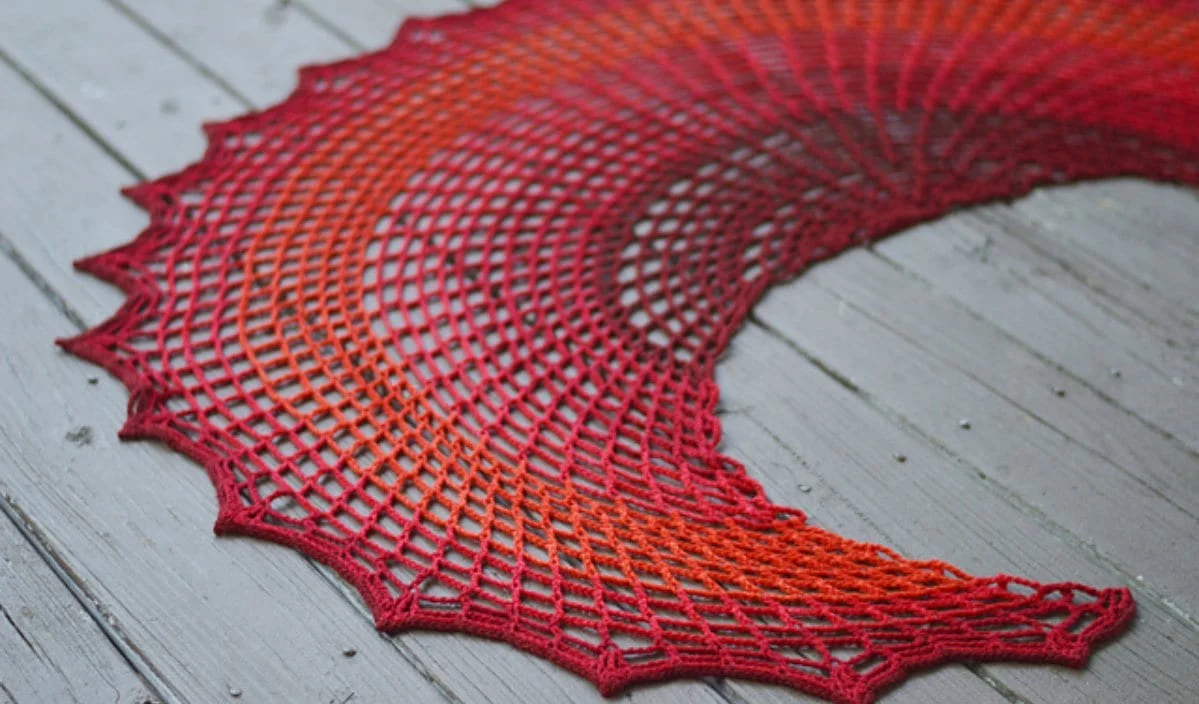
Sunset On Fire Shawl
Materials Needed
- Yarn: DK weight (#3 Light) yarn. Shown in a soft cotton-bamboo blend for drape. Yardage estimates:
- Size S (32-34" bust): 650-700 yards (approx. 3 skeins of 230yd/100g)
- Size M (36-38" bust): 800-850 yards (approx. 4 skeins)
- Size L (40-42" bust): 950-1000 yards (approx. 5 skeins)
- Hook: 4.0 mm (G-6) crochet hook, or size needed to obtain gauge.
- Notions: Yarn needle, stitch markers, measuring tape, blocking pins and mats.
- Optional: 3/8" ribbon or cord for drawstring (approx. 60-80 inches).
Gauge
In main pattern stitch (worked flat, then measured): 14 sts x 10 rows = 4" x 4" (10 cm x 10 cm).
Gauge swatch: Chain 18. Work rows 1-12 of the pattern stitch. Block lightly. Measure center 4". Adjust hook size if necessary.
Abbreviations (US Terms)
- ch – chain
- sc – single crochet
- hdc – half double crochet
- dc – double crochet
- tr – treble crochet
- sl st – slip stitch
- st(s) – stitch(es)
- sk – skip
- sp – space
- yo – yarn over
- RS – right side
- WS – wrong side
- rep – repeat
- tog – together (decrease)
- BLO – back loop only
- FLO – front loop only
Pattern Instructions
Design Overview
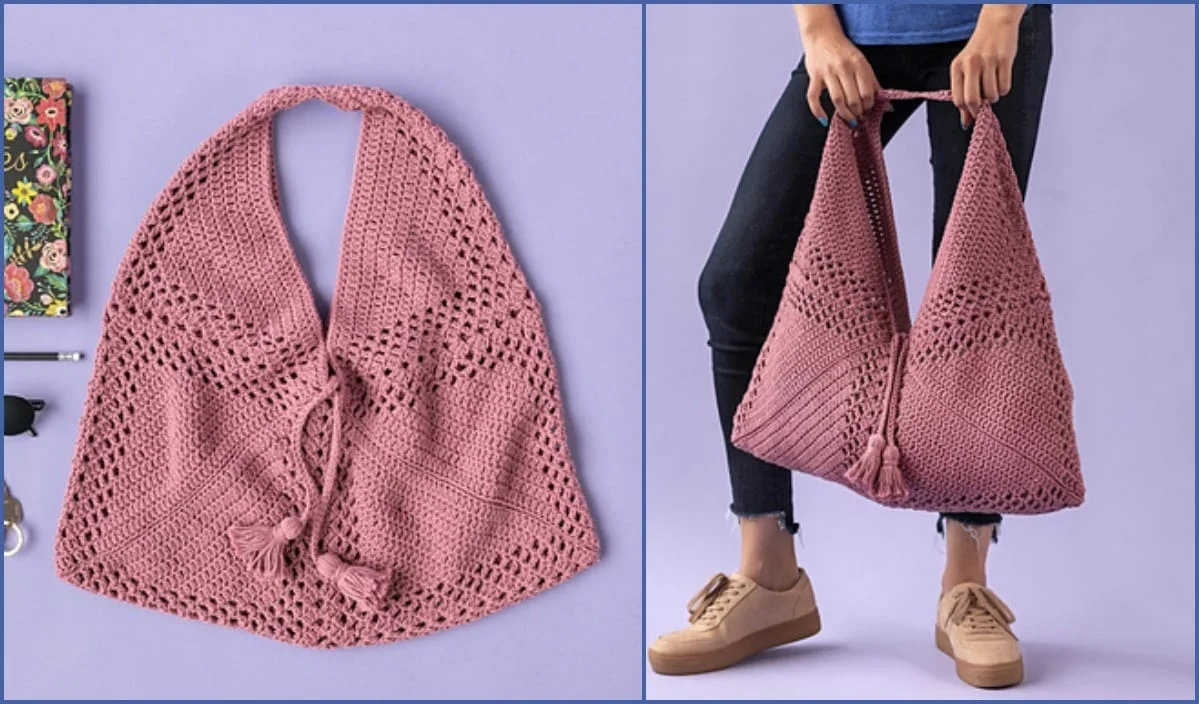
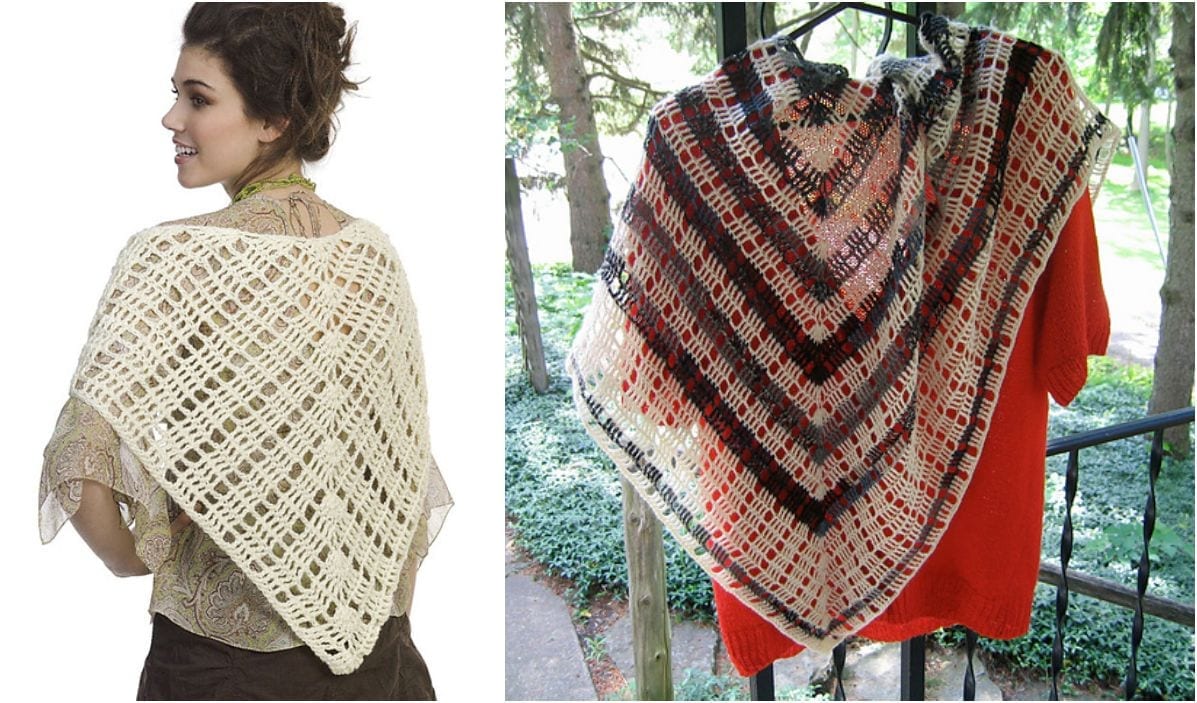
This is a versatile, asymmetrical wrap-top/shawl hybrid with a built-in front drawstring closure. It features a beautiful openwork fan stitch on the body and a solid, textured ribbed band at the waist. The piece is worked in two panels (Front Right and Front Left/Back), then seamed at the shoulders. The drawstring creates a custom fit at the front neckline. Sizing is determined by the chest/back width.
Panel 1: Right Front (Shorter Side)
Foundation Row (RS): Ch 2 (counts as hdc). For Size S: ch 34 more (total 36 ch). For Size M: ch 38 more (total 40 ch). For Size L: ch 42 more (total 44 ch). Turn.
Row 1 (WS): Hdc in 3rd ch from hook and in each ch across. (Size S: 34 sts | Size M: 38 sts | Size L: 42 sts). Turn.
Row 2 (RS): Ch 3 (counts as dc). Sk first st. *Dc in next st, ch 1, sk 1 st; rep from * across to last 2 sts. Dc in next st, dc in top of turning ch. Turn. (You will have an even number of ch-1 spaces).
Row 3 (WS): Ch 1. Sc in first dc. *Sc in next dc, sc in next ch-1 sp; rep from * across. Sc in top of turning ch. Turn.
Row 4 (RS): Ch 4 (counts as tr). Sk first st. *Tr in next st, ch 1, sk 1 st; rep from * across to last 2 sts. Tr in next st, tr in top of turning ch. Turn.
Row 5 (WS): Ch 1. Sc in first tr. *Sc in next tr, sc in next ch-1 sp; rep from * across. Sc in top of turning ch. Turn.
Rows 6-9: Repeat Rows 2-5 twice more.
Rows 10-13: Repeat Rows 2-3 (dc rows only) for a total of 4 rows of solid dc stitch. This creates the waistband. Do not fasten off. Place a marker at the beginning of Row 10 to denote the waist point.
Row 14 (RS – Begin Neckline Shaping): Ch 3 (counts as dc). Sk first st. Dc in next st, ch 1, sk 1 st; rep from * across until you have 6 sts remaining. Dc2tog (dc 2 together) over the next 2 sts, ch 1, sk 1 st, dc in last st. Turn. (1 st decreased at neck edge).
Row 15 (WS): Ch 1. Sc in first dc. Sc in next ch-1 sp, sc in next dc; rep across. Sc in top of turning ch. Turn.
Row 16 (RS): Ch 4 (counts as tr). Sk first st. *Tr in next st, ch 1, sk 1 st; rep from * across to last 4 sts. Tr2tog (tr 2 together) over next 2 sts, tr in last st. Turn. (1 st decreased).
Row 17 (WS): Ch 1. Sc in first tr. Sc in next ch-1 sp, sc in next tr; rep across. Sc in top of turning ch. Turn.
Rows 18-21: Repeat Rows 14-17. You will have decreased 4 more sts total (2 from dc rows, 2 from tr rows).
Rows 22-25: Continue in established pattern (alternating dc and tr rows) without further decreases for 4 more rows. Fasten off.
Panel 2: Left Front & Back (Longer Side)
Foundation Row (RS): Ch 2 (counts as hdc). For Size S: ch 60 more (total 62 ch). For Size M: ch 66 more (total 68 ch). For Size L: ch 72 more (total 74 ch). Turn.
Row 1 (WS): Hdc in 3rd ch from hook and in each ch across. (Size S: 60 sts | Size M: 66 sts | Size L: 72 sts). Turn.
Rows 2-9: Work Rows 2-5 of the pattern stitch (alternating dc and tr rows) twice.
Rows 10-13: Work Rows 2-3 (dc rows only) for 4 rows. Place a marker at the beginning of Row 10 to denote the waist point.
Row 14 (RS – Begin Back Neckline Shaping): Ch 3 (counts as dc). Dc in next st, ch 1, sk 1 st; rep from * across until you have 6 sts remaining. Dc2tog over next 2 sts, ch 1, sk 1 st, dc in last st. Turn. (This decrease is at the back neck edge).
Row 15 (WS): Ch 1. Sc in first dc. Sc in next ch-1 sp, sc in next dc; rep across. Sc in top of turning ch. Turn.
Rows 16-21: Repeat Rows 14-15 three more times. You will have decreased 4 more sts total at the back neck edge.
Rows 22-27: Continue in pattern stitch (alternating dc and tr rows) without further decreases for 6 more rows.
Row 28 (RS – Begin Front Neckline Shaping): This is the opposite end of the panel. Work in pattern stitch across all sts until 6 sts remain at the front edge. Dc2tog, ch 1, sk 1 st, dc in last st. Turn.
Row 29 (WS): Sc across as before. Turn.
Rows 30-33: Repeat Rows 28-29 twice more. You will have decreased 3 more sts at the front neck edge.
Rows 34-37: Continue in pattern stitch without decreases for 4 rows. Fasten off.
Assembly & Shoulder Seams
- Lay Panel 1 (Right Front) and Panel 2 (Left Front/Back) with RS facing each other. The shorter panel is the front right. The longer panel is the left side and back.
- Pin the top edge of Panel 1 to the top edge of Panel 2, matching the shoulder area (the 4-5 sts at the top of the neck shaping on Panel 1 to the corresponding sts on Panel 2). The back neckline of Panel 2 will extend past the shoulder of Panel 1 – this is correct.
- Using a yarn needle and a length of yarn, sew the shoulder seam using a mattress stitch or whip stitch, joining only the top 4-5 sts. Fasten off.
- The remaining back neckline of Panel 2 (approx. 6-8 inches) will form the back of the neck opening.
Drawstring Casing & Border
- With RS facing, join yarn at the bottom-right corner of the front opening (where the two panels meet at the center front).
- Round 1: Ch 1. Work sc evenly up the right front edge (Panel 1), around the back neckline, and down the left front edge (Panel 2). At the bottom left corner, work 3 sc. Then work sc evenly along the bottom edge of both panels. At the bottom right corner, work 3 sc. Sl st to first sc to join. Do not turn.
- Round 2: Ch 1. Working in BLO only, sc in each sc around. This creates the casing ridge. Sl st to join.
- Round 3: Ch 1. Sc in BLO of next 3 sts. *Ch 3, sk 3 sts (buttonhole loop), sc in BLO of next 3 sts; rep from * around the front neckline only (the straight edge between the two corners). For the bottom edge and back neck, continue with sc in BLO in each st. Sl st to join.
- Round 4: Ch 1. Sc in each sc and 3 sc in each ch-3 sp around. Fasten off. Weave in ends.
Drawstring
Using a double strand of yarn, or a length of ribbon/cord, cut a piece approx. 60-80 inches long. Thread it through the casing (the BLO ridge from Round 2), starting at one front corner and exiting at the other. Tie a knot at each end to prevent fraying.
Finishing
- Weave Ends: Using a yarn needle, weave in all remaining ends on the wrong side of the fabric. Trim close.
- Blocking: Lightly wet-block the garment. Pin it to the desired dimensions, focusing on opening the fan stitches and straightening the edges. Allow to dry completely. This step is crucial for achieving the correct drape and stitch definition.
- Optional: Add a small tassel to each end of the drawstring for a decorative touch.
Tips
- Customizing the Fit: The drawstring allows you to adjust the front neckline from a modest round neck to a deeper V-shape. Cinch it tighter for a more fitted look over the bust, or looser for a relaxed, dolman-style fit.
- Stitch Count Consistency: When working the pattern stitch, the ch-1 spaces can cause the row to pull in slightly. Make sure your starting chains are not too tight. Use a slightly larger hook for the foundation chain if needed.
- Making it Longer: To add length to the body, simply repeat Rows 2-5 (the full pattern repeat) an additional 2-4 times before starting the waistband (Row 10). Adjust yarn yardage accordingly.