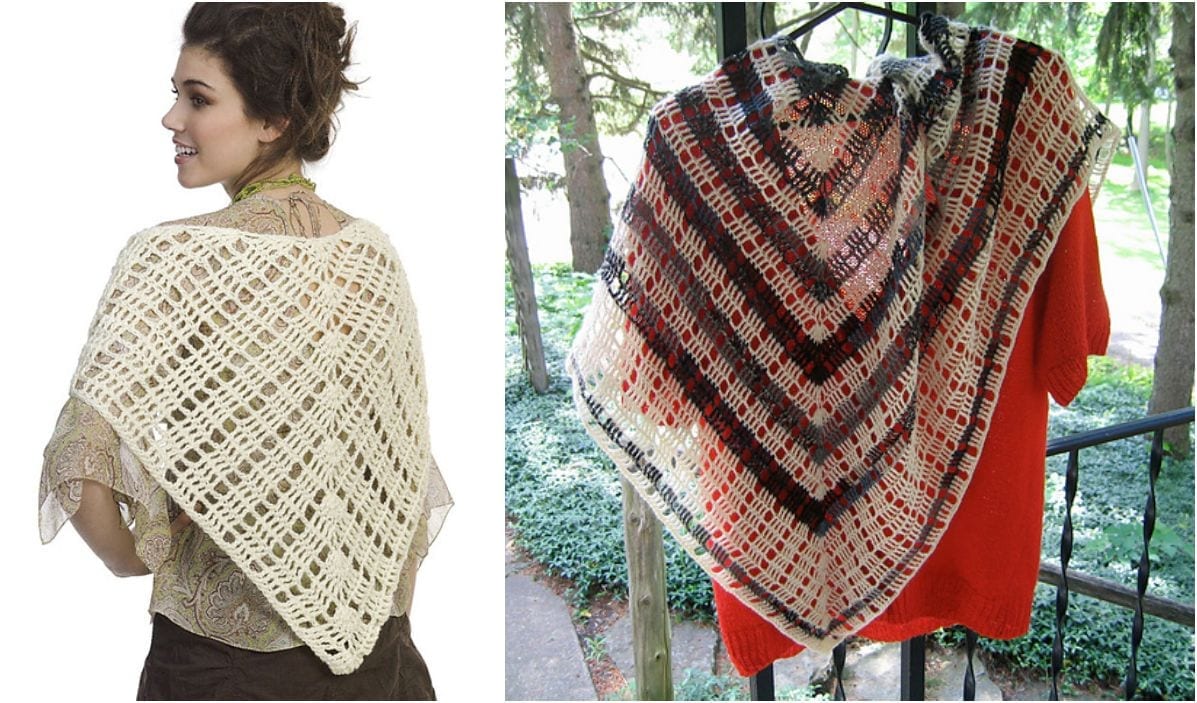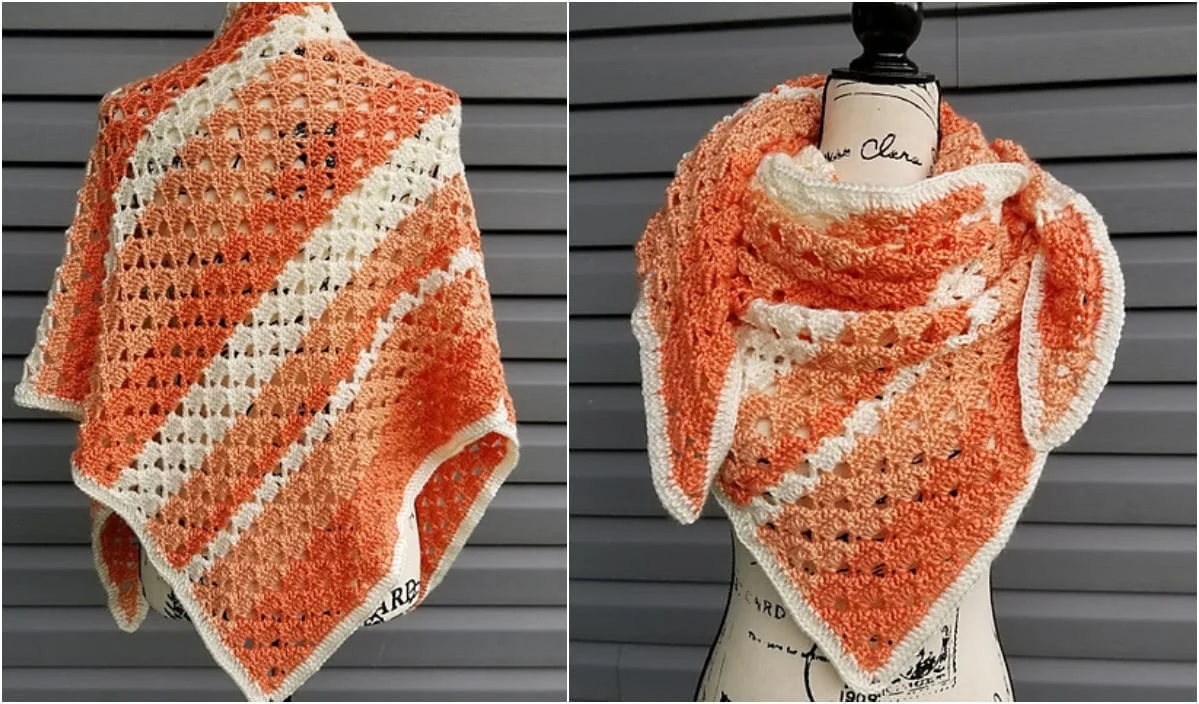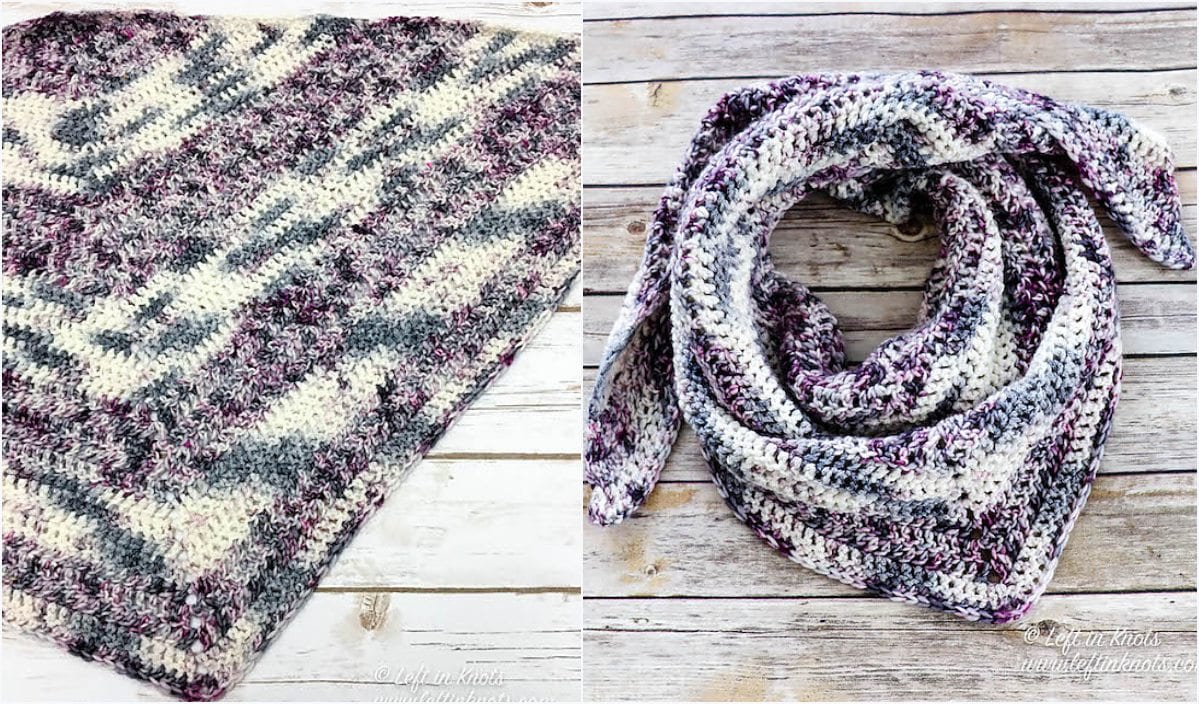
Luna Shawl
Materials Needed
Yarn: DK weight (#3 Light) yarn in a fiber that blocks well, such as merino wool, superwash wool, or a wool-blend. Cotton or bamboo blends will also work but will have less drape.
- Size S (Bust 32-34″): 650-750 yards (approx. 3-4 skeins of 218yd/100g)
- Size M (Bust 36-38″): 800-900 yards (approx. 4-5 skeins)
- Size L (Bust 40-42″): 950-1100 yards (approx. 5-6 skeins)
Hook: US Size G/6 (4.0mm) or size needed to obtain gauge. A second hook in H/8 (5.0mm) for the edging is recommended for a looser, drapier finish.
Notions: Yarn needle, stitch markers (4-6 recommended), scissors, blocking mats and pins.
Gauge
Main Pattern Stitch (after blocking): 14 double crochet stitches x 8 rows = 4″ x 4″ (10cm x 10cm).
Important: Gauge is crucial for sizing. Work a 6″ x 6″ swatch in the pattern below and block it before measuring. If your swatch is larger, go down a hook size; if smaller, go up a hook size.
Abbreviations (US Terms)
- ch – chain
- sl st – slip stitch
- sc – single crochet
- hdc – half double crochet
- dc – double crochet
- tr – treble crochet (yo twice, pull through 2 loops three times)
- sk – skip
- st(s) – stitch(es)
- sp – space
- RS – right side
- WS – wrong side
- rep – repeat
- BLO – back loop only
Pattern Instructions
Construction Note
This is a top-down, seamless yoke-to-hem top. You will work the yoke in the round, then split for the body and sleeves. The body is worked in joined rounds with a simple, airy stitch pattern. The sleeves are finished with a cap and a delicate scallop edging.
Yoke (Worked in the round)
Foundation: Ch 90 (96, 102). Sl st to first ch to form a ring, being careful not to twist the chain.
Round 1 (RS): Ch 1 (does not count as st here and throughout). 1 sc in same st as ch 1. 1 sc in each ch around. Sl st to first sc to join. (90, 96, 102 sc)
Round 2: Ch 3 (counts as 1 dc). 1 dc in same st. 2 dc in each sc around. Sl st to top of ch 3 to join. (180, 192, 204 dc)
Round 3: Ch 3 (counts as 1 dc). 1 dc in next 5 sts. *2 dc in next st. 1 dc in next 6 sts.* Rep from * to * around. Sl st to join. (approx. 205, 220, 234 sts – see note below)
Note for size accuracy: For Size S, end with 2 dc in the last st. For Size M, the last rep should have 1 dc in the last 4 sts. For Size L, the pattern should end evenly. Adjust the final “1 dc in next X sts” of the last repeat so your total stitch count equals: Size S: 210 | Size M: 224 | Size L: 238. Write down your final stitch count.
Round 4 (Eyelet Row): Ch 4 (counts as 1 dc + ch 1). Sk next st. *1 dc in next st. Ch 1. Sk next st.* Rep from * to * around. Sl st to 3rd ch of starting ch 4. (105, 112, 119 dc, each separated by a ch-1 sp)
Round 5: Ch 3. 1 dc in next dc. *1 dc in ch-1 sp. 1 dc in next dc.* Rep from * to * around. Sl st to join. (210, 224, 238 dc – your original count is restored.)
Rounds 6-9: Repeat Rounds 4 and 5 two more times. Your yoke should now measure approximately 4-5 inches from the neck edge.
Divide for Body & Sleeves
Calculate your splits: Your total stitch count is T. Divide T by 4. For example, for Size M: 224 / 4 = 56 sts per section. You will have: Front (56 sts), Sleeve (56 sts), Back (56 sts), Sleeve (56 sts). Adjust for your exact count.
Next Round (Setup Round): Ch 3. 1 dc in next (T/4 – 2) sts. This is your back section. Ch 6 (underarm). Skip the next T/4 sts (this is one sleeve). 1 dc in next T/4 sts (this is your front section). Ch 6 (underarm). Skip the remaining T/4 sts (second sleeve). Sl st to the top of the starting ch 3 to join.
Example for Size M: Ch 3. 1 dc in next 54 sts (total 56 dc for back). Ch 6. Skip 56 sts. 1 dc in next 56 sts (front). Ch 6. Skip 56 sts. Sl st to join. You now have 56 front + 56 back + 6 ch + 6 ch = 124 sts for the body.
Body (Worked in joined rounds)
Round 1 (Decrease & Pattern Set): Ch 3. 1 dc in each dc around. For the underarm chains: 1 dc in each of the 6 ch sts. Sl st to join. (T/2 + 12 sts total). For Size M: 124 sts.
Round 2 (Mesh Pattern Start): Ch 4 (counts as 1 dc + ch 1). Sk next st. *1 dc in next st. Ch 1. Sk next st.* Rep from * to * around. Sl st to 3rd ch of starting ch 4.
Round 3: Ch 3. 1 dc in next ch-1 sp. *1 dc in next dc. 1 dc in next ch-1 sp.* Rep from * to * around. Sl st to join. (Your stitch count returns to the same number as Round 1 of body.)
Rounds 4-9: Repeat Rounds 2 and 3 three more times.
Round 10 (Increase Round): Ch 3. 1 dc in same st (increase). 1 dc in each of the next 3 sts. *2 dc in next st. 1 dc in each of the next 3 sts.* Rep from * to * around. Sl st to join.
Rounds 11-16: Repeat the Mesh Pattern (Rounds 2 & 3) for 3 repeats.
Rounds 17-22: Repeat the Increase Round (Round 10) once, then repeat the Mesh Pattern for 3 more repeats. For a tunic length, repeat the increase and mesh pattern one more time.
Final Body Rounds: Work even in the Mesh Pattern (no increases) until the body measures 12″ (13″, 14″) from the underarm, or desired length. End after a Round 2 (the eyelet round).
Hem Edging (Worked in the round)
Switch to the larger H/8 (5.0mm) hook if you have one.
Round 1: Ch 1. 1 sc in same st. *Ch 3. Sk 1 st. 1 sc in next st.* Rep from * to * around. Sl st to first sc.
Round 2: Sl st into first ch-3 sp. Ch 1. (1 sc, 1 hdc, 3 dc, 1 hdc, 1 sc) in each ch-3 sp around. Sl st to first sc. Fasten off and weave in end.
Sleeves (Worked in the round, attached to body)
With RS facing, attach yarn at the center of the underarm chain.
Round 1: Ch 3. 1 dc in each of the next 2 ch sts (total 3 dc in underarm). 1 dc in the side of each body dc along the armpit (usually 1-2 sts). 1 dc in each of the T/4 sleeve sts you skipped earlier. 1 dc in the side of each body dc on the other side of the armpit. 1 dc in the remaining 3 underarm ch sts. Sl st to join. (T/4 + 6 sts). For Size M: 56 + 6 = 62 sts.
Round 2 (Decrease Round): Ch 3. 1 dc in each st around, but work a decrease over the 3 sts at the center of the underarm: (dc2tog over next 2 sts, dc in next st, dc2tog over next 2 sts). Place a stitch marker in the center st of these decreases. Sl st to join.
Rounds 3-5: Ch 3. 1 dc in each st around. Sl st to join.
Round 6: Ch 3. Work dc2tog over the 2 sts immediately before and after the marked center st. 1 dc in remaining sts. Sl st to join.
Rounds 7-12: Repeat Rounds 3-6 once, then work even in dc without decreases for the remaining rounds. The sleeve should measure approximately 6-7″ from the underarm.
Final Sleeve Edging: Switch to larger hook. Ch 1. 1 sc in same st. *Ch 3. Sk 1 st. 1 sc in next st.* Rep from * to * around. Sl st to join. Then work (1 sc, 1 hdc, 3 dc, 1 hdc, 1 sc) in each ch-3 sp around. Fasten off. Repeat for second sleeve.
Finishing
- Weave in Ends: Using a yarn needle, weave in all ends securely on the wrong side of the work. Pay special attention to the underarm and neckline.
- Blocking (Essential): Soak the top in lukewarm water with a drop of wool wash for 15-20 minutes. Gently squeeze out excess water (do not wring). Lay flat on blocking mats. Pin out the scalloped edges of the sleeves and hem, stretching them gently to open up the scallops. Pin the neckline to your desired size. Allow to dry completely (24-48 hours). This dramatically improves drape and stitch definition.
- Optional – Neckline Edging: If the neckline feels too loose, work one round of single crochet in BLO around the neck edge using the smaller hook. If it’s tight, skip this step.
Tips
- Stitch Markers are Your Friend: Use them to mark the beginning of each round, and especially to mark the center stitches of the sleeve underarm where you will perform decreases. This prevents counting errors and keeps your decreases aligned.
- Custom Fit on the Fly: The yoke depth is critical. After Round 9 of the yoke, try it on (or hold it up to a well-fitting top). The yoke should sit just below your armpits. If it’s too short, work an extra repeat of Rounds 4-5 before dividing. If too long, omit one repeat.
- Blocking Transforms Lace: Do not skip blocking. The mesh pattern will look tight and small when first finished. Blocking stretches it into a beautiful, open, and airy fabric with excellent drape. Wet blocking is recommended over steam blocking for this pattern.