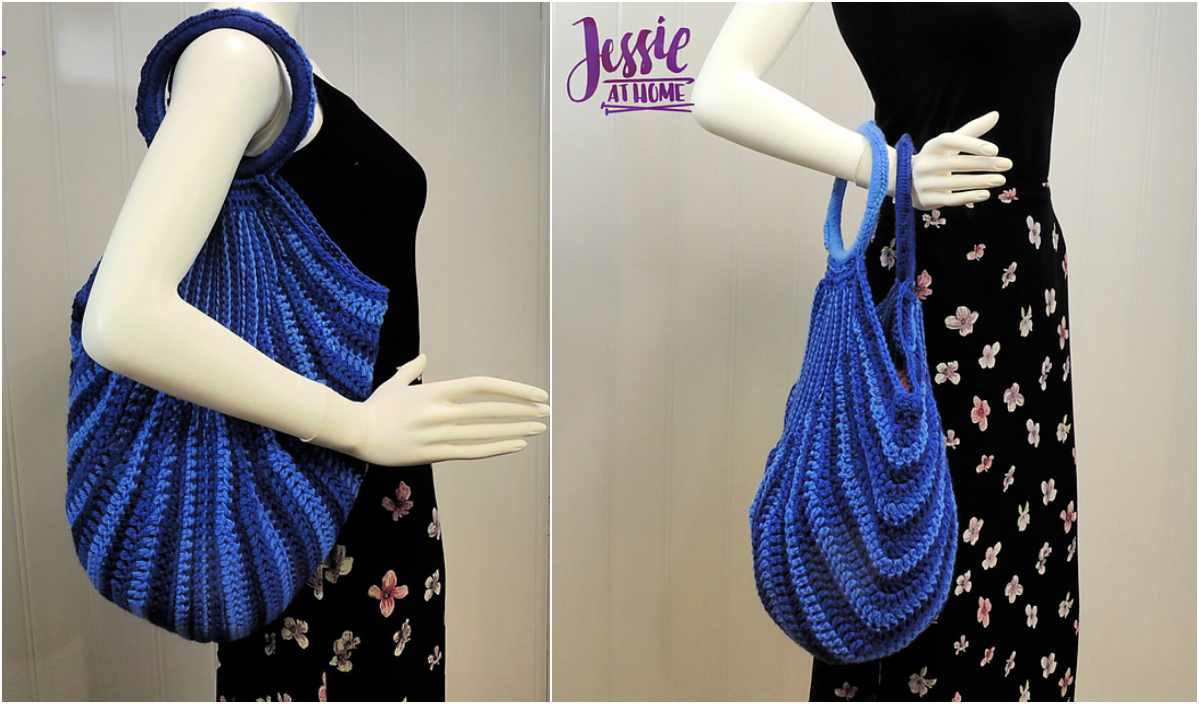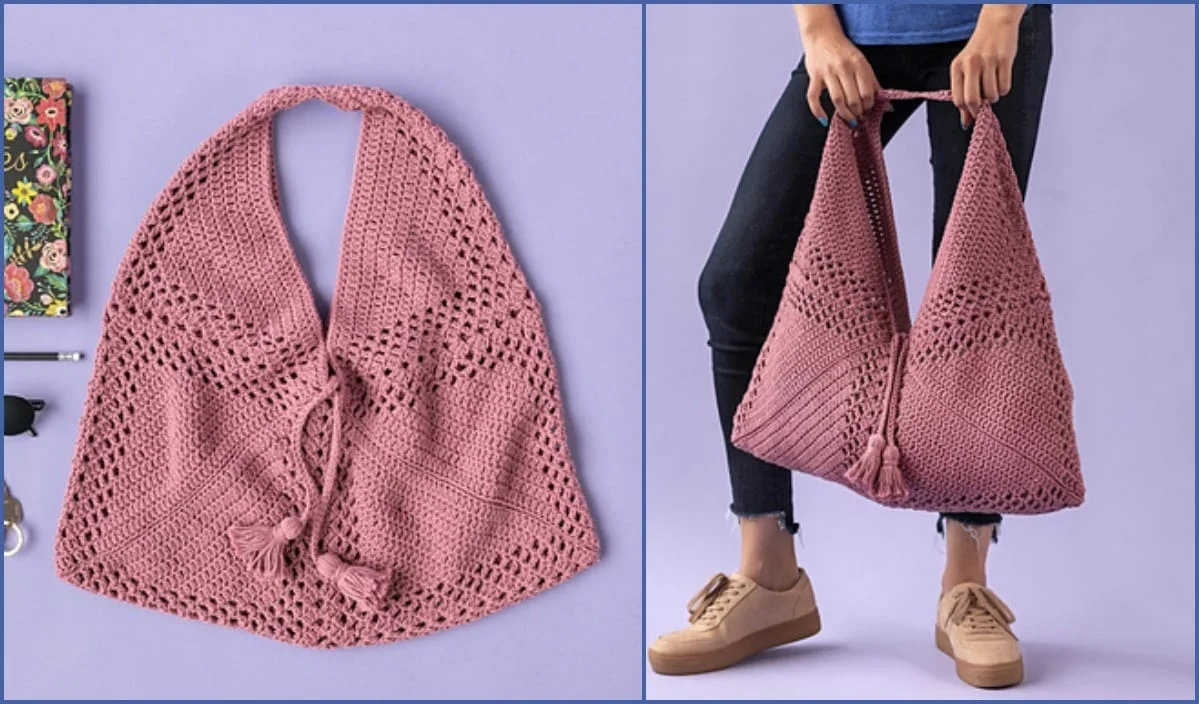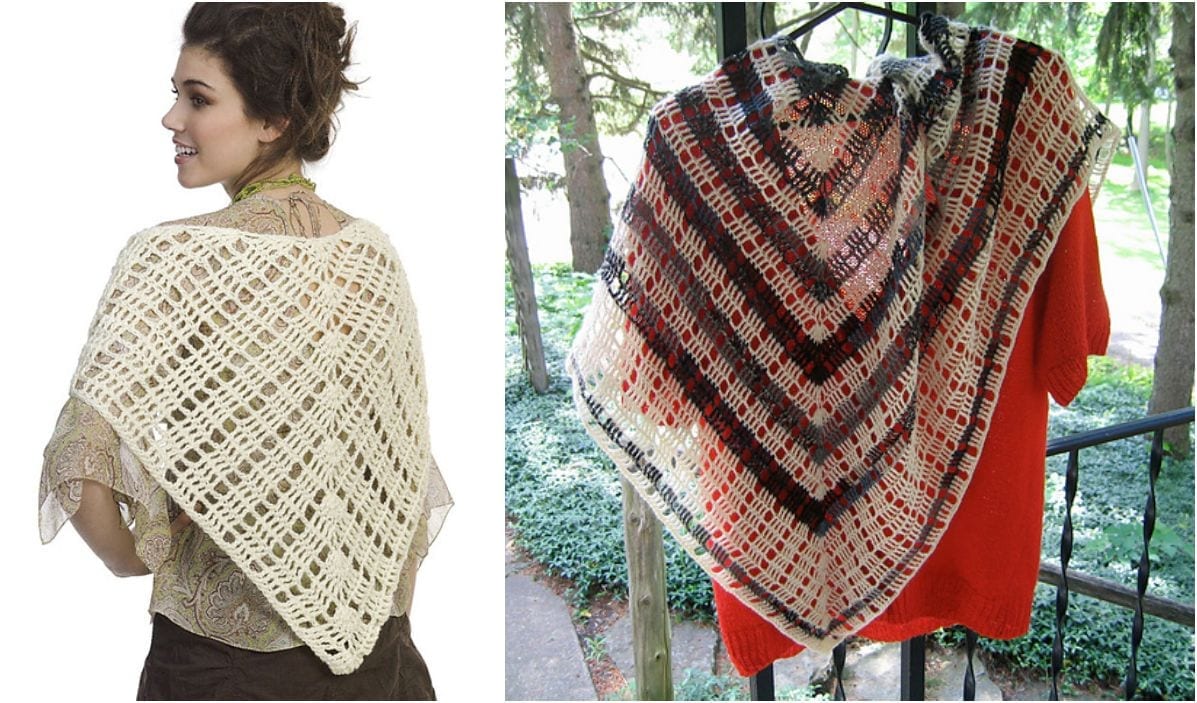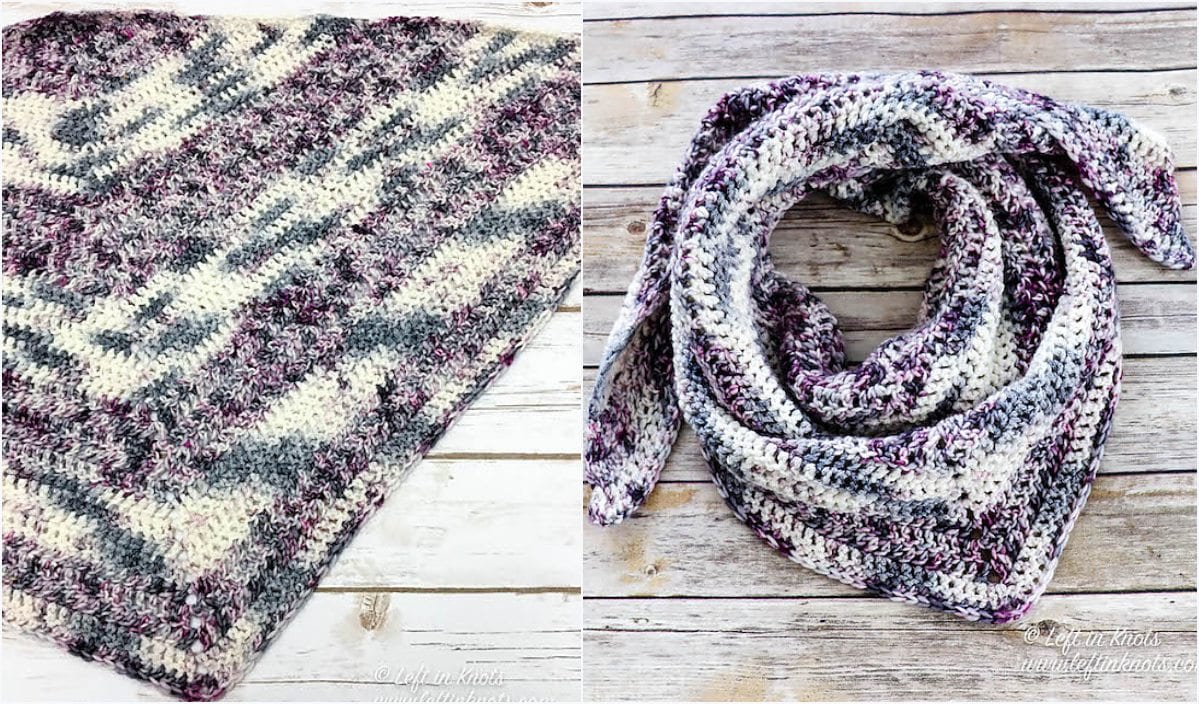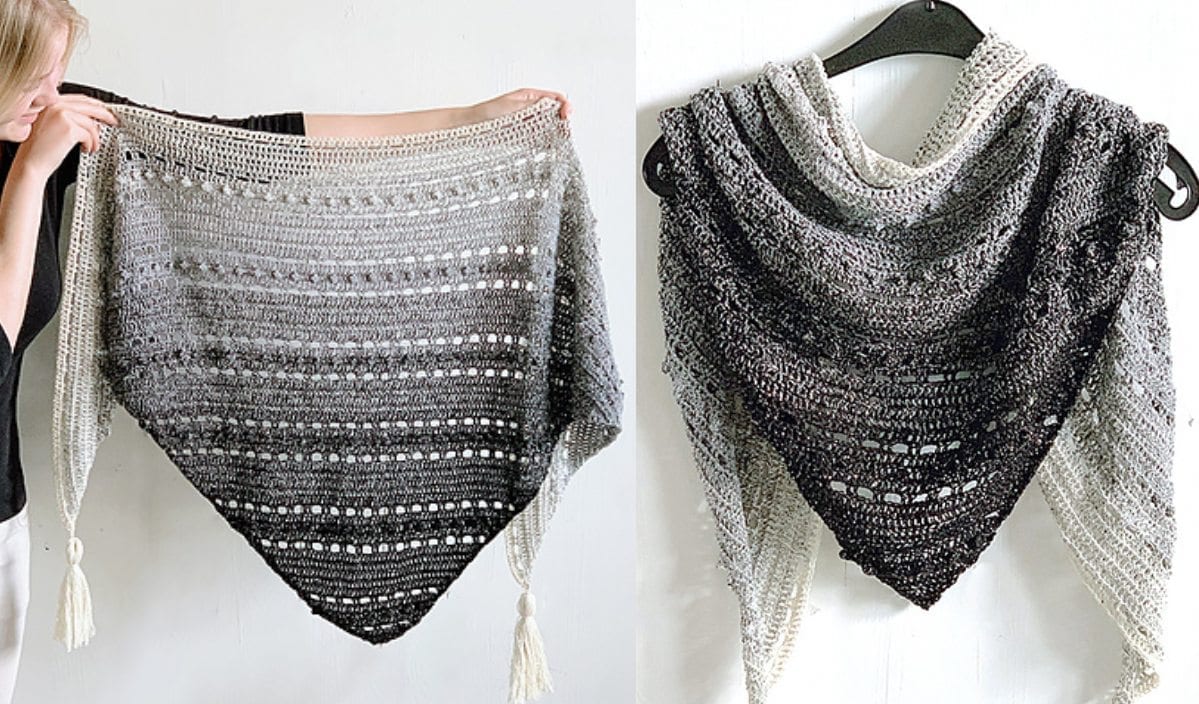
Pop Up Shawl
Materials Needed
- Yarn: DK weight (#3 Light) yarn, preferably with good drape (cotton, bamboo, or a wool blend). Yardage estimates:
- Size S (approx. 34" bust): 900-1000 yards
- Size M (approx. 38" bust): 1100-1200 yards
- Size L (approx. 42" bust): 1300-1450 yards
- Hook: Size 4.0 mm (G-6) or size needed to obtain gauge. A second hook in 4.5 mm (7) for the edging is optional.
- Notions: Yarn needle, stitch markers (4), measuring tape, scissors.
Gauge
4" x 4" (10 cm x 10 cm) in main pattern stitch (see below) = 18 stitches x 12 rows after blocking.
To swatch: Ch 22. Row 1: dc in 4th ch from hook, *sk 1 ch, (dc, ch 1, dc) in next ch; repeat from * across until 2 ch remain, sk 1 ch, dc in last ch. Turn. Repeat Row 1 for 16 rows. Block and measure.
Abbreviations (US Terms)
- ch – chain
- st(s) – stitch(es)
- sl st – slip stitch
- sc – single crochet
- dc – double crochet
- sk – skip
- sp – space
- V-st – V-stitch: (dc, ch 1, dc) worked in the same stitch or space
- RS – right side
- WS – wrong side
- rep – repeat
- yo – yarn over
Pattern Instructions
Special Stitch
V-st (V-stitch): (dc, ch 1, dc) all worked into the same stitch or space.
Construction Note
This top is worked from the top down in one piece. You will begin with the back neckline, working increases at the shoulders to create the yoke, then separate for the armholes. The body is worked in a simple, airy V-stitch pattern. Finally, the edging is added around the neckline, armholes, and hem. The pattern is written for Size S with changes for M and L in parentheses.
Yoke (Back Neck to Underarm)
Row 1 (RS): Ch 60 (68, 76). Dc in 4th ch from hook (counts as first dc). Dc in each ch across. 58 (66, 74) dc. Turn.
Row 2 (WS): Ch 3 (counts as first dc here and throughout), dc in next 2 sts. *Sk 1 st, V-st in next st, sk 1 st, dc in next 3 sts; rep from * across, ending with dc in last 3 sts. Turn.
Row 3 (RS – Increase Row): Ch 3, dc in next 2 sts. *V-st in ch-1 sp of next V-st, dc in next 3 sts; rep from * across, ending with dc in last 3 sts. Turn. You have increased by 1 V-st per repeat. Total sts: 58 (66, 74) dc + 1 V-st per repeat.
Row 4 (WS): Ch 3, dc in next 2 sts. *V-st in ch-1 sp of next V-st, dc in next 3 sts; rep from * across, ending with dc in last 3 sts. Turn. No increase.
Rows 5–16: Repeat Rows 3 and 4 alternately, working an increase on every RS row (Rows 5, 7, 9, 11, 13, 15). At the end of Row 16, you will have worked 7 increase rows total. You should have approximately 86 (94, 102) dc across the row, plus V-sts in between.
Divide for Armholes
Row 17 (RS – Dividing Row): Ch 3, dc in next 2 sts. Work V-st pattern across the next 18 (20, 22) sts (this is the right front section). Ch 6 (8, 10) for underarm. Skip the next 22 (24, 26) sts (armhole opening). Work V-st pattern across the next 22 (24, 26) sts (back section). Ch 6 (8, 10) for underarm. Skip the next 22 (24, 26) sts (second armhole opening). Work V-st pattern across the remaining 18 (20, 22) sts (left front section). Turn.
Note: The underarm chains will be worked into as part of the body pattern on the next row.
Body (Below Armholes)
Row 18 (WS): Ch 3, dc in next 2 sts. Work V-st pattern across all sts and underarm chains as follows: For each underarm chain, work (dc in next 2 ch, V-st in next ch, dc in next 2 ch) – this will add 2 V-sts per underarm. Continue across the back and left front in pattern. Turn.
Row 19 (RS): Ch 3, dc in next 2 sts. *V-st in ch-1 sp of next V-st, dc in next 3 sts; rep from * across. Turn.
Rows 20–30: Repeat Row 19 (no further increases). Work until the body measures 10 (11, 12) inches from the underarm, or desired length to hip. End on a WS row.
Hem Edging
Round 1 (RS – optional, turn work to work in the round): Ch 1. Sc evenly around the entire bottom edge, working 1 sc in each dc and 2 sc in each ch-1 sp. Join with sl st to first sc. Do not turn.
Round 2: Ch 1. *Sc in next sc, ch 3, sk 1 sc; rep from * around. Join with sl st to first sc. Fasten off.
Finishing
Neckline Edging
With RS facing, attach yarn at the center back neck edge. Round 1: Ch 1, sc evenly around the neckline (about 2 sc per dc row, 1 sc per chain edge). Join with sl st. Round 2: Ch 1, *sc in next sc, ch 3, sk 1 sc; rep from * around. Join, fasten off.
Armhole Edging
With RS facing, attach yarn at the underarm. Round 1: Ch 1, sc evenly around the armhole (about 2 sc per dc row, 1 sc per chain). Join with sl st. Round 2: Ch 1, *sc in next sc, ch 3, sk 1 sc; rep from * around. Join, fasten off. Repeat for second armhole.
Weaving Ends
Weave in all ends using a yarn needle. Trim excess yarn closely.
Blocking
Wash the top gently in cool water with a mild soap. Squeeze out excess water (do not twist). Lay flat on a blocking mat, gently stretching to the desired dimensions. Pin the V-stitch points to open the lace pattern. Allow to dry completely (24-48 hours). This step is crucial for achieving the correct drape and stitch definition.
Tips
- Customize the fit: To adjust the bust size, work more or fewer increase rows on the yoke. For a fuller bust, you can also add a short-row shaping section at the bust before dividing for the armholes (work 4-6 rows of short rows on the front sections only).
- Keep your tension consistent: The V-stitch pattern is very forgiving, but even tension is key for a professional look. If you tend to crochet tightly, consider using the larger 4.5 mm hook for the chain rows only to prevent a tight neckline.
- Use stitch markers wisely: Place a marker in the ch-1 sp of the first and last V-st of each front section. This makes it much easier to find your place when working increases, especially on the yoke.