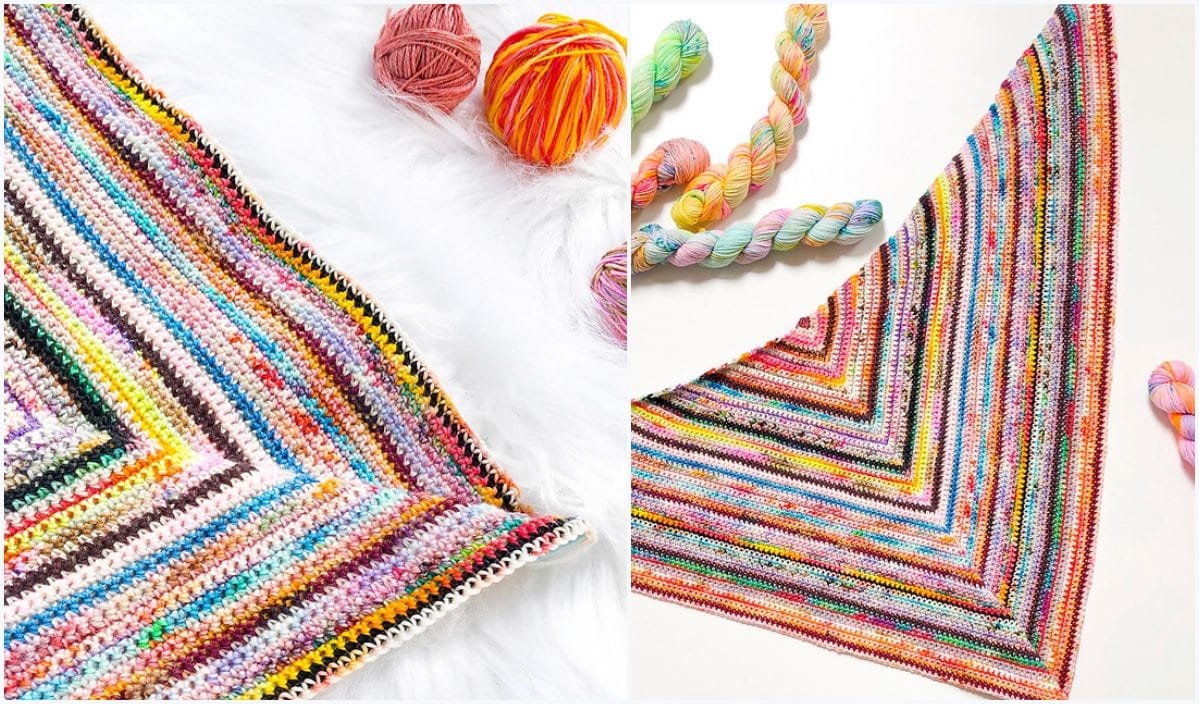
Nobody’s Perfect Shawl
Materials Needed
Yarn: DK weight (#3 Light) cotton or cotton-blend yarn. This shawl benefits from a yarn with good drape and stitch definition.
- Size S (approx. 48” wingspan x 18” depth): 650-700 yards (approx. 3 skeins of 230yd/100g)
- Size M (approx. 56” wingspan x 22” depth): 850-900 yards (approx. 4 skeins of 230yd/100g)
- Size L (approx. 64” wingspan x 26” depth): 1050-1100 yards (approx. 5 skeins of 230yd/100g)
Hook: US Size G/6 (4.0 mm) or size needed to obtain gauge. A smaller hook (H/8) may be used for a denser fabric, but the drape will change.
Notions: Yarn needle for weaving ends, stitch markers (optional, for keeping track of repeats), blocking pins and mats.
Gauge
4” x 4” in main pattern (after blocking): 14 double crochet stitches x 8 rows.
To make a gauge swatch, chain 18, work rows 1-4 of the main pattern (see below) repeat, then measure the center 4 inches.
Abbreviations (US Terms)
- ch – chain
- sl st – slip stitch
- sc – single crochet
- dc – double crochet
- tr – treble crochet (yarn over twice)
- st(s) – stitch(es)
- sk – skip
- sp – space
- ch-sp – chain space (e.g., “ch-1 sp” means the space created by a chain stitch)
- rep – repeat
- RS – right side
- WS – wrong side
- inc – increase (work 2 dc in same st)
- V-st – V-stitch: (dc, ch 1, dc) in the same stitch or space
- Shell – 5 dc in the same stitch or space
- FPdc – front post double crochet (optional, for edging)
Pattern Instructions
Special Stitches
V-stitch (V-st): (dc, ch 1, dc) in the same stitch or space.
Shell: 5 dc in the same stitch or space.
Shawl Construction
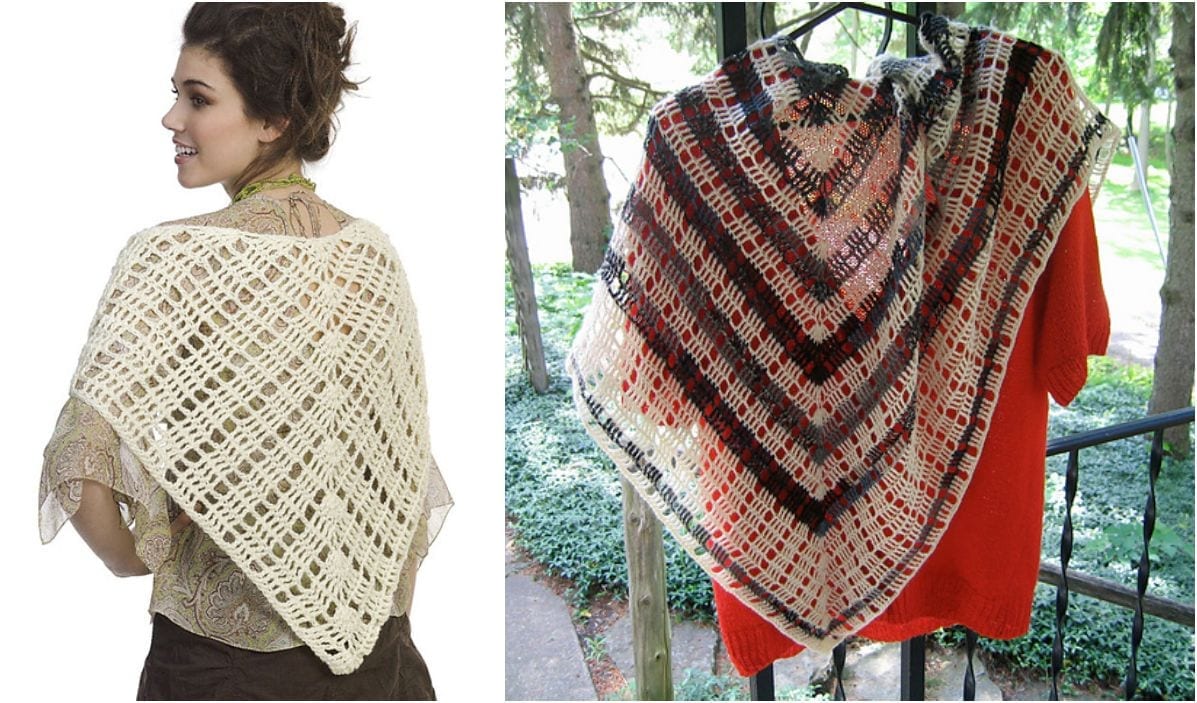
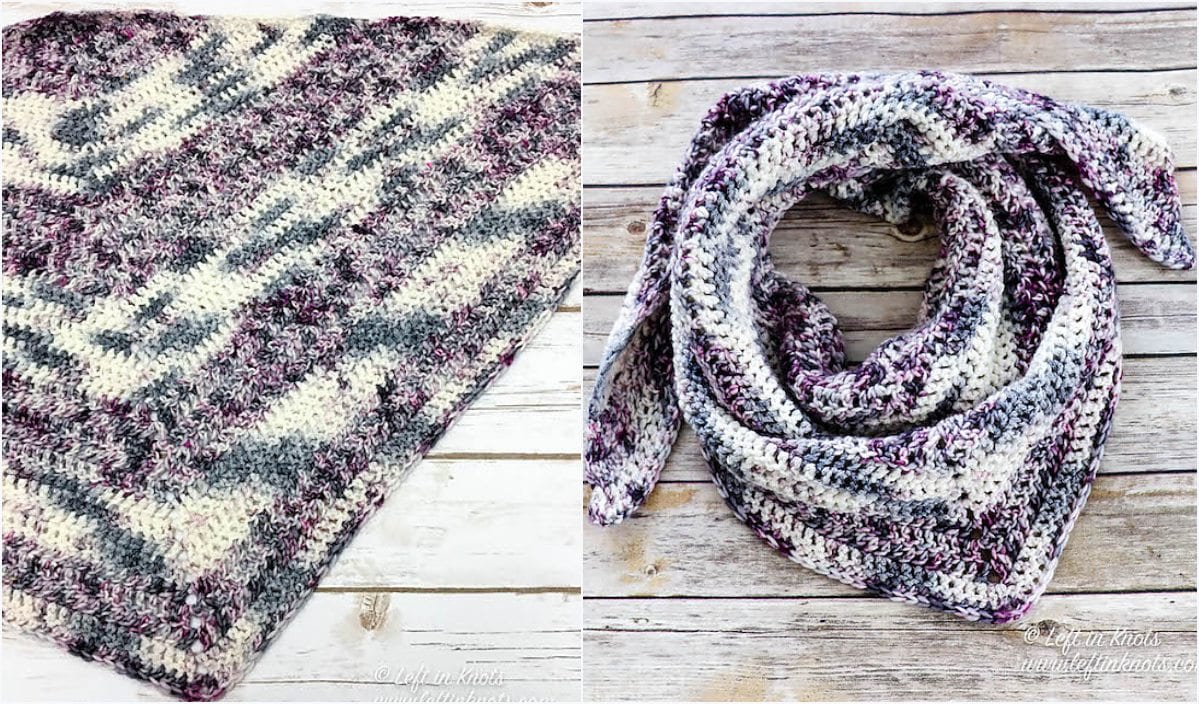
This shawl is worked top-down from the center neck point, increasing at the center and edges to form a triangle. The pattern uses a repeating 2-row sequence that creates an open, airy fabric with a slight scalloped edge.
Foundation Row (RS): Ch 4. In the 4th ch from the hook (which counts as a dc + ch 1), work (dc, ch 1, dc) – this is your first V-st. You now have a tiny triangle. Turn.
Row 1 (WS): Ch 3 (counts as dc here and throughout). In the ch-1 sp of the V-st from the previous row, work Shell (5 dc). In the top of the turning ch (the 3rd ch from the foundation), work 1 dc. Turn. (You have: ch-3 edge, shell, dc edge – total 7 dc + 1 ch-3).
Row 2 (RS): Ch 3. In the first st (the top of the previous ch-3), work 1 dc (this is an increase at the edge). *Ch 1, sk 2 sts, V-st in next st.* Rep from * to * across, ending with: after the last V-st, ch 1, sk 2 sts, then work 2 dc in the top of the turning ch (the ch-3 from previous row). Turn. (You have: 2 dc at each edge, with a series of V-sts in the middle).
Row 3 (WS): Ch 3. In the first st (edge increase), work 1 dc. *Ch 1, sk the ch-1 sp, Shell in the ch-1 sp of the next V-st.* Rep from * to * across. At the end, after the last Shell, ch 1, then work 2 dc in the top of the turning ch. Turn.
Row 4 (RS): Ch 3. In the first st, work 1 dc (edge increase). *Ch 1, sk 2 sts of the Shell, V-st in the center st (the 3rd dc) of the Shell.* Rep from * to * across. At the end, after the last V-st, ch 1, sk 2 sts, then work 2 dc in the top of the turning ch. Turn.
Repeat Rows 3 and 4 for pattern. This is your repeat: Row 3 (WS) places Shells into V-sts; Row 4 (RS) places V-sts into the center of Shells. The edges increase by 1 dc on each side every row (due to the 2 dc at each edge instead of 1).
Sizing Instructions
Continue repeating Rows 3 and 4 until your shawl measures the following from the foundation point to the bottom center edge (depth), measured along the center spine:
- Size S: 18 inches (approx. 28-30 total rows of pattern after foundation)
- Size M: 22 inches (approx. 34-36 total rows)
- Size L: 26 inches (approx. 40-42 total rows)
Note: The wingspan (side-to-side) will naturally be approximately 2.5 times the depth. If you prefer a wider or narrower shawl, simply work fewer or more rows. The pattern is very forgiving.
Edging (Optional, but Recommended)
Once you have reached your desired size, do not fasten off. You will work a simple border around the entire triangle to give it a finished look and help it lay flat.
Round 1 (RS): Ch 1. Work sc evenly around the entire triangle. At the bottom point (the center of the foundation), work 3 sc in the same stitch to create a nice point. At each of the top corners (the ends of the last row), work 3 sc in the corner. Join with a sl st to the first sc.
Round 2: Ch 3. *Sk 1 sc, Shell in next sc, sk 1 sc.* Rep from * to * along the two long edges. At the bottom point, work a Shell in the center sc of the 3-sc group. At the top corners, work a Shell in the center sc of the corner. After the last Shell, join with a sl st to the top of the ch-3. Fasten off.
Alternate Edging (for a more delicate look): Instead of the Shell round, work: *Ch 3, sk 1 sc, sl st in next sc* around. This creates a simple picot edge.
Finishing
Weave in Ends: Using a yarn needle, carefully weave in all ends on the wrong side of the shawl. Trim any excess yarn close to the fabric.
Blocking (Crucial for this Pattern): This shawl is designed to be blocked open to achieve its full wingspan and open lace effect.
- Soak the shawl in cool water with a gentle wool wash or a drop of mild soap for 15-20 minutes. Do not agitate.
- Gently squeeze out excess water (do not wring). Roll the shawl in a clean towel to absorb moisture.
- Lay the shawl flat on a blocking mat or clean towels. Gently stretch it to the desired dimensions (refer to your size measurements above).
- Pin the top edge straight. Pin the bottom point down. Pin the two long edges, gently pulling to open the V-sts and Shells. The scallops should be clearly defined.
- Allow to dry completely (usually 24-48 hours). Remove pins.
Tips
- Use stitch markers for your edges. Because the edge increases are crucial (2 dc at each end), place a marker in the top of the ch-3 and the last dc of each row. This will help you avoid accidentally skipping the edge stitches, which would cause the shawl to slant.
- Check your gauge on a blocked swatch. This pattern relies on the fabric opening up after blocking. If you skip this step, your shawl may be smaller and stiffer than intended. A swatch that is 4” before blocking might become 5” after blocking – plan accordingly.
- Customize the length easily. To make a longer or shorter shawl, simply add or remove repeats of the 2-row pattern. Each two-row repeat adds approximately 1.5 inches to the depth and 4 inches to the wingspan (after blocking). This is a great stash-buster project.