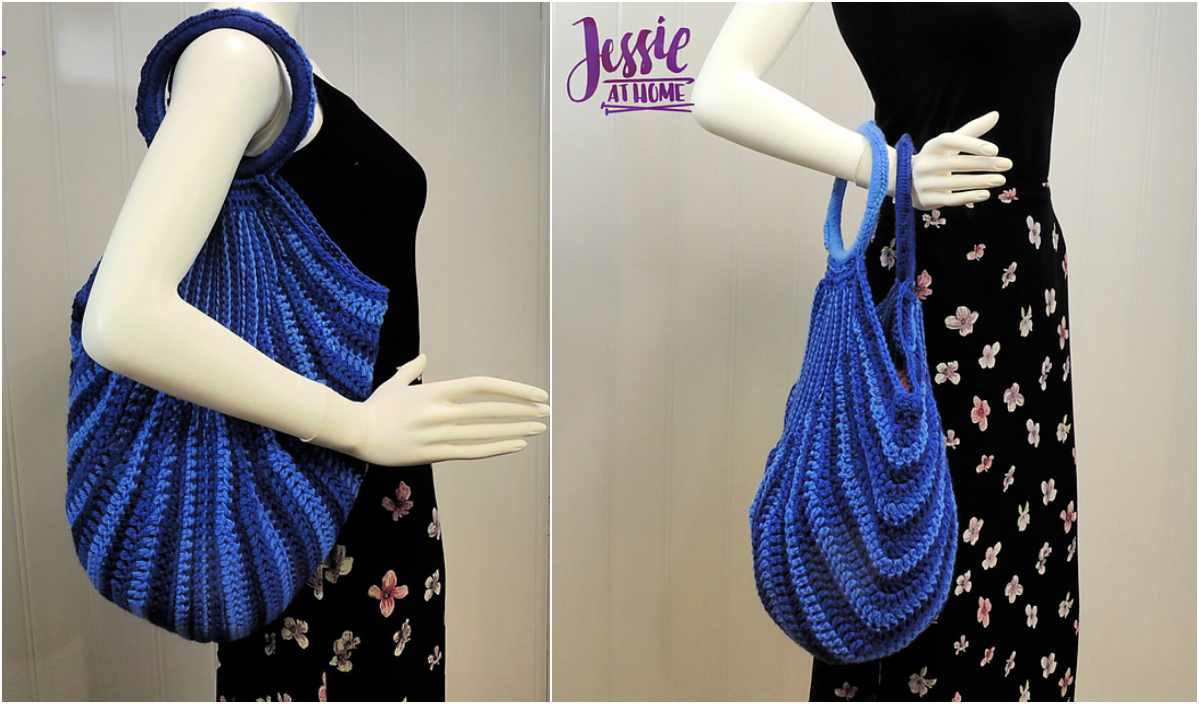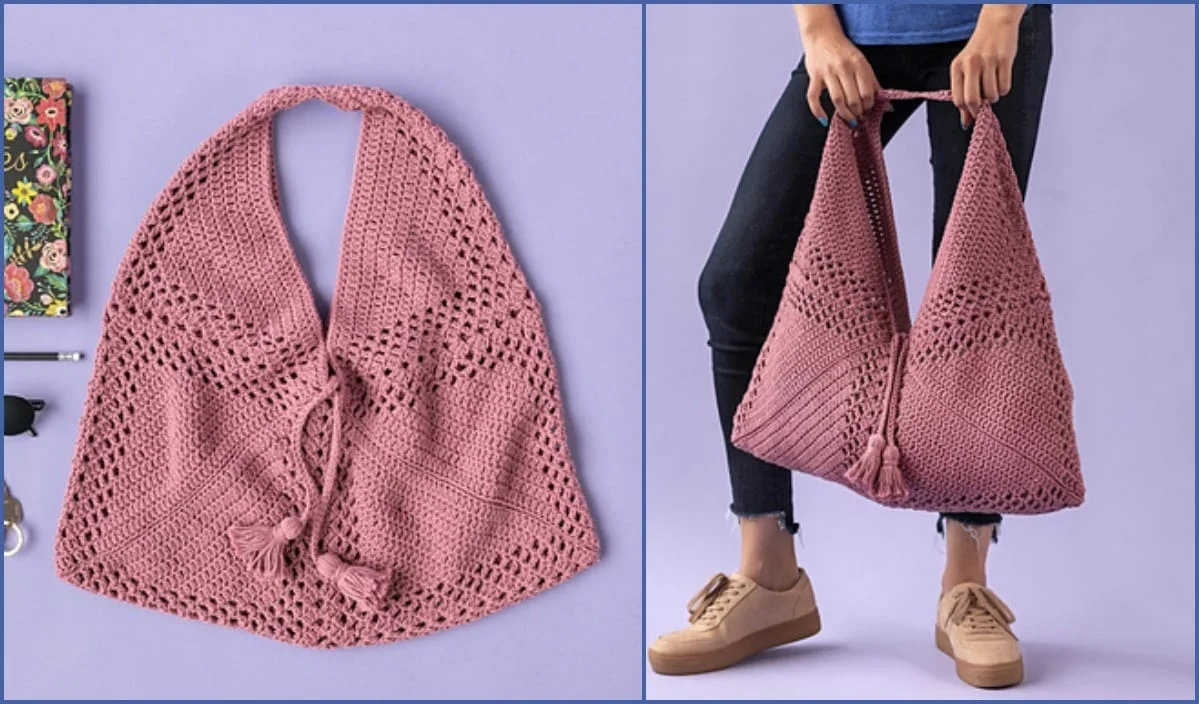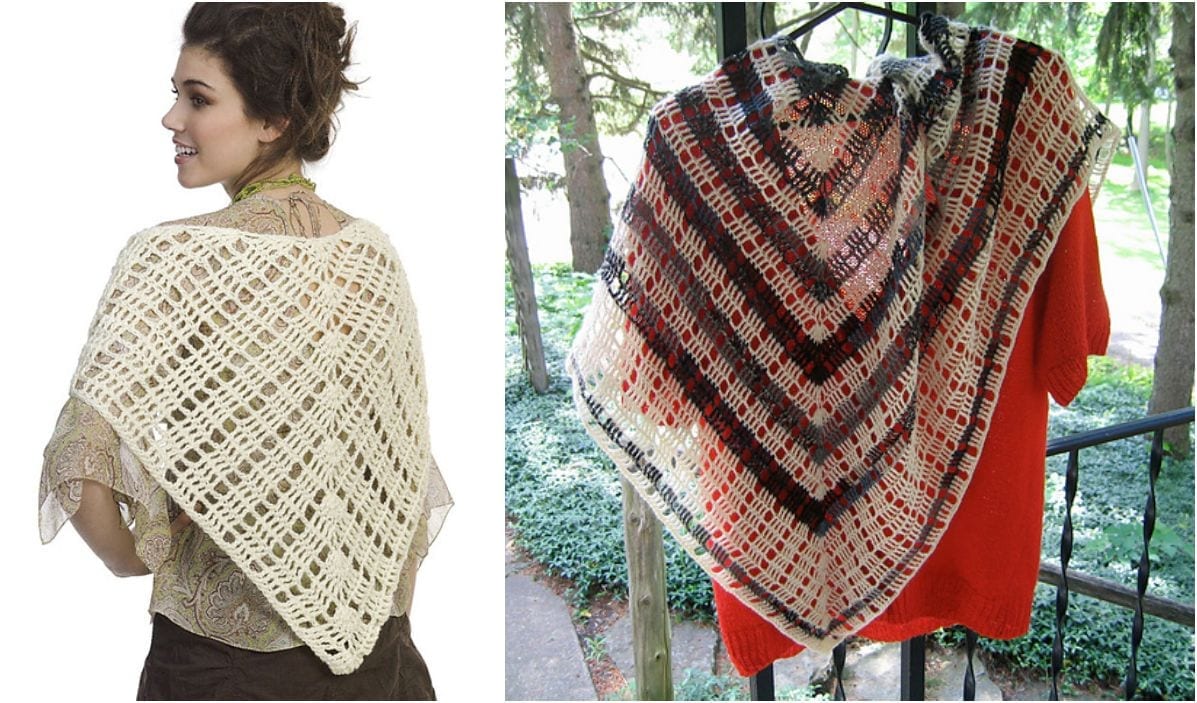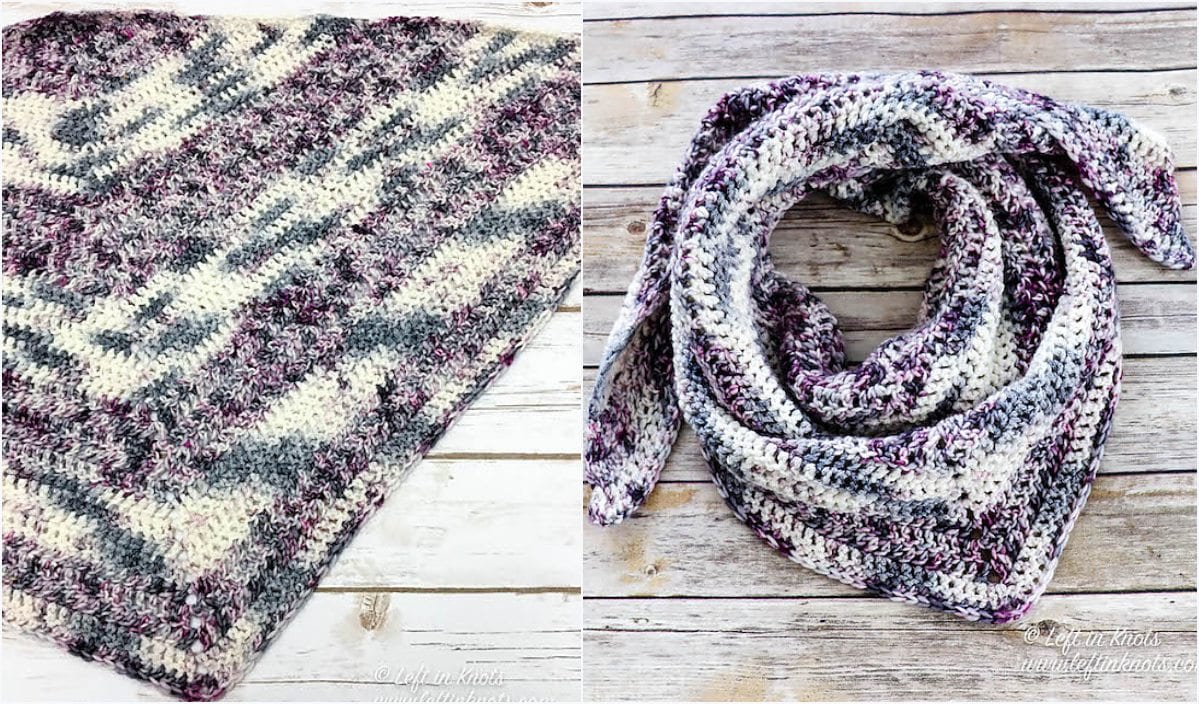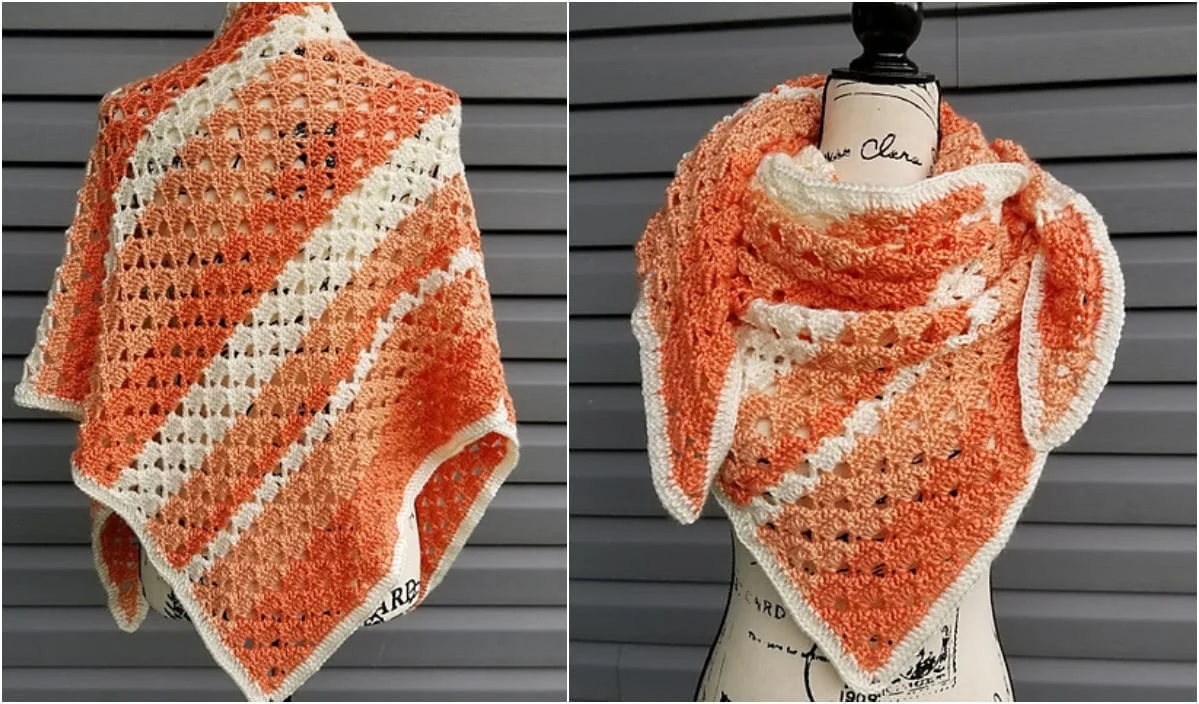
Melon Ball Shawl
Materials Needed
Yarn: DK weight (category 3 light) yarn in a soft, drapey fiber such as merino wool, alpaca blend, or cotton blend. Yardage estimates are based on a standard gauge and include a 10% buffer.
- Size S (Bust 32-34"): 950-1050 yards (approx. 4-5 skeins of 218yd/100g)
- Size M (Bust 36-38"): 1150-1250 yards (approx. 5-6 skeins)
- Size L (Bust 40-42"): 1350-1450 yards (approx. 6-7 skeins)
Crochet Hook: Size H/8 (5.0 mm) or size needed to obtain gauge. You may also need a smaller hook (G/6, 4.0 mm) for the neckline edging if your tension is loose.
Notions: Stitch markers (at least 4), tapestry needle for weaving ends, blocking pins and mats, tape measure.
Gauge
Main Pattern Stitch (worked flat, after blocking): 18 sts (stitches) and 10 rows = 4" x 4" (10 cm x 10 cm) in the V-stitch pattern described below. Important: Always block your gauge swatch as you will block the final garment. The stitch pattern stretches slightly in width after blocking.
To make a gauge swatch: Ch 24. Work rows 1-10 of the Main Body Stitch (see below). Block the swatch, then measure the center 4". Adjust hook size if necessary.
Abbreviations (US Terms)
- ch: chain
- sc: single crochet
- dc: double crochet
- tr: treble crochet (yo twice, insert, pull up loop, [yo, pull through 2] three times)
- sl st: slip stitch
- st(s): stitch(es)
- sp: space
- V-st: V-stitch (dc, ch 1, dc) all worked into the same stitch or space
- sk: skip
- RS: right side
- WS: wrong side
- rep: repeat
- fo: fasten off
Pattern Instructions
Special Stitch: V-Stitch (V-st)
Work (dc, ch 1, dc) all into the same indicated stitch or space. This creates a V-shape.
Main Body Stitch (used for the entire garment body)
Foundation Row (WS): Ch a multiple of 3 + 2 (for example, for the back panel, you will ch a specific number per size). Sc in 2nd ch from hook and in each ch across. Turn. (Total sts = multiple of 3)
Row 1 (RS): Ch 4 (counts as tr + ch 1 here and throughout body). *Sk next 2 sc, V-st in next sc. Rep from * across until 1 sc remains. Sk last st? No – instead: In the last sc, work (dc, ch 1, tr). Turn. (Number of V-sts = multiple of 3 minus 1, plus the edge trs).
Row 2 (WS): Ch 1. Sc in first tr. *Sc in next ch-1 sp, sc in next dc, sc in next ch-1 sp, sc in next dc. Rep from * across, ending with sc in the 4th ch of the turning ch-4. Turn.
Row 3 (RS): Ch 4 (tr + ch 1). *Sk next 2 sc, V-st in next sc. Rep from * across to last 3 sc. Sk 2 sc, work (dc, ch 1, tr) in the last sc. Turn.
Row 4 (WS): Ch 1. Sc in first tr. *Sc in next ch-1 sp, sc in next dc, sc in next ch-1 sp, sc in next dc. Rep from * across, ending with sc in the 4th ch of the turning ch-4. Turn.
Repeat Rows 3 and 4 for the pattern. This creates a beautiful, airy, geometric fabric that drapes well.
Sizing & Construction Overview
This top is worked flat in two pieces: a Back panel and a Front panel. They are seamed at the shoulders and sides. The neckline is a shallow scoop created by decreasing at the center on the Front panel. The armholes are created by working straight on the sides without shaping (a simple drop-shoulder style). All size modifications are based on the starting chain count and total length.
Back Panel
Foundation Chain (WS): Ch the required number for your size, plus 1 for the turning ch.
- Size S: Ch 94 (divisible by 3 + 1, gives 31 V-sts per row after first row).
- Size M: Ch 106 (35 V-sts per row).
- Size L: Ch 118 (39 V-sts per row).
Row 0 (WS): Sc in 2nd ch from hook and in each ch across. Turn. (93, 105, 117 sc)
Now begin Main Body Stitch: Work Rows 1-4 of the Main Body Stitch to establish the pattern. Then repeat Rows 3 and 4 until the piece measures approximately 13" (33 cm) from the foundation edge for all sizes. This is the length from the bottom edge to the underarm. End after a WS row (Row 4).
Armhole Shaping (Drop Shoulder): For the next 6 rows (approx. 2.5" / 6 cm), you will work straight without any decreases at the edges. Simply continue the pattern as established. The armhole depth is the same for all sizes: 2.5" (6 cm).
Continue straight until the total length from the foundation edge is 18" (45.5 cm) for S, 19" (48 cm) for M, or 20" (51 cm) for L. This is the total length to the shoulder. End after a WS row.
Shoulder Shaping: The back neckline is a straight edge (no shaping). You will create the shoulders by working partial rows.
Row 1 (RS - Right Shoulder): Ch 4 (tr+ch1). Work in pattern across the first 12 V-sts (for S), 14 V-sts (for M), or 16 V-sts (for L). Do NOT work the remaining sts. Turn. (This leaves a gap for the neck).
Row 2 (WS - Right Shoulder): Ch 1. Sc across following the pattern, ending with sc in the 4th ch of the turning ch-4. Turn.
Row 3 (RS - Right Shoulder): Ch 4. Work in pattern across 12/14/16 V-sts. Turn.
Row 4 (WS - Right Shoulder): Ch 1. Sc across. Fo. Leave a long tail for seaming.
Left Shoulder: Re-attach yarn at the neck edge (the gap left from the right shoulder), leaving a long tail. Work a mirror image of the right shoulder (same number of V-sts). Fo.
Front Panel
Work the foundation and Main Body Stitch exactly as for the Back panel, up to the armhole shaping. Work 6 rows straight for the armhole (2.5" / 6 cm).
Neckline Shaping (Begins after armhole rows): You will now create a scoop neck by working two sides. This shaping takes 8 rows total (approx. 3.5" / 9 cm).
Row 1 (RS - Right Front): Ch 4 (tr+ch1). Work in pattern across the first 14 V-sts (S), 16 V-sts (M), or 18 V-sts (L). Turn, leaving the remaining sts unworked. (You are working from the armhole edge toward the center).
Row 2 (WS - Right Front): Ch 1. Sc across in pattern. Turn.
Row 3 (RS - Right Front): Ch 4. Work in pattern across 13 (S), 15 (M), or 17 (L) V-sts. (This is one less V-st than the previous row – you are decreasing at the neck edge). Turn.
Row 4 (WS - Right Front): Ch 1. Sc across. Turn.
Row 5 (RS - Right Front): Ch 4. Work in pattern across 12 (S), 14 (M), or 16 (L) V-sts. Turn.
Row 6 (WS - Right Front): Ch 1. Sc across. Turn.
Row 7 (RS - Right Front): Ch 4. Work in pattern across 11 (S), 13 (M), or 15 (L) V-sts. Turn.
Row 8 (WS - Right Front): Ch 1. Sc across. Fo. Leave a long tail for seaming.
Left Front: Re-attach yarn at the center front edge (the opposite side of the neckline). Work mirror image of the right front, decreasing at the neck edge on Rows 3, 5, and 7 (i.e., on the RS rows, you will skip the first V-st and work the rest). Fo.
Note: After the neckline shaping is complete, the total length of the Front should match the Back (18"/19"/20"). If your gauge makes the front shorter, work a few extra rows straight (without further shaping) on each shoulder before fo.
Finishing
1. Blocking: Wet block both pieces thoroughly. Lay them flat on blocking mats, pinning to the exact measurements: chest width (half the back chain length) and total length. The V-stitch pattern opens up beautifully when blocked. Allow to dry completely (12-24 hours).
2. Seaming Shoulders: With right sides together, use the long tails left from fo. Use a mattress stitch (whip stitch through the back loops of the edge sts) to seam the outer 11 (S), 13 (M), or 15 (L) V-sts of each shoulder. Leave the center 8 (S), 10 (M), or 12 (L) V-sts unseamed for the neckline.
3. Seaming Sides: With right sides together, seam the side edges from the bottom hem up to the armhole (leave the top 2.5" / 6 cm open for the armhole). Use a whip stitch or mattress stitch.
4. Armhole Edging (Optional but recommended): With the RS facing, attach yarn at the underarm. Work 1 round of sc evenly around the armhole opening (approx. 1 sc per row and 1 sc in each dc/tr edge). Join with sl st to first sc. Ch 1, sc in same st and in each sc around. Fo. Weave in ends. Repeat for the other armhole.
5. Neckline Edging: With the RS facing, attach yarn at the left shoulder seam. Work sc evenly around the neckline. For the back neck, work 1 sc per V-st edge (approx. 1 sc per dc). For the front scoop, work 1 sc per row-end (approx. 1 sc per row). Adjust the number of sc as needed so the edge lies flat (not puckering). Join with sl st. Ch 1, sc in each sc around. Fo. Weave in ends.
6. Bottom Hem Edging: With RS facing, attach yarn at the bottom left side seam. Work 1 round of sc across the entire bottom edge. Ch 1, sc in each sc around. Fo. Weave ends.
7. Weave in all remaining ends with the tapestry needle. Give the top a final light steam block or spray block to set the edging.
Tips
1. Gauge is critical for fit. The V-stitch pattern is stretchy, but a swatch will save you from a too-small or too-large top. If your swatch is off, change your hook size (not your tension). Remember, the gauge is after blocking – the fabric grows.
2. Mark your center front. When you begin the neckline shaping on the Front panel, place a stitch marker at the exact center stitch of the row. This will help you count your V-sts evenly for both sides and ensure a symmetrical scoop neck.
3. Use a lifeline for the neckline decreases. The front neckline is the trickiest part. Run a contrasting thread through the loops of the row just before you start the decreases. If you make a mistake, you can easily rip back to this lifeline without losing all your work. Also, write down which row you are on (Row 1, 2, etc.) to avoid confusion.
4. Customize the length. This pattern is for a cropped top (ending at the natural waist). If you want a longer tunic, simply continue repeating Rows 3 and 4 of the Main Body Stitch before starting the armhole shaping. Add 2" (5 cm) for a hip-length top, or 4" (10 cm) for a tunic. Adjust yarn yardage accordingly.