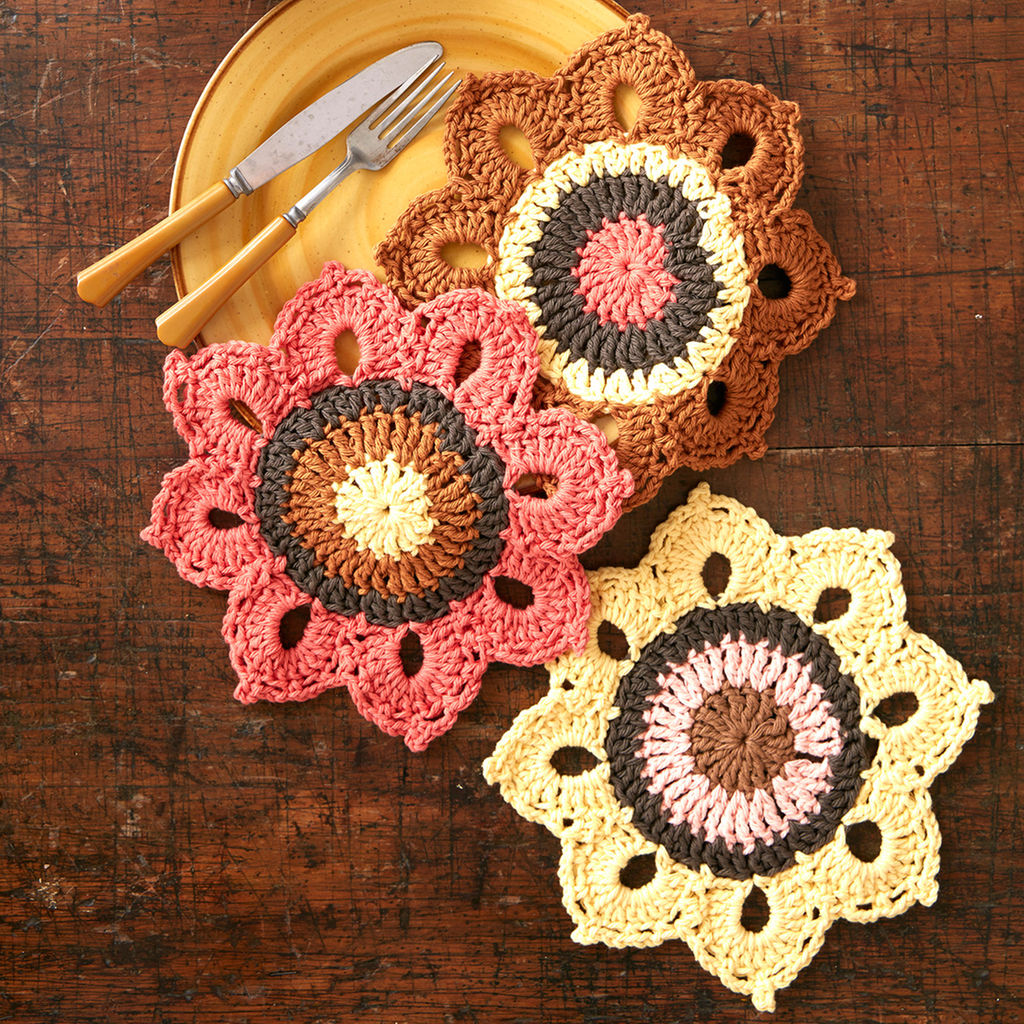
Woodsy Sunflower Crochet Dishcloths Free Pattern
Materials Needed
- Yarn: Approximately 450-500 yards (411-457 meters) of worsted weight (Category 4) cotton or cotton-blend yarn. A soft, non-splitting yarn like Lily Sugar’n Cream or Lion Brand 24/7 Cotton works beautifully for dishcloths. For this pattern, you will need two colors: Color A (Main Color) – 300 yards, and Color B (Contrast Color) – 150-200 yards.
- Crochet Hook: Size H/8 (5.0 mm) or size needed to obtain gauge.
- Notions: Yarn needle for weaving ends, scissors, stitch markers (optional).
Gauge
4” x 4” (10 cm x 10 cm) = 14 half double crochet stitches (hdc) x 11 rows. Gauge is important for achieving the correct finished size, especially for a home decor item like a dishcloth. Please make a gauge swatch and adjust your hook size if necessary.
Abbreviations (US Terms)
- ch – chain
- sc – single crochet
- hdc – half double crochet
- dc – double crochet
- sl st – slip stitch
- st(s) – stitch(es)
- sk – skip
- RS – right side
- WS – wrong side
- rep – repeat
- sp – space
- yo – yarn over
- fpsc – front post single crochet
- bphdc – back post half double crochet
Pattern Instructions
Notes
- This pattern is worked flat, back and forth in rows.
- The finishing border is worked in the round around the entire cloth.
- Ch 1 at the beginning of a row does not count as a stitch unless stated otherwise.
- Ch 2 at the beginning of a row counts as the first hdc.
Dishcloth Body (Make with Color A)
Foundation Row: Ch 33.
Row 1 (RS): Hdc in the 3rd ch from hook (the skipped 2 ch count as first hdc), hdc in each ch across. Turn. (32 hdc total)
Row 2 (WS): Ch 2 (counts as first hdc here and throughout), *fpdc around the next st, bpdc around the next st; rep from * across until 1 st remains, hdc in top of ch-2 from previous row. Turn.
Row 3: Ch 2, *bpdc around the next st, fpdc around the next st; rep from * across, hdc in top of ch-2. Turn.
Row 4-18: Repeat Rows 2 and 3. This creates a textured basketweave-like ribbing. At the end of Row 18, do not fasten off. You will now have 17 rows of texture (including Row 1). The piece should measure approximately 9” wide by 8.5” tall.
Color Blocking Section (Introduction of Color B)
Row 19 (RS): With Color A still attached, ch 2. Hdc in each of the next 9 sts. Drop Color A (do not cut), pick up Color B. With Color B, hdc in the next 12 sts. Drop Color B, pick up Color A. With Color A, hdc in the last 10 sts. Turn. (32 hdc)
Row 20 (WS): Ch 2. With Color A, hdc in first 10 sts. Drop A, pick up B. With Color B, hdc in next 12 sts. Drop B, pick up A. With Color A, hdc in last 10 sts. Turn.
Row 21: Repeat Row 19.
Row 22: Repeat Row 20.
Row 23: Repeat Row 19. At the end of this row, cut Color B, leaving a 6” tail.
Row 24-28: With Color A only, ch 2, hdc in each st across. Turn. (32 hdc per row)
Fasten off Color A and weave in all ends from the color changes on the wrong side.
Edging and Border (Worked in the Round)
This border adds structure and a clean, professional finish.
Round 1 (RS): Join Color B with a sl st in the top right corner of the dishcloth (the corner of Row 28). Ch 1. Work 1 sc in the same corner. Work sc evenly down the left side of the cloth, working 1 sc per row (approx 28 sc). When you reach the bottom corner, work 3 sc in the corner. Work sc across the foundation chain, working 1 sc in each of the 32 foundation stitches. When you reach the bottom-left corner, work 3 sc in the corner. Work sc evenly up the right side of the cloth (28 sc). Finally, work 2 sc in the starting corner (where you began, to make 3 total). Join with a sl st to the first sc. (Total: 32 + 28 + 32 + 28 + 4 corner increases = 124 sc, but the corner increases will give you 4 extra, so 128 sc total).
Round 2: Ch 1. *Sc in each sc across until you reach the center sc of a corner’s 3-sc group. In that center corner sc, work (sc, ch 2, sc). Rep from * around. Join with a sl st to the first sc. Fasten off Color B and weave in the end.
Round 3: Join Color A with a sl st in any sc. Ch 1. *Sc in each sc across to the corner ch-2 space. In the ch-2 space, work (sc, ch 2, sc). Rep from * around. Join with a sl st to the first sc. Fasten off Color A and weave in the end.
Finishing
- Weaving Ends: Using a yarn needle, carefully weave in all remaining ends on the wrong side of the dishcloth. Weave them in a zigzag pattern through the backs of stitches for about 2 inches, then snip the excess. Pay special attention to the color-change areas to ensure no ends will pop out during washing.
- Blocking: To ensure your dishcloth lies flat and the border is crisp, gently block it. Wash the dishcloth in cool water with a mild soap (like Eucalan or a drop of dish soap). Gently squeeze out excess water—do not wring. Lay the cloth flat on a towel, roll it up to remove more moisture, then unroll and shape it to the correct measurements (approximately 9” x 9”). Pin the corners if needed to keep them square. Allow to air dry completely.
- Care: Machine wash in cold water, tumble dry low. Cotton dishcloths soften beautifully with each wash.
Tips
- Tension Consistency: For an even border, keep your tension relaxed. If you tend to crochet tightly, go up a hook size (e.g., I/9 or 5.5 mm) for the border rounds only. This will prevent the edges from curling inward.
- Color Changes: When changing colors in the middle of a row, always complete the final yarn-over of the last stitch with the new color. For example, when switching from A to B, work the last hdc of A until you have 2 loops on your hook, then yarn over with Color B and pull through both loops. This creates a seamless color transition.
- Customization: This pattern is easily scaled. To make a larger dishcloth (e.g., 12” x 12”), chain in multiples of 2 + 1 for the foundation chain (e.g., ch 41 for 40 sts) and repeat the rows until you reach the desired height before starting the color block and border.