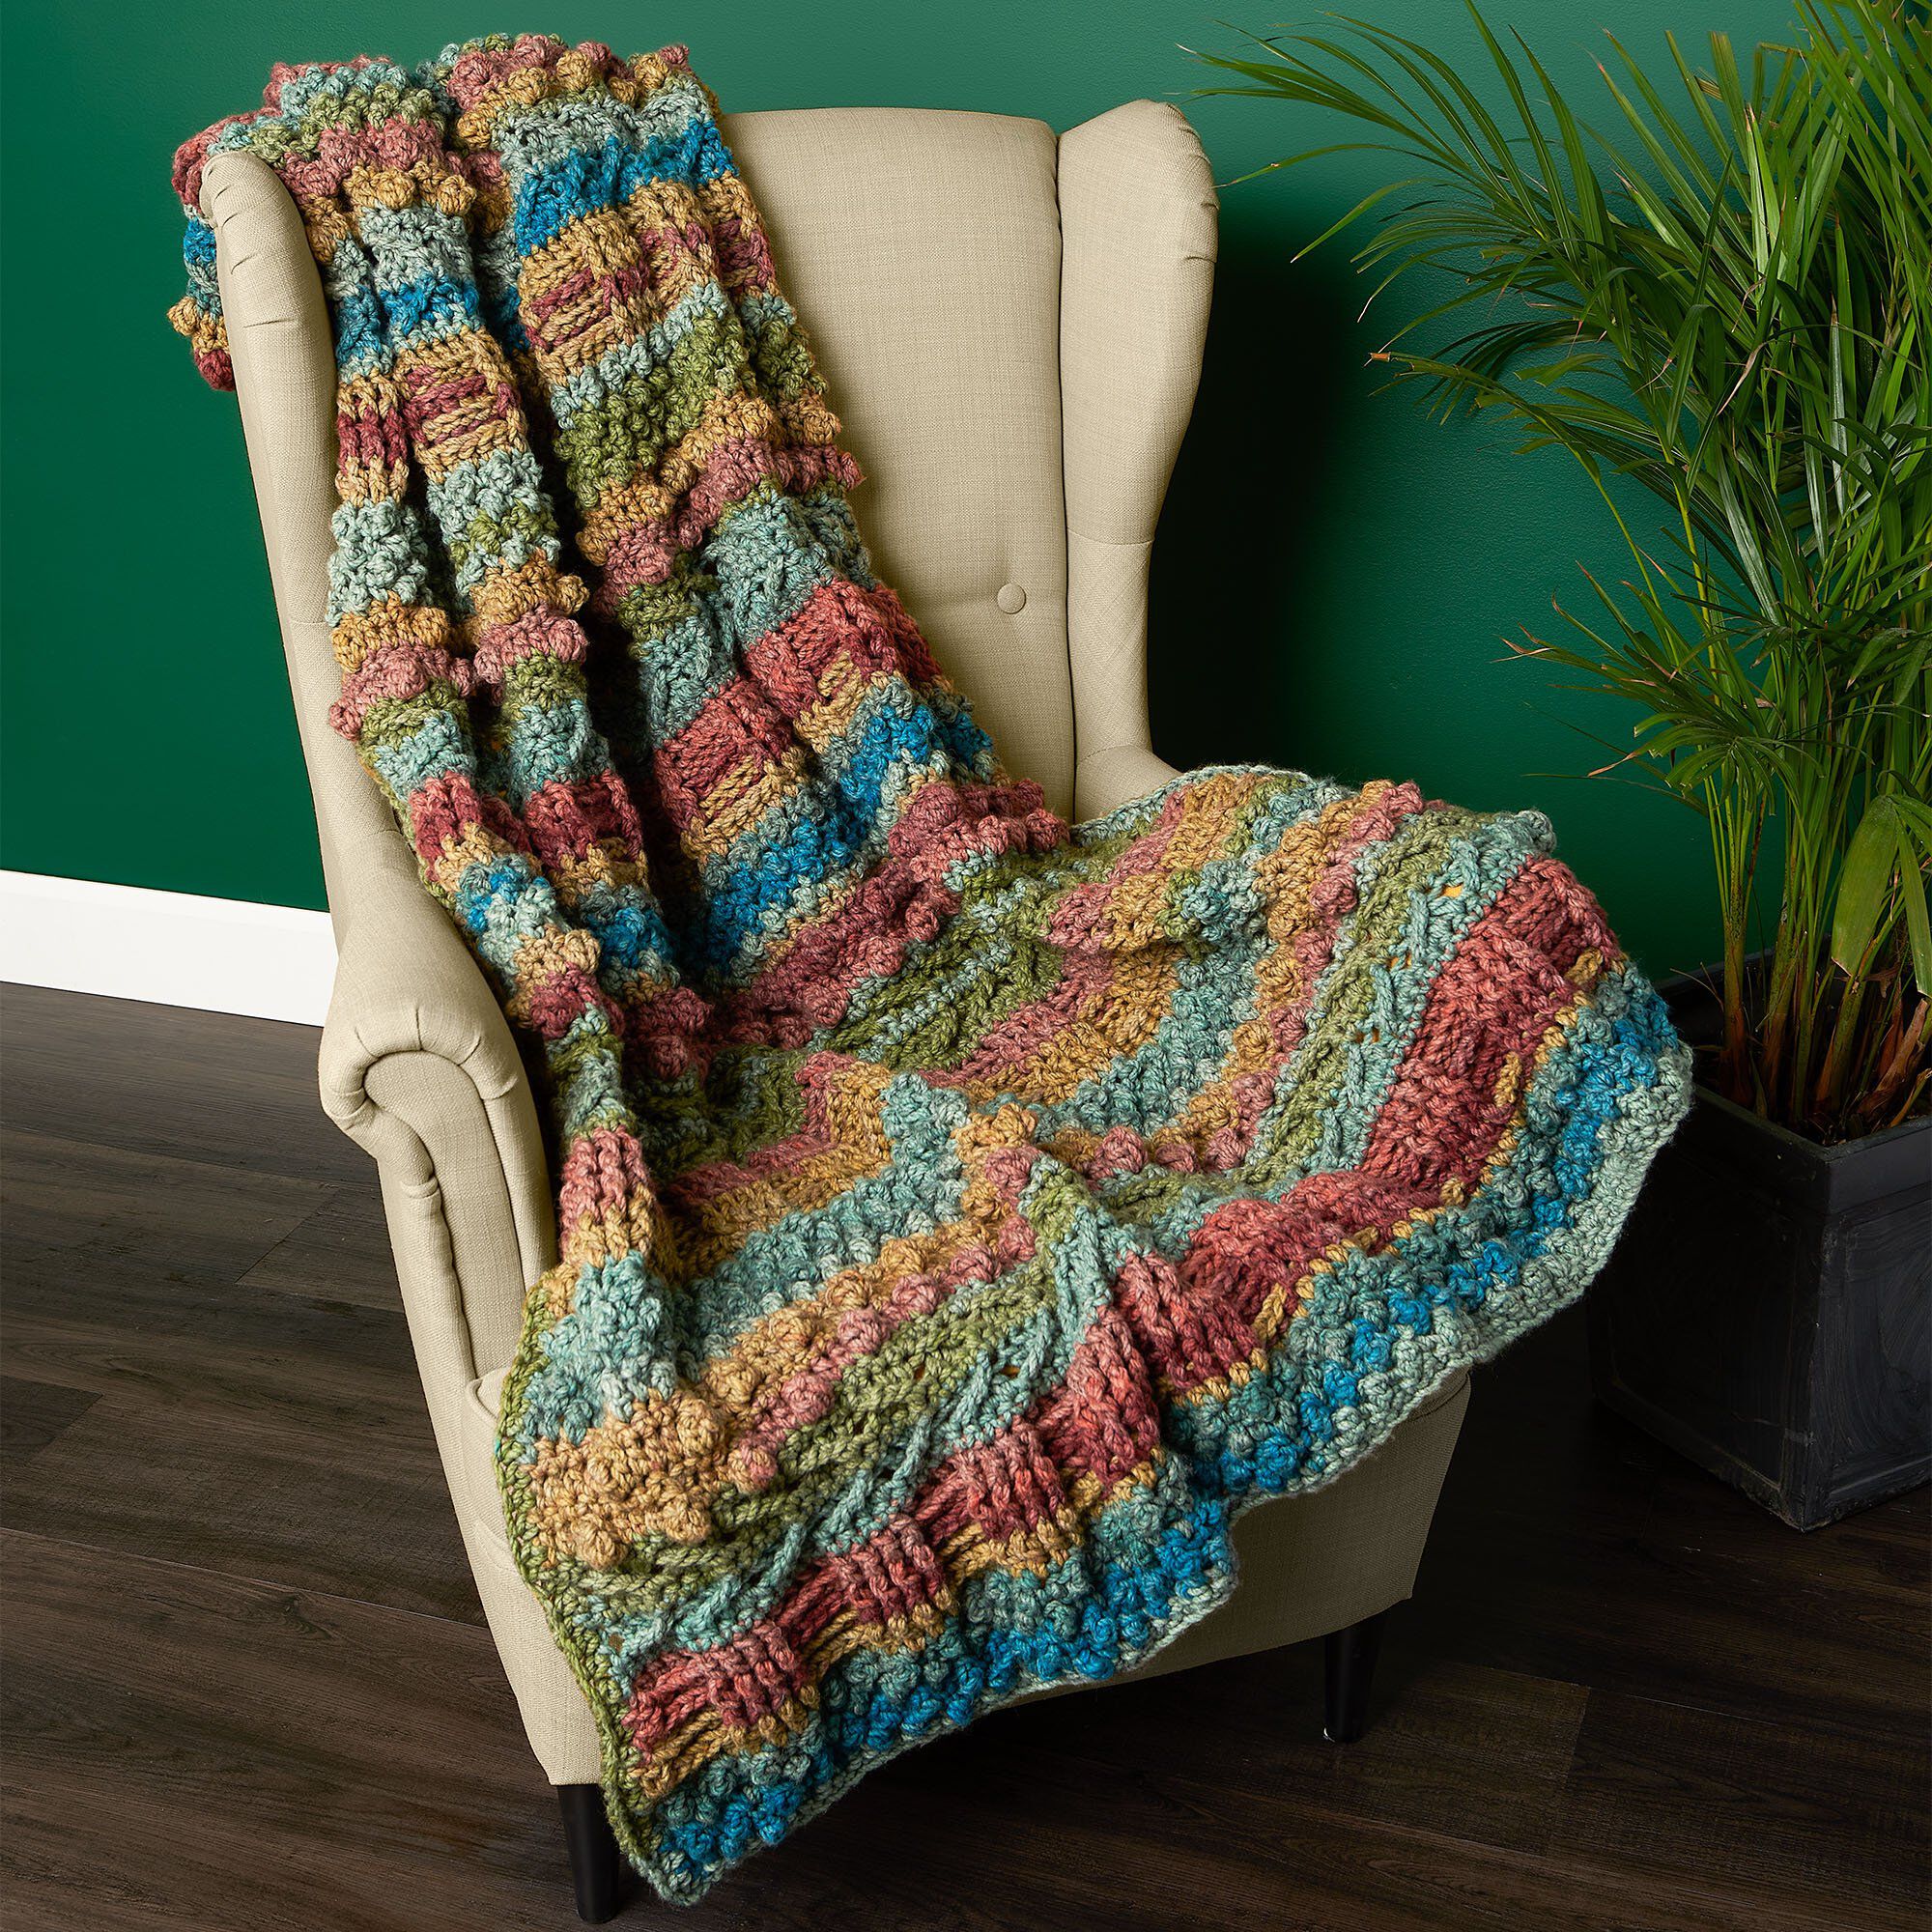
Free Crochet Pattern for a Textured World Blanket
Materials Needed
Yarn: 100% Cotton Worsted Weight Yarn (Category 4, Medium). Approximately 420 yards (385 meters) total. You will need two colors: Color A (Main Color) – 280 yards (e.g., Cream, White, or Soft Gray) and Color B (Contrast Color) – 140 yards (e.g., Teal, Mustard, or Coral).
Suggested Yarn: Lily Sugar ‘n Cream or Lion Brand Kitchen Cotton (100% cotton). Cotton is highly recommended for dishcloths due to its absorbency and durability.
Hook: Size H/8 (5.0 mm) crochet hook, or size needed to obtain gauge.
Notions: Yarn needle for weaving ends, scissors, stitch marker (optional).
Gauge
Gauge in Pattern Stitch (Grit Stitch): 4 inches (10 cm) = 14 stitches x 10 rows. To check gauge, work a swatch of the Grit Stitch pattern (see below) in Color A. Your swatch should measure 4” x 4”. Adjust hook size if necessary to match gauge.
Abbreviations
- ch – chain
- sc – single crochet
- dc – double crochet
- st(s) – stitch(es)
- sl st – slip stitch
- sk – skip
- rep – repeat
- RS – right side
- WS – wrong side
- MC – Main Color (Color A)
- CC – Contrast Color (Color B)
Pattern Instructions
Pattern Notes
- This dishcloth is worked flat in rows. The pattern uses a simple two-row repeat called the “Grit Stitch,” which creates a dense, textured fabric perfect for scrubbing.
- Turning chains do not count as a stitch unless specified.
- When changing colors, do not cut the yarn after every stripe. Carry the unused color loosely up the side of the work (see Tips for weaving).
- The finished dishcloth measures approximately 9 inches (23 cm) wide by 9 inches (23 cm) tall. You can adjust the size by chaining more or fewer stitches (multiple of 2 + 1) and working more rows.
Let’s Begin! (Using Color A / MC)
Foundation Chain: With Color A, ch 32. (We will have 31 stitches in the row, plus the turning chain.)
Row 1 (RS): Sc in 2nd ch from hook, *dc in next ch, sc in next ch; rep from * across. You will end with a sc in the last ch. (30 sts: 15 sc and 15 dc). Turn.
Row 2 (WS): Ch 1 (does not count as a st), sc in first st, *dc in next st, sc in next st; rep from * across. (30 sts). Turn.
Rows 3 – 10: Repeat Row 2. You will have a total of 10 rows in Color A. Fasten off Color A, but do not cut the yarn if you plan to carry it up the side. Weave in the tail from the foundation chain later.
Introducing Color B (Contrast Color)
Row 11 (RS): Join Color B with a sl st in the first st of Row 10. Ch 1 (does not count). Sc in same st, *dc in next st, sc in next st; rep from * across. (30 sts). Turn.
Rows 12 – 20: Repeat Row 2 (the same sc, dc pattern) using Color B. At the end of Row 20, fasten off Color B. If carrying, do not cut; just drop the yarn and pick up Color A.
Return to Color A (Main Color)
Row 21 (RS): Join Color A with a sl st in the first st of Row 20. Ch 1 (does not count). Sc in same st, *dc in next st, sc in next st; rep from * across. (30 sts). Turn.
Rows 22 – 30: Repeat Row 2 with Color A. At the end of Row 30, do not fasten off. We will now work a border.
Border
The border is worked in single crochet evenly around all four edges of the dishcloth. This gives a clean, professional finish and helps the piece lie flat.
Round 1 (RS): Ch 1 (does not count as st). Sc in each st across the top edge (30 sts). When you reach the corner, work 3 sc in the corner space (the corner of the last row). Now work down the left side: work 1 sc in the end of each row (30 rows = 30 sc). At the bottom corner, work 3 sc. Work across the bottom edge: sc in each foundation chain st (30 sc). At the next corner, work 3 sc. Work up the right side: sc in the end of each row (30 sc). At the starting corner, work 2 more sc (to complete the corner, since you already have 1 sc from the beginning of the round). Join with a sl st to the first sc of the round. (Total: 30 + 3 + 30 + 3 + 30 + 3 + 30 + 3 = 132 sts).
Round 2: Ch 1 (does not count as st). Sc in each sc around, working 3 sc in the center sc of each corner (the 2nd sc of the 3-sc corner group from the previous round). This will keep the corners square. Join with a sl st to the first sc. Fasten off Color A and weave in all ends.
Finishing
- Weaving Ends: Thread your yarn needle with each yarn tail. Weave the tail in and out of the back loops of the stitches on the wrong side of the dishcloth for about 1-2 inches. Trim the excess yarn close to the fabric. Be careful not to cut the fabric.
- Blocking (Optional but Recommended): To ensure your dishcloth lays perfectly flat and the stitches are even, wet block the piece. Soak the dishcloth in cool water for 15 minutes. Gently squeeze out excess water (do not wring). Lay it flat on a clean towel or blocking mat. Gently stretch it to the finished measurements (9” x 9”). Pin the corners if needed. Allow it to dry completely.
- Final Check: Once dry, give the dishcloth a gentle shake. It is now ready for use or gifting!
Tips
- Carrying Yarn Up the Side: When changing colors every 10 rows, do not cut the yarn. Instead, when you finish a stripe, simply drop the current color and pick up the new color from the side. On the first stitch of the next row, crochet over the dropped yarn to hide it. This avoids weaving in dozens of ends and keeps the sides neat. Remember to twist the yarns once at the side to prevent long loops.
- Maintaining Tension: The Grit Stitch (sc, dc) can sometimes pull in the width. If your dishcloth starts to narrow, make sure you are not crocheting too tightly on the double crochet stitches. Keep your tension relaxed and consistent. If you prefer a looser fabric, try using a 5.5 mm hook instead.
- Customizing Size: This pattern is easily customizable. For a larger dishcloth or a small blanket, chain any multiple of 2 + 1 (e.g., 50 + 1 = 51 chains for a larger piece). For stripes, you can make them thicker (e.g., 15 rows per color) or thinner (e.g., 5 rows per color). The border instructions will automatically adjust if you maintain the same stitch count per side.