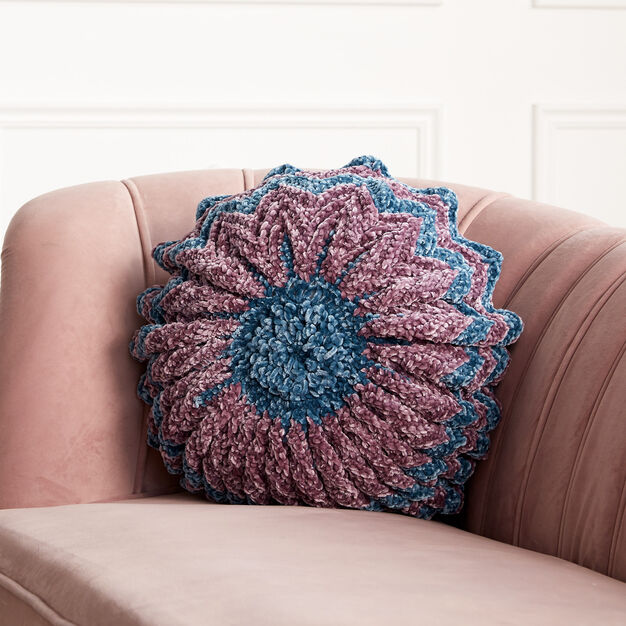
Free Crochet Pattern for a Round Pleated Pillow
Materials Needed
- Yarn: 350 yards of worsted weight (Category 4) cotton or cotton-blend yarn. For this pattern, we used a soft, absorbent cotton in a light cream color. A 100g/200yd skein will require approximately 1.75 skeins.
- Crochet Hook: Size H-8 (5.0 mm) or size needed to obtain gauge.
- Notions: Yarn needle for weaving ends, scissors, stitch markers (optional, for counting rows).
Gauge
In half double crochet (hdc) worked in the back loop only, 4 inches = 14 stitches and 4 inches = 10 rows. Always check your gauge to ensure your finished piece matches the dimensions.
Abbreviations (US Terms)
- ch: chain
- st(s): stitch(es)
- sl st: slip stitch
- sc: single crochet
- hdc: half double crochet
- dc: double crochet
- BLO: back loop only
- FLO: front loop only
- RS: right side
- WS: wrong side
- rep: repeat
- sk: skip
- sp(s): space(s)
- tog: together
Pattern Instructions
Finished Size
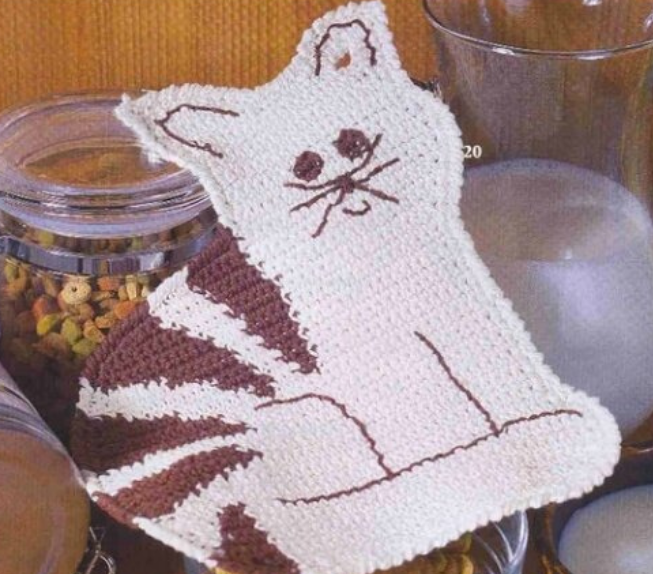
This dishcloth measures approximately 9 inches wide by 9 inches tall. To adjust size, chain any odd number (for width) and work the pattern until desired length is reached.
Foundation Row
Ch 33. (This gives a width of about 9 inches with the stated gauge. For a smaller cloth, ch 25; for a larger one, ch 41.)
Row 1 (RS):
Hdc in the 3rd ch from hook (the skipped 2 chs count as the first hdc). Hdc in each ch across. Turn. (32 hdc, including the turning ch as a stitch.)
Row 2 (WS):
Ch 2 (counts as first hdc), * sk next st, hdc in next st, hdc in the skipped st (this creates a crossed stitch) * rep from * to * across, ending with hdc in the top of the turning ch from the previous row. Turn. (32 sts: 16 pairs of crossed hdc + 1 hdc at each end.)
Row 3 (RS):
Ch 1 (does not count as a stitch), sc in BLO of first st, * ch 1, sk 1 st, sc in BLO of next st * rep from * to * across, ending with sc in top of turning ch. Turn. (16 sc + 16 ch-1 sps.)
Row 4 (WS):
Ch 1, sc in first sc, * sc in next ch-1 sp, sc in next sc * rep from * to * across. Turn. (32 sc.)
Row 5 (RS):
Ch 2 (counts as first hdc), hdc in next st, * sk next st, hdc in next st, hdc in the skipped st * rep from * to * across, ending with hdc in last st and hdc in top of turning ch (if needed, adjust count so you have 2 hdc at the end). Turn. (32 hdc.)
Row 6 (WS):
Ch 1, sc in BLO of first st, * ch 1, sk 1 st, sc in BLO of next st * rep from * to * across, ending with sc in top of turning ch. Turn. (16 sc + 16 ch-1 sps.)
Row 7 (RS):
Ch 1, sc in first sc, * sc in ch-1 sp, sc in next sc * rep from * to * across. Turn. (32 sc.)
Rows 8-17:
Repeat Rows 2-7 twice more. You will have completed 17 rows total. Your piece should measure roughly 6.5-7 inches tall at this point.
Rows 18-20 (Top Border Section):
Now we begin the textured top edge that mimics the bottom edging. For this, we will work in single crochet and double crochet to create a sturdy, decorative band.
- Row 18 (WS): Ch 1, sc in first st, * sc in next st * rep across. Turn. (32 sc.)
- Row 19 (RS): Ch 3 (counts as first dc), dc in each st across. Turn. (32 dc.)
- Row 20 (WS): Ch 1, sc in first st, * sc in next st * rep across. (32 sc.) Fasten off, leaving a 6-inch tail for weaving.
Bottom Edging (Optional but Recommended)
The foundation chain can look a bit loose. To give the bottom a finished look, turn the piece so the foundation chain is at the top (or simply flip the work). With RS facing, attach yarn with a sl st to the first foundation chain stitch.
- Round 1 (Edging): Ch 1, work 1 sc in each foundation chain across. Do not turn. (32 sc.)
- Round 2 (Spike Stitch Border): * Ch 1, sk 1 sc, sc in the next sc (working 1 row below into the base of the first hdc of Row 1)* rep from * to * across. Fasten off and weave ends.
Side Edging
With RS facing, attach yarn to the top-right corner of the dishcloth (after the top border is complete).
- Round 1: Ch 1, work sc evenly down the left side (about 1 sc per row), then sc across the bottom edge (into the spike stitch border), then sc up the right side, and finally sc across the top edge. Join with sl st to first sc.
- Round 2: Ch 1, * sc in next 3 sts, ch 2, sk 1 st * rep from * to * around. Join with sl st. Fasten off and weave ends.
Finishing
Weaving Ends
Thread your yarn needle with the tails from the start and finish. Weave them carefully along the back of the stitches, following the path of the yarn. Weave in at least 2 inches to secure, then trim the excess close to the fabric. For cotton yarn, it helps to weave in a few extra inches because cotton can be slippery.
Blocking
This dishcloth will benefit greatly from blocking to even out the stitches and give it a professional, flat finish.
- Wet Block: Soak the dishcloth in cool water for 15 minutes. Gently squeeze out excess water (do not wring). Lay it flat on a blocking mat or clean towel.
- Pin and Shape: Gently pull the cloth into a perfect 9-inch square. Pin the corners and edges to hold the shape. Allow it to air dry completely (12-24 hours). This will relax the cotton and make the crossed stitch pattern pop.
- Alternatively, you can steam block by holding a steam iron just above the fabric (without touching) and then pinning as above.
Tips
- Keep Tension Even: The crossed half double crochet stitch (Row 2 and Row 5) can be tight. If you find it difficult to insert your hook into the skipped stitch, try using a slightly larger hook for those rows only, or consciously relax your tension. Consistency is key for a square finish.
- Count Your Stitches: The pattern relies on an odd number of stitches for the crossed stitch to work correctly. If you change the starting chain count, always end with an odd number of total stitches (e.g., 25, 31, 37, etc.). This ensures the pattern repeats symmetrically.
- Use Cotton Yarn for Best Results: While acrylic yarn works, cotton is superior for dishcloths because it is highly absorbent, durable, and gets softer with washing. If using cotton, choose a mercerized cotton for extra sheen and stitch definition, or a unmercerized one for a more rustic, textured look.