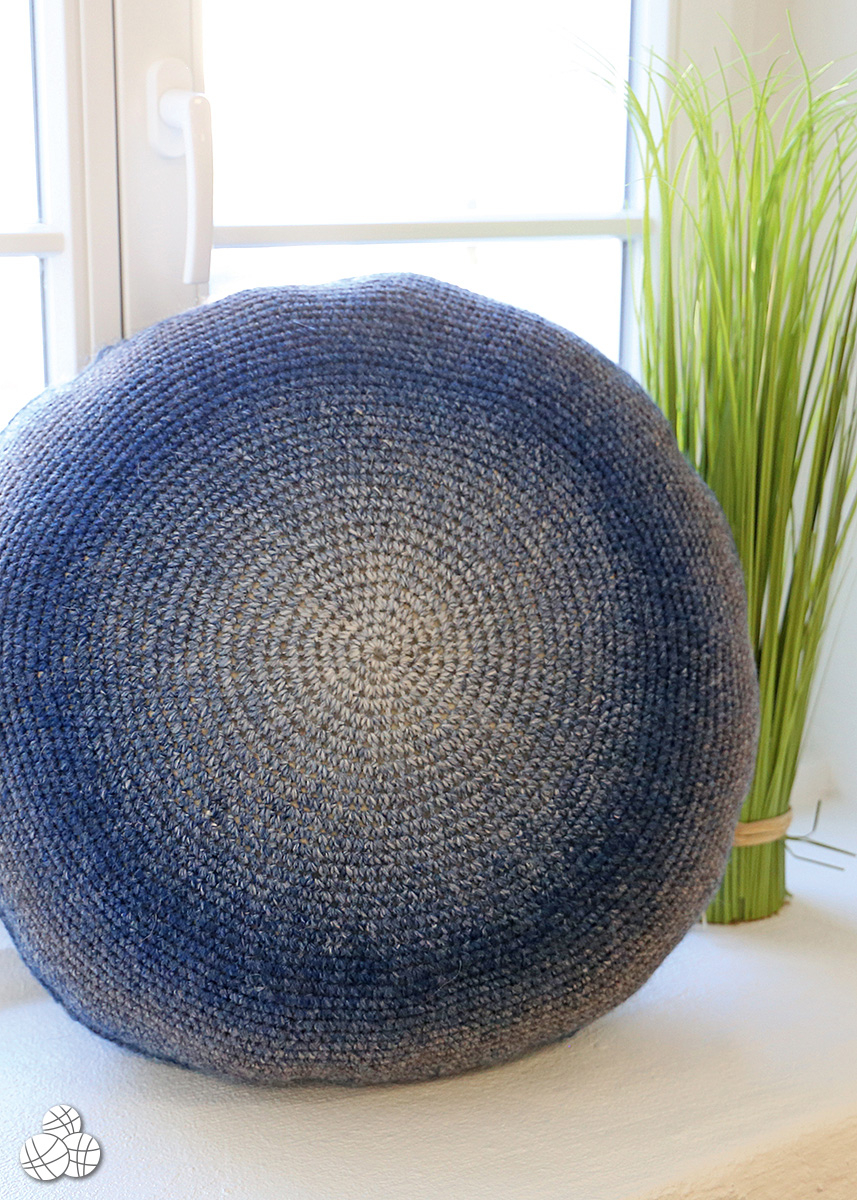
Free Crochet Pattern for a Round Floor Cushion
Materials Needed
- Yarn: Lion Brand Heartland (or any worsted weight #4 yarn). Approximately 500 yards (two 5 oz / 142g skeins) for the main color (MC) and 250 yards (one 5 oz / 142g skein) for a contrasting color (CC). If using a single color, you will need approximately 700 yards total.
- Crochet Hook: Size I/9 (5.5 mm) or size needed to obtain gauge.
- Notions: Yarn needle, scissors, stitch markers (optional).
- Finished Size: Approximately 24 inches wide x 36 inches long (61 cm x 91 cm), a generous lapghan or small throw.
Gauge
In pattern stitch (after blocking): 4 inches = 14 stitches and 10 rows.
To check gauge, chain 18 and work rows 1-4 of the pattern. Your swatch should measure approximately 5 inches wide. Adjust hook size if necessary.
Abbreviations (US Terms)
- ch – chain
- sc – single crochet
- dc – double crochet
- sl st – slip stitch
- st(s) – stitch(es)
- sk – skip
- sp – space
- rep – repeat
- RS – right side
- WS – wrong side
Pattern Instructions
Special Stitch: V-Stitch (V-st) – (dc, ch 1, dc) all in the same stitch or space. This creates a "V" shape.
Pattern Notes: This blanket is worked flat in rows. The edge is finished with a simple sc border. The main body uses a two-row repeat of V-stitches and sc clusters. The color changes happen every 4 rows (or as desired), creating a subtle striped effect.
With MC, ch 87 loosely. (Foundation chain should be a multiple of 3 + 2 for this pattern. 87 gives you a width of about 24 inches.)
Row 1 (RS): Sc in 2nd ch from hook, sc in each ch across. Turn. (86 sc)
Row 2: Ch 3 (counts as first dc here and throughout), sk first st, *V-st in next st (dc, ch 1, dc), sk 2 sts; rep from * to last 2 sts. V-st in next st, dc in last st. Turn. (You will have 28 V-sts + 1 dc at start and 1 dc at end).
Row 3: Ch 1, sc in first dc, *sc in next dc, sc in ch-1 sp, sc in next dc; rep from * across to last st (which is the top of the turning ch-3). Sc in that st. Turn. (86 sc)
Row 4: Ch 3, sk first st, *V-st in next st, sk 2 sts; rep from * to last 2 sts. V-st in next st, dc in last st. Turn. (Same count as Row 2).
Row 5: Ch 1, sc in first dc, *sc in next dc, sc in ch-1 sp, sc in next dc; rep from * across, ending with sc in top of turning ch. Turn. (86 sc)
Rows 6-9: Repeat Rows 2 and 3 two more times (this completes 4 rows total from last color change).
Color Change (if using CC): At the end of Row 9 (which is a sc row), do not turn. Fasten off MC with a 6-inch tail. Join CC with a sl st in the last st of Row 9. Ch 1, turn. You are now ready to work Row 10 (which is a V-st row) with CC.
Tip: When joining a new color, work the last yarn over of the previous stitch with the new color to create a clean transition.
Rows 10-13: With CC, repeat Rows 2 and 3 two times.
Rows 14-17: Repeat Rows 2 and 3 two times with MC.
Continue Pattern: Repeat the 4-row stripe sequence (Rows 6-9 with MC, Rows 10-13 with CC, Rows 14-17 with MC) until your blanket measures approximately 35 inches from the foundation edge, ending after a Row 3 repeat (a sc row). You should have about 9-10 stripes total (each stripe is 4 rows).
Final Row (WS): Ch 1, sc in each st across. Do not fasten off if continuing to border. (86 sc)
Finishing
Border: You will work a simple sc border around the entire blanket to give it a clean, finished edge. Do not fasten off after the final row; instead, continue with the border.
- Round 1: Ch 1, do not turn. Working along the side of the blanket, work 1 sc in the end of each row (approximately 1 sc per row, so about 90 sc down the side). When you reach the corner, work 3 sc in the corner stitch (the first sc of the foundation row).
- Work 1 sc in each foundation chain across the bottom edge (86 sc). Work 3 sc in the corner.
- Work 1 sc in the end of each row up the other side (about 90 sc). Work 3 sc in the corner.
- Work 1 sc in each sc across the top (the final row). Work 2 sc in the starting corner (because you already have a sc there from the beginning of the round). Join with a sl st to the first sc of the round. Fasten off and weave in all ends. (For a more decorative edge, you can work a round of reverse sc or a picot edging, but a plain sc border keeps it classic.)
Weaving Ends: Use a yarn needle to weave in all tails securely along the wrong side of the work. Weave in the opposite direction of the stitches for at least 2 inches to prevent unraveling.
Blocking: This pattern benefits greatly from blocking to open up the V-stitches and even out the edges. Soak the blanket in cool water with a splash of mild soap for 15-20 minutes. Gently squeeze out excess water (do not wring). Lay flat on a towel, roll up to remove more water, then unroll and shape to the finished dimensions (24" x 36"). Pin the corners and edges if needed. Allow to air dry completely. This will make the stitches look crisp and professional.
Tips
- Maintain Tension: The V-stitch and sc combination can cause the fabric to pull in if your tension is too tight. Aim for a relaxed, even tension. If your blanket is curling, it is likely too tight—try going up a hook size. If it is too loose and floppy, try a smaller hook. Always check your gauge first.
- Color Planning: If using two colors, consider using a solid color for the MC and a variegated or tonal yarn for the CC. This adds visual interest without complex color changes. If you prefer a single-color look, a heathered or speckled yarn will show the texture of the V-stitches beautifully.
- Count Your Stitches: After every sc row (Rows 3, 5, 9, etc.), you should have 86 sc. If you are losing or gaining stitches, you are likely skipping or adding extra stitches at the ends. The first and last stitches of the V-st row are always a dc, and the sc row always ends with a sc in the top of the turning chain. Use stitch markers in the first and last stitch of the row if you are a beginner.