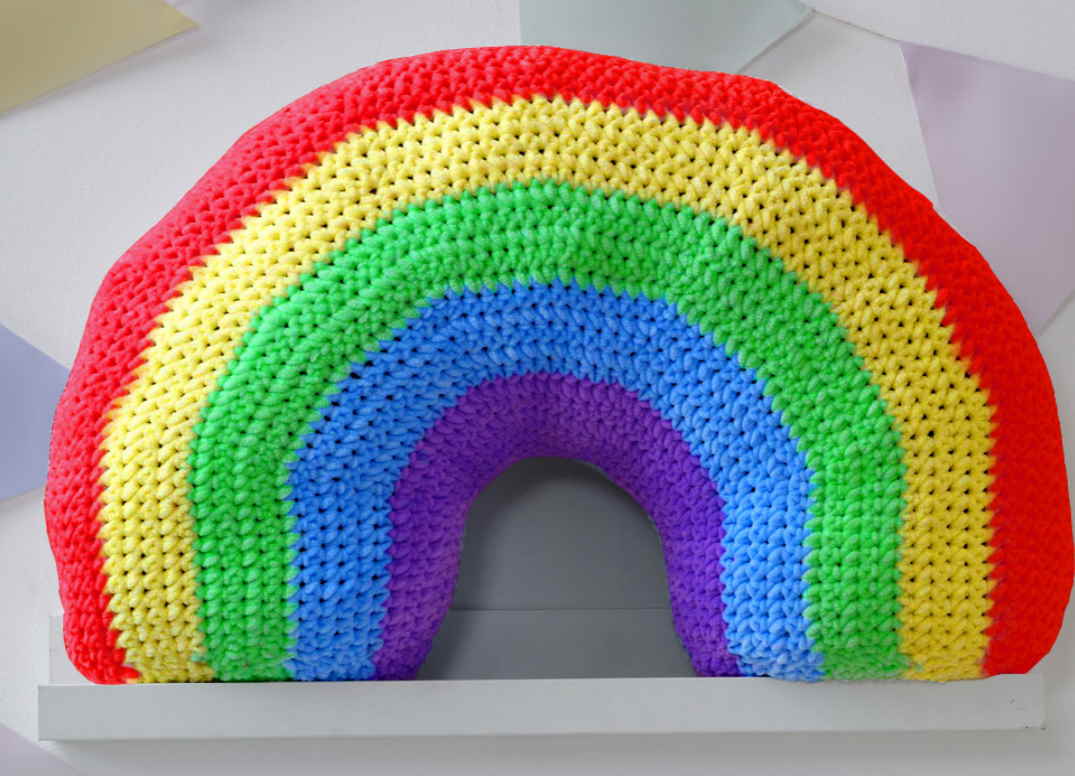
Free Crochet Pattern for a Rainbow Pillow
Materials Needed
Yarn: 100% Cotton, Worsted Weight (Category 4; e.g., Lily Sugar'n Cream, Bernat Handicrafter, or Lion Brand Kitchen Cotton). The finished dishcloth should be absorbent and durable, so cotton is strongly recommended.
- Color A (Main Color): Approximately 100 yards (92 meters) – for the body of the dishcloth.
- Color B (Contrast Color): Approximately 20 yards (18 meters) – for the border and surface detail.
Crochet Hook: Size H/8 (5.0 mm) or size needed to obtain gauge.
Notions:
- Yarn needle for weaving in ends.
- Scissors.
- Stitch markers (optional, for counting corners).
Finished Size: Approximately 10 inches (25.5 cm) square, after blocking.
Gauge
Gauge Swatch: Work a 4-inch (10 cm) square in the main stitch pattern (Alternating Single Crochet & Chain Space pattern described below).
- 4 inches (10 cm) = 18 stitches (sc + ch-1 spaces) x 16 rows.
- Important: Gauge is important for achieving the correct finished size and fabric density. If your dishcloth is too stiff, go up a hook size. If it is too loose and floppy, go down a hook size.
Abbreviations (US Terms)
- ch: chain
- sc: single crochet
- hdc: half double crochet
- dc: double crochet
- sl st: slip stitch
- st(s): stitch(es)
- sp: space
- ch-sp: chain-space (the space created by a chain stitch in the previous row)
- sk: skip
- rep: repeat
- RS: right side
- WS: wrong side
- MC: Main Color (Color A)
- CC: Contrast Color (Color B)
Pattern Instructions
Special Stitches
- Corner Cluster (CCL): (2 dc, ch 2, 2 dc) all worked into the same ch-2 corner space.
- Shell: (2 dc, ch 1, 2 dc) all worked into the same ch-1 space from the previous row.
Dishcloth Body (Worked in Rows with MC - Color A)
The dishcloth is worked flat, from the bottom edge upward. The main pattern creates a textured, open weave that is perfect for scrubbing and rinsing.
Foundation Row: Ch 32. (This creates a base that will be approximately 10 inches wide after the border.)
Row 1 (RS): Sc in the 2nd ch from hook and in each ch across. Turn. (31 sc)
Row 2 (WS): Ch 1, sc in the first st. *Ch 1, sk the next st, sc in the next st. Rep from * across. Turn. (16 sc and 15 ch-1 spaces)
Row 3 (RS): Ch 1, sc in the first sc. *Sc in the next ch-1 sp, sc in the next sc. Rep from * across. (You will have 31 sc. The last sc is worked into the last sc of the row.) Turn.
Row 4 (WS): Ch 1, sc in the first st. *Ch 1, sk the next st, sc in the next st. Rep from * across. Turn. (16 sc and 15 ch-1 spaces)
Rows 5 – 40: Repeat Rows 3 and 4. You will have a total of 40 rows. The fabric should be square (approximately 10 inches tall). End after completing a Row 3 (a solid row of sc). Do not fasten off; you will continue directly into the border.
Border (Worked in Rounds with MC - Color A)
The border is worked in continuous rounds, creating a neat edge while preparing for the contrast color detail. Do not turn at the end of rounds.
Round 1 (Border Foundation): Ch 1. Do not turn. Work 1 sc in each sc across the top edge (31 sc). When you reach the corner, work 3 sc in the last st (corner). Rotate the dishcloth to work down the side edge. Work 1 sc in the side edge of each row (you will have approximately 40 sc along the side, working 1 sc into the end of each row). At the bottom corner, work 3 sc in the corner. Rotate to work across the foundation chain. Work 1 sc into each foundation ch across (31 sc). At the next corner, work 3 sc in the corner. Rotate to work up the other side edge. Work 1 sc into the side edge of each row (40 sc). At the starting corner, work 2 more sc into the first st (to complete the 3-sc corner). Join with a sl st to the first sc of the round. (Total: Approximately 148 sts: 31+3+40+3+31+3+40+3 = 154 sts, but the count will vary slightly based on your side tension. Do not worry about an exact count; just make sure you have 3 sc in each corner.)
Round 2 (Corner Setup): Ch 1. *Sc in each sc across the side until you reach the middle sc of a 3-sc corner. In that middle corner sc, work the following: (sc, ch 2, sc). Rep from * for all four sides and corners. Join with a sl st to the first sc. Fasten off MC and weave in the end.
Surface Detail (Worked with CC - Color B)
This is worked on the right side, using a surface slip stitch technique. It creates a decorative “X” pattern in the center of the dishcloth, adding visual interest and a slightly textured scrubby surface.
Setup: With the right side facing you, join CC with a sl st to the center ch-2 corner space of the top-right corner of the dishcloth.
First Diagonal Line: *Ch 1 (counts as a turning chain, not a stitch). Insert hook into the ch-2 corner space again, draw up a loop, and pull through both loops on the hook (this is a surface sl st). Move diagonally down and to the left to the next “open” space in the main body pattern. You will be working into the ch-1 spaces of the main dishcloth body. Insert hook into the ch-1 space (about 2 rows down and 2 stitches to the left), draw up a loop, and sl st. Repeat this diagonal movement, moving 2 rows down and 2 stitches to the left each time, until you reach the center of the dishcloth. You will have created a line of surface sl sts running diagonally from the top-right corner to the center.
Second Diagonal Line: From the center point, reverse direction. Now move diagonally down and to the right (toward the bottom-right corner). Work surface sl sts into the ch-1 spaces, moving 2 rows down and 2 stitches to the right each time, until you reach the bottom-right corner ch-2 space. Do not fasten off.
Third & Fourth Diagonal Lines: From the bottom-right corner, move diagonally up and to the left (toward the center). Work surface sl sts into the ch-1 spaces, moving 2 rows up and 2 stitches to the left each time, until you reach the center. Then from the center, move diagonally up and to the right (toward the top-left corner). Work surface sl sts into the ch-1 spaces, moving 2 rows up and 2 stitches to the right each time, until you reach the top-left corner ch-2 space. Fasten off CC and weave in the end.
Note on Surface Stitching: The diagonal lines will form a large “X” across the dishcloth. If you prefer a simpler look, you can work only the first diagonal line (from top-right to bottom-left) and the second (from top-left to bottom-right), creating a single cross. The pattern above creates a double “X” for a more intricate design.
Finishing
- Weaving Ends: Using the yarn needle, weave in all remaining ends from the MC body and the CC surface detail. Weave them into the backs of the stitches on the wrong side of the dishcloth, following the path of the stitches so they are invisible from the front. Trim any excess yarn close to the work.
- Blocking (Optional but Recommended): To ensure a perfectly square shape and to even out the stitches, soak the dishcloth in cool water for 10 minutes. Gently squeeze out the excess water (do not wring). Lay the dishcloth flat on a blocking mat or a clean towel. Gently stretch it to the exact 10-inch square dimensions. Pin the corners and edges in place if needed. Allow it to air dry completely. Blocking also helps the cotton yarn relax and become more absorbent.
- Final Check: Once dry, check that the border lies flat and the corners are neat. If any stitches are loose, you can gently tighten them by pulling the yarn tail from the wrong side.
Tips
- Yarn Choice Matters: For dishcloths, always use 100% cotton. Acrylic yarns can melt under high heat (like from a hot pan) and are not as absorbent. Cotton also gets softer and more absorbent with each wash.
- Maintain Consistent Tension: The alternating sc and ch-1 pattern can be tricky for beginners because the fabric will naturally have a slightly looser feel than all-single-crochet. Try to keep your chain stitches (ch 1) even and not too tight. If your ch-1 spaces are too tight, it will be difficult to work the surface slip stitches later.
- Customize the Size: To make a larger or smaller dishcloth, simply adjust the number of chains in the foundation row. The pattern repeat is 2 stitches (one sc and one ch-1 space), so chain an even number + 1 (e.g., ch 22 for a 7-inch cloth, or ch 42 for a 13-inch cloth). Then work the same number of rows to keep it square.