Free Crochet Pattern for a Lacy Blanket
Materials Needed
- Yarn: Approximately 850 yards (777 meters) of worsted weight (#4) cotton or cotton-blend yarn. For a dishcloth or decorative square, a single 100g skein (approx. 200-220 yards) is sufficient. For a larger throw blanket (approx. 50" x 60"), you will need 4-5 skeins. Suggested: Lily Sugar‘n Cream, Lion Brand 24/7 Cotton, or Paintbox Yarns Cotton DK (held double for worsted weight).
- Crochet Hook: Size H/8 (5.0 mm) or size needed to obtain gauge.
- Notions: Yarn needle for weaving ends, scissors, stitch markers (optional, for counting rows).
- Blocking Supplies: Blocking mats, T-pins, spray bottle with water.
Gauge
4" x 4" (10 cm x 10 cm) = 14 stitches (sts) x 10 rows in the main pattern stitch (double crochet and chain-1 spaces).
To check gauge: Ch 18, work 12 rows of the pattern as described below. Measure the center 4 inches. Adjust hook size if necessary—smaller hook for tighter gauge, larger for looser.
Abbreviations (US Terms)
- ch – chain
- st(s) – stitch(es)
- sl st – slip stitch
- sc – single crochet
- dc – double crochet
- sk – skip
- sp – space (e.g., ch-1 sp = chain-1 space)
- rep – repeat
- RS – right side
- WS – wrong side
- tch – turning chain (counts as a stitch)
- [ ] – work instructions within brackets as a group
Pattern Instructions
Design Overview
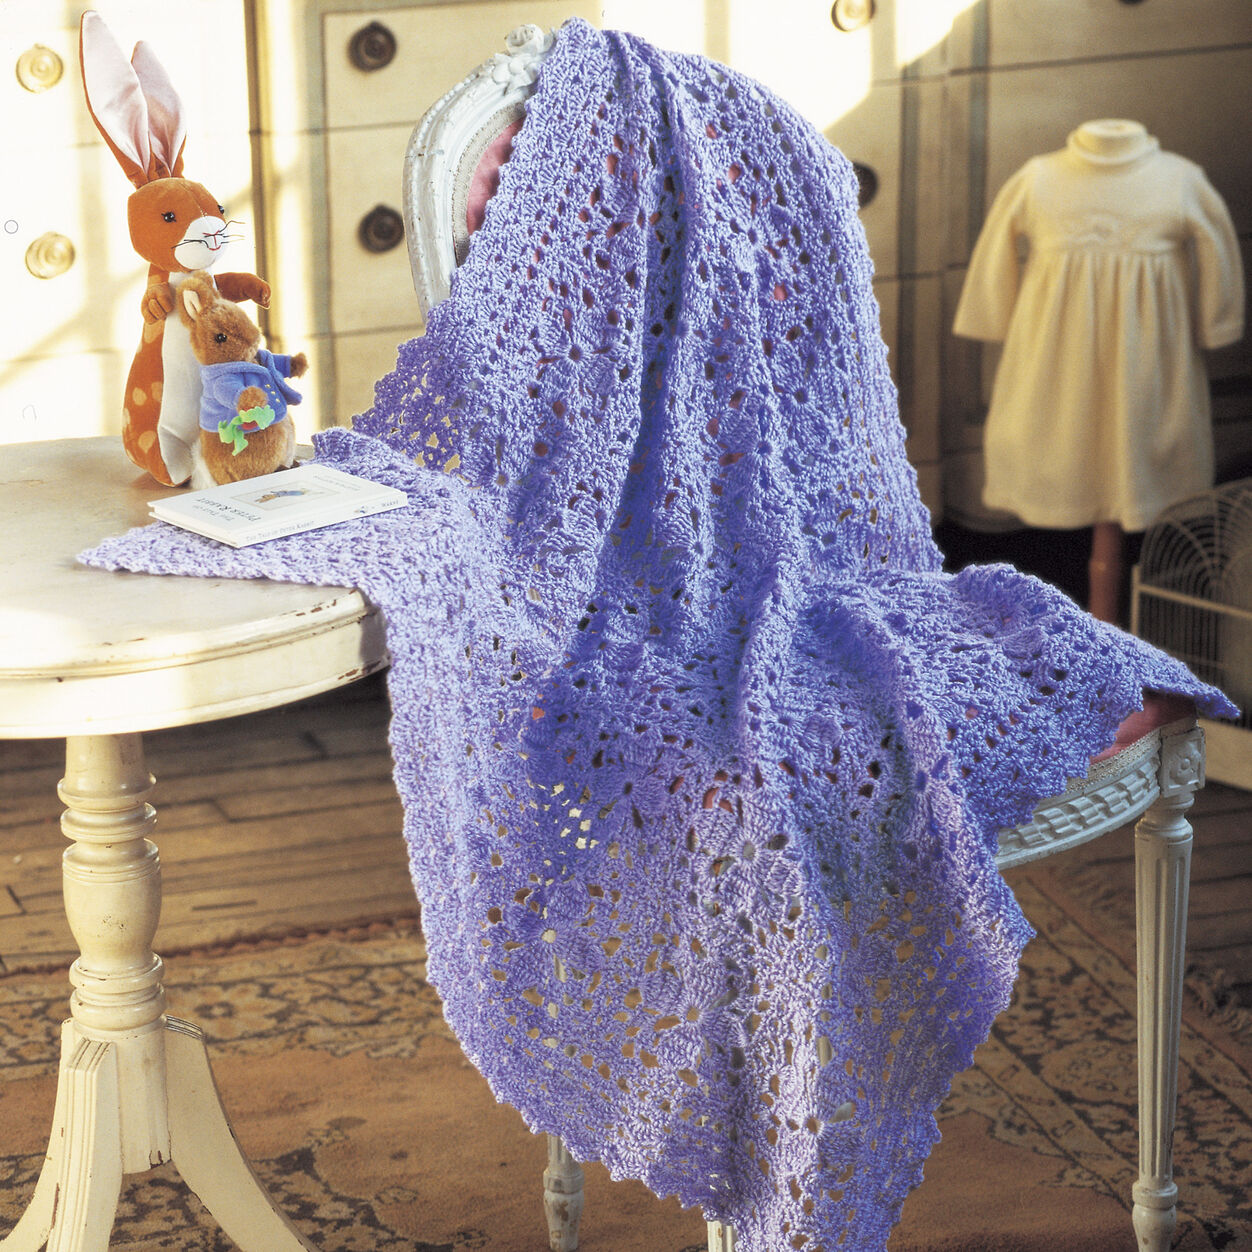
This pattern creates a classic, reversible texture using a simple two-row repeat: a solid row of double crochet followed by a lacy row of double crochet clusters and chain spaces. The result is a fabric that is dense yet drapes beautifully—perfect for dishcloths, placemats, or a lightweight throw. The edges are clean and straight, requiring no border if desired.
Foundation Chain
Chain a multiple of 3 + 2 stitches for the desired width. For a standard dishcloth (12" wide), chain 38. For a throw blanket (50" wide), chain 152. For a pillow cover (18" wide), chain 56. Note: The foundation chain should be loose to prevent curling. Use a hook one size larger if needed.
Row 1 (RS):
Dc in 4th ch from hook (skipped 3 ch count as first dc). Dc in each ch across. Turn. You will have (foundation ch count - 2) dc sts. For 38 ch, that’s 36 dc.
Row 2 (WS):
Ch 3 (counts as first dc now and throughout). *Sk next 2 dc, [dc, ch 1, dc] all in the next dc (this is a V-stitch cluster). Rep from * across to last 3 sts. Sk next 2 dc, dc in top of turning ch. Turn. Count: You will have (number of clusters) + 1 dc at each end. For 36 sts, that’s 11 clusters + 2 end dc.
Row 3 (RS):
Ch 3. *Dc in the ch-1 sp of the V-stitch from previous row (the space between the two dc of the cluster). Dc in the next dc (the second dc of the same V-stitch). Rep from * across. At the end, dc in the top of the turning ch. Turn. This fills in the spaces, creating a solid row.
Row 4 (WS):
Ch 3. *Sk next 2 dc, [dc, ch 1, dc] all in the next dc (the single dc that sits between the V-stitches from two rows below). Rep from * across to last 3 sts. Sk next 2 dc, dc in top of turning ch. Turn. Tip: The V-stitches are worked into the “valley” sts of the previous solid row.
Repeat Rows 3 and 4
Continue repeating Rows 3 and 4 until your piece measures the desired length, ending after a Row 3 (solid row) for a clean edge. For a dishcloth, work until square (approx. 12" x 12"). For a throw, work until 60" long. For a pillow, work until 18" long.
Final Row (optional edge tidy):
If you ended after a Row 3, do not turn. Ch 1, sc evenly around the entire piece, working 3 sc in each corner. Join with sl st to first sc. Fasten off and weave in ends. This gives a neat, finished look. Alternatively, you can omit this border for a more rustic, scalloped edge.
Finishing
Weaving Ends
Using a yarn needle, weave all loose ends into the back of the fabric along the same color path. For cotton yarn, weave at least 3-4 inches and trim close to the fabric. Do not knot—cotton can be slippery, so a long weave is more secure.
Blocking (Recommended for cotton)
Cotton yarn often relaxes and blooms after washing. To block:
1. Soak the finished piece in lukewarm water with a drop of mild soap for 15 minutes.
2. Gently press out excess water (do not wring). Roll in a towel to remove moisture.
3. Lay flat on blocking mats, pinning edges to the desired dimensions. For a dishcloth, pin to a perfect square. For a pillow or blanket, pin to even rectangles.
4. Allow to air dry completely (12-24 hours). This sets the stitches and ensures crisp, even texture.
Tips
- Count Your Stitches: After each solid row (Row 3), count your dc sts. You should have the same number as your foundation chain minus 2. If you lose or gain a stitch, the V-stitch pattern will shift. Use a stitch marker in the first and last stitch of each row to stay on track.
- Yarn Tension: Cotton has no “give.” Keep your tension consistent—not too tight, or the fabric will be stiff; not too loose, or it will sag. If your hands cramp, take breaks. Practice the V-stitch on a small swatch first to get the rhythm.
- Customizing Size: To adjust width, chain multiples of 3 + 2. For length, simply work more or fewer rows. The pattern is reversible, so you can use either side as the “right” side. For a matching set, make several dishcloths in different colors and sew them together for a patchwork blanket.