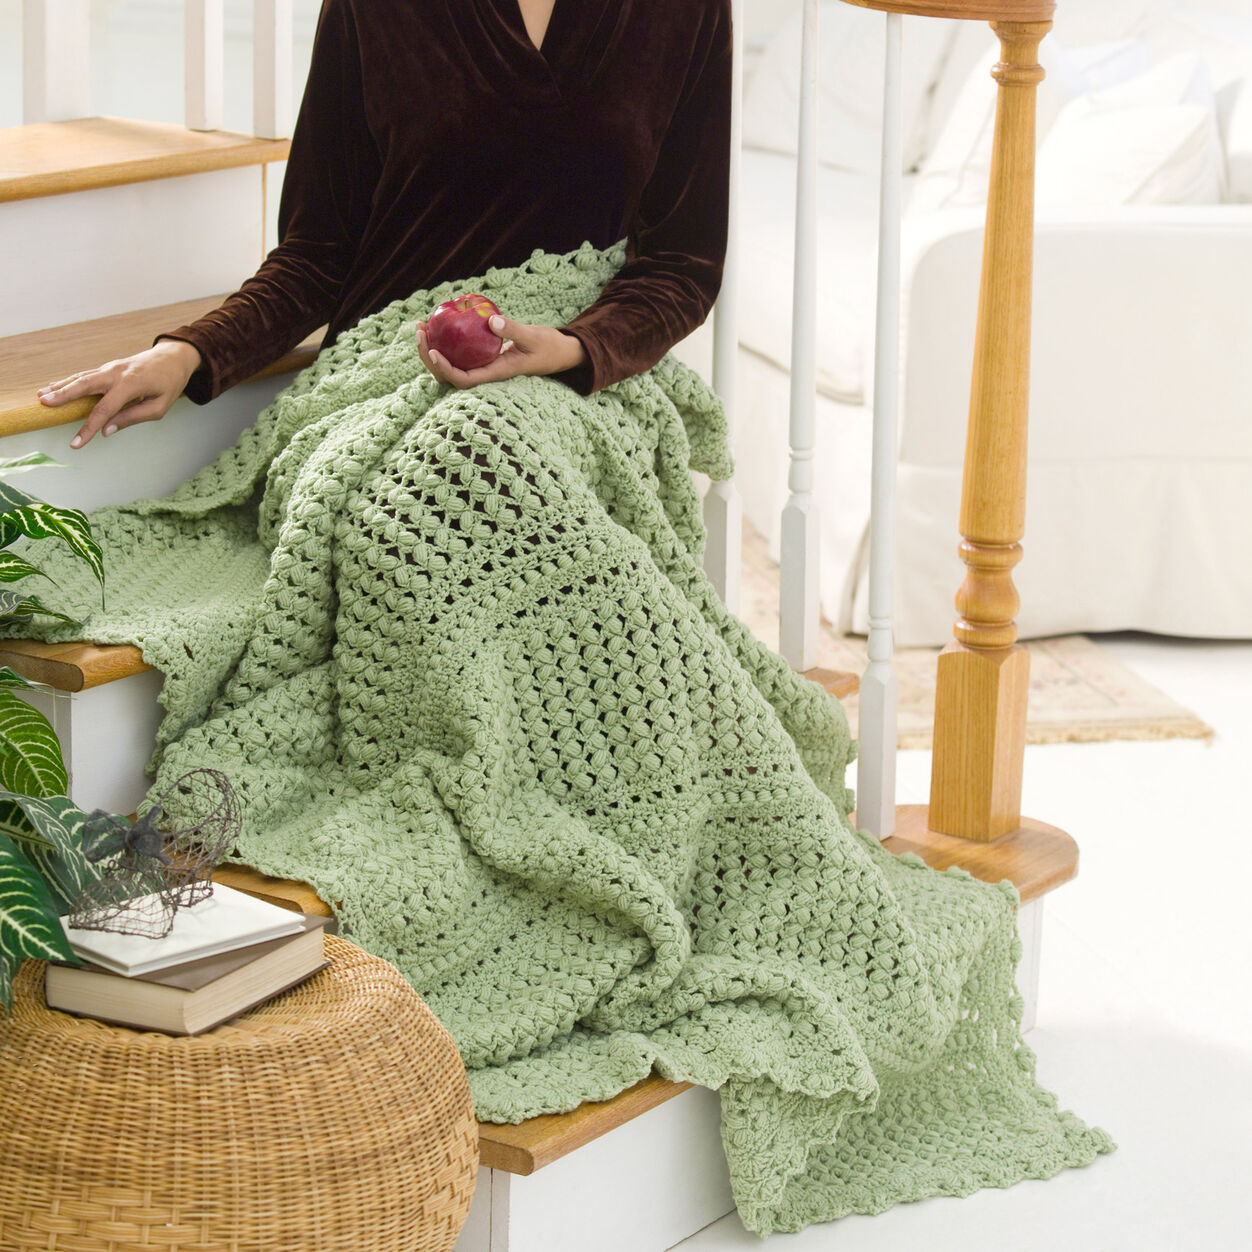
Free Crochet Pattern for a Cluster Lace Throw
Materials Needed
- Yarn: Approximately 1200 yards (1097 meters) of worsted weight (#4 Medium) cotton or cotton-blend yarn. This pattern uses approximately 600 yds (548 m) of Color A (Main Color) and 600 yds (548 m) of Color B (Contrast Color). Suggested: Lily Sugar ‘n Cream or Lion Brand 24/7 Cotton.
- Crochet Hook: Size H/8 (5.0 mm) or size needed to obtain gauge.
- Notions: Yarn needle, scissors, stitch markers (optional), tape measure or ruler.
Gauge
4 inches (10 cm) square = 14 stitches (sc) x 16 rows. Gauge is worked in single crochet, flat. To check gauge, ch 16, sc in 2nd ch from hook and across (15 sc). Work even in sc for 16 rows. Block lightly and measure the center 4 inches. Adjust hook size if necessary.
Abbreviations (US Terms)
- ch: chain
- sc: single crochet
- dc: double crochet
- sl st: slip stitch
- sk: skip
- sp: space
- st(s): stitch(es)
- RS: right side
- WS: wrong side
- pm: place marker
- rep: repeat
- FO: fasten off
Pattern Instructions
Finished Size: Approximately 40 inches (101.5 cm) wide x 50 inches (127 cm) long, after blocking.
Pattern Notes:
- This blanket is worked in two halves and seamed together for a symmetrical design. Each half uses a simple, reversible linen-stitch variation that creates a dense, textured fabric perfect for a home decor throw.
- Chain 1 at the beginning of a row does NOT count as a stitch.
- Carry the unused yarn loosely up the side of the work when changing colors every two rows to avoid weaving in many ends. Twist the yarns at the color change to prevent long floats.
Half A (Bottom Half)
Foundation Row (RS): With Color A, ch 107. Sc in 2nd ch from hook, *ch 1, sk 1 ch, sc in next ch; rep from * across. (53 sc, 52 ch-1 sps) Turn.
Row 1 (WS): Ch 1, sc in first sc, *sc in next ch-1 sp, ch 1, sk next sc; rep from * until last ch-1 sp, sc in last ch-1 sp, sc in last sc. (54 sc, 52 ch-1 sps) Turn. Note: This row establishes the pattern where sc are worked into the ch-1 spaces and sc from the previous row are skipped.
Row 2 (RS): Ch 1, sc in first sc, *ch 1, sk next sc, sc in next ch-1 sp; rep from * until last 2 sts, ch 1, sk next sc, sc in last sc. (53 sc, 53 ch-1 sps) Turn.
Row 3 (WS): Ch 1, sc in first sc, *sc in next ch-1 sp, ch 1, sk next sc; rep from * until last ch-1 sp, sc in last ch-1 sp, sc in last sc. (54 sc, 52 ch-1 sps) Turn.
Rows 4-5: Repeat Rows 2 and 3 once more with Color A. Fasten off Color A at the end of Row 5, leaving a 6-inch tail. Join Color B with a sl st in the first sc of Row 6.
Rows 6-7: With Color B, repeat Rows 2 and 3. At the end of Row 7, do not fasten off; instead, pick up Color A (which was carried up the side) and continue.
Rows 8-95: Continue working in the established 2-row stripe pattern (2 rows Color A, 2 rows Color B) until you have completed 95 rows total from the foundation, ending after a WS row. You should have completed 47 stripes of 2 rows each, plus the initial foundation row. The last stripe is Color B. Fasten off both yarns and weave in all ends securely. Set aside.
Half B (Top Half)
Work exactly as for Half A, but begin with Color B instead of Color A.
Foundation Row (RS): With Color B, ch 107. Work foundation row as for Half A. (53 sc, 52 ch-1 sps) Turn.
Rows 1-95: Work the same 2-row stripe pattern, but starting with Color B for the first stripe. Your last stripe (Row 95) will be Color A. Fasten off both yarns and weave in ends.
Seaming the Halves
Place Half A and Half B with the Right Sides of the foundation rows facing each other. You will seam along the long edge opposite the foundation rows (the top edge of each half).
Using a yarn needle and a length of Color A yarn (or a matching color), weave the two edges together using a mattress stitch or whip stitch. Work through just the back loops of the last row of stitches on each piece to create a nearly invisible seam. Ensure the stripes are aligned as perfectly as possible.
Alternatively, you can slip-stitch the two pieces together with a crochet hook: Hold the pieces with WS together, insert hook through both layers into the first st, yarn over and pull through both loops (sl st). Continue across. This creates a visible ridge which can be a nice design element.
Finishing
Weaving in Ends: Using a yarn needle, weave in any remaining tails (from color changes and the seam) into the wrong side of the fabric. Weave at least 3-4 inches back and forth to secure. Trim excess yarn.
Edging (Optional but Recommended):
- Round 1: With RS facing, join Color A in any corner. Ch 1, work sc evenly around the entire blanket, working 3 sc in each corner. For the long sides, work 1 sc in the end of each row (approx 95 sc per side). For the top and bottom edges (foundation and seamed edge), work 1 sc in each st and ch-1 sp of the foundation row (you should have about 105-107 sc). Sl st to first sc to join.
- Round 2: Ch 1, sc in same st. *Sc in next st. Rep from * around, working 3 sc in each corner sc. Sl st to join. Fasten off and weave in ends.
Blocking: This project benefits greatly from blocking to even out the stitches and ensure the edges lie flat. Soak the blanket in cool water with a splash of mild soap for 20 minutes. Rinse thoroughly. Gently press out excess water (do not wring). Lay the blanket flat on a blocking mat or clean towels. Gently stretch it to the finished dimensions (40” x 50”), ensuring corners are square and edges are straight. Pin in place if necessary. Allow to air dry completely (24-48 hours). Do not use a dryer.
Tips
- Consistent Tension is Key: The linen-stitch pattern looks best when tension is even. If you tend to crochet tightly, consider going up a half hook size. If loosely, go down a size. The gauge is critical for a 40” width; if yours is off, adjust the foundation chain count in multiples of 2 + 1 (e.g., ch 53, 55, etc.) to achieve your desired width.
- Carrying Yarn vs. Cutting: For the 2-row stripes, carrying the unused yarn up the side saves time and reduces ends. However, if the carried yarn pulls or distorts the edge, cut the yarn at the end of each stripe and weave in ends. The choice depends on your tension. Test a few stripes and choose the method that gives you the neatest edge.
- Reversible Design: This blanket is reversible. The pattern creates the same texture on both sides, just with opposite color placements. This makes it perfect for a throw that might be flipped over. When seaming, consider which side you want as the “public” side; the slip-stitch seam creates a decorative ridge on one side, while the mattress stitch seam is nearly invisible.