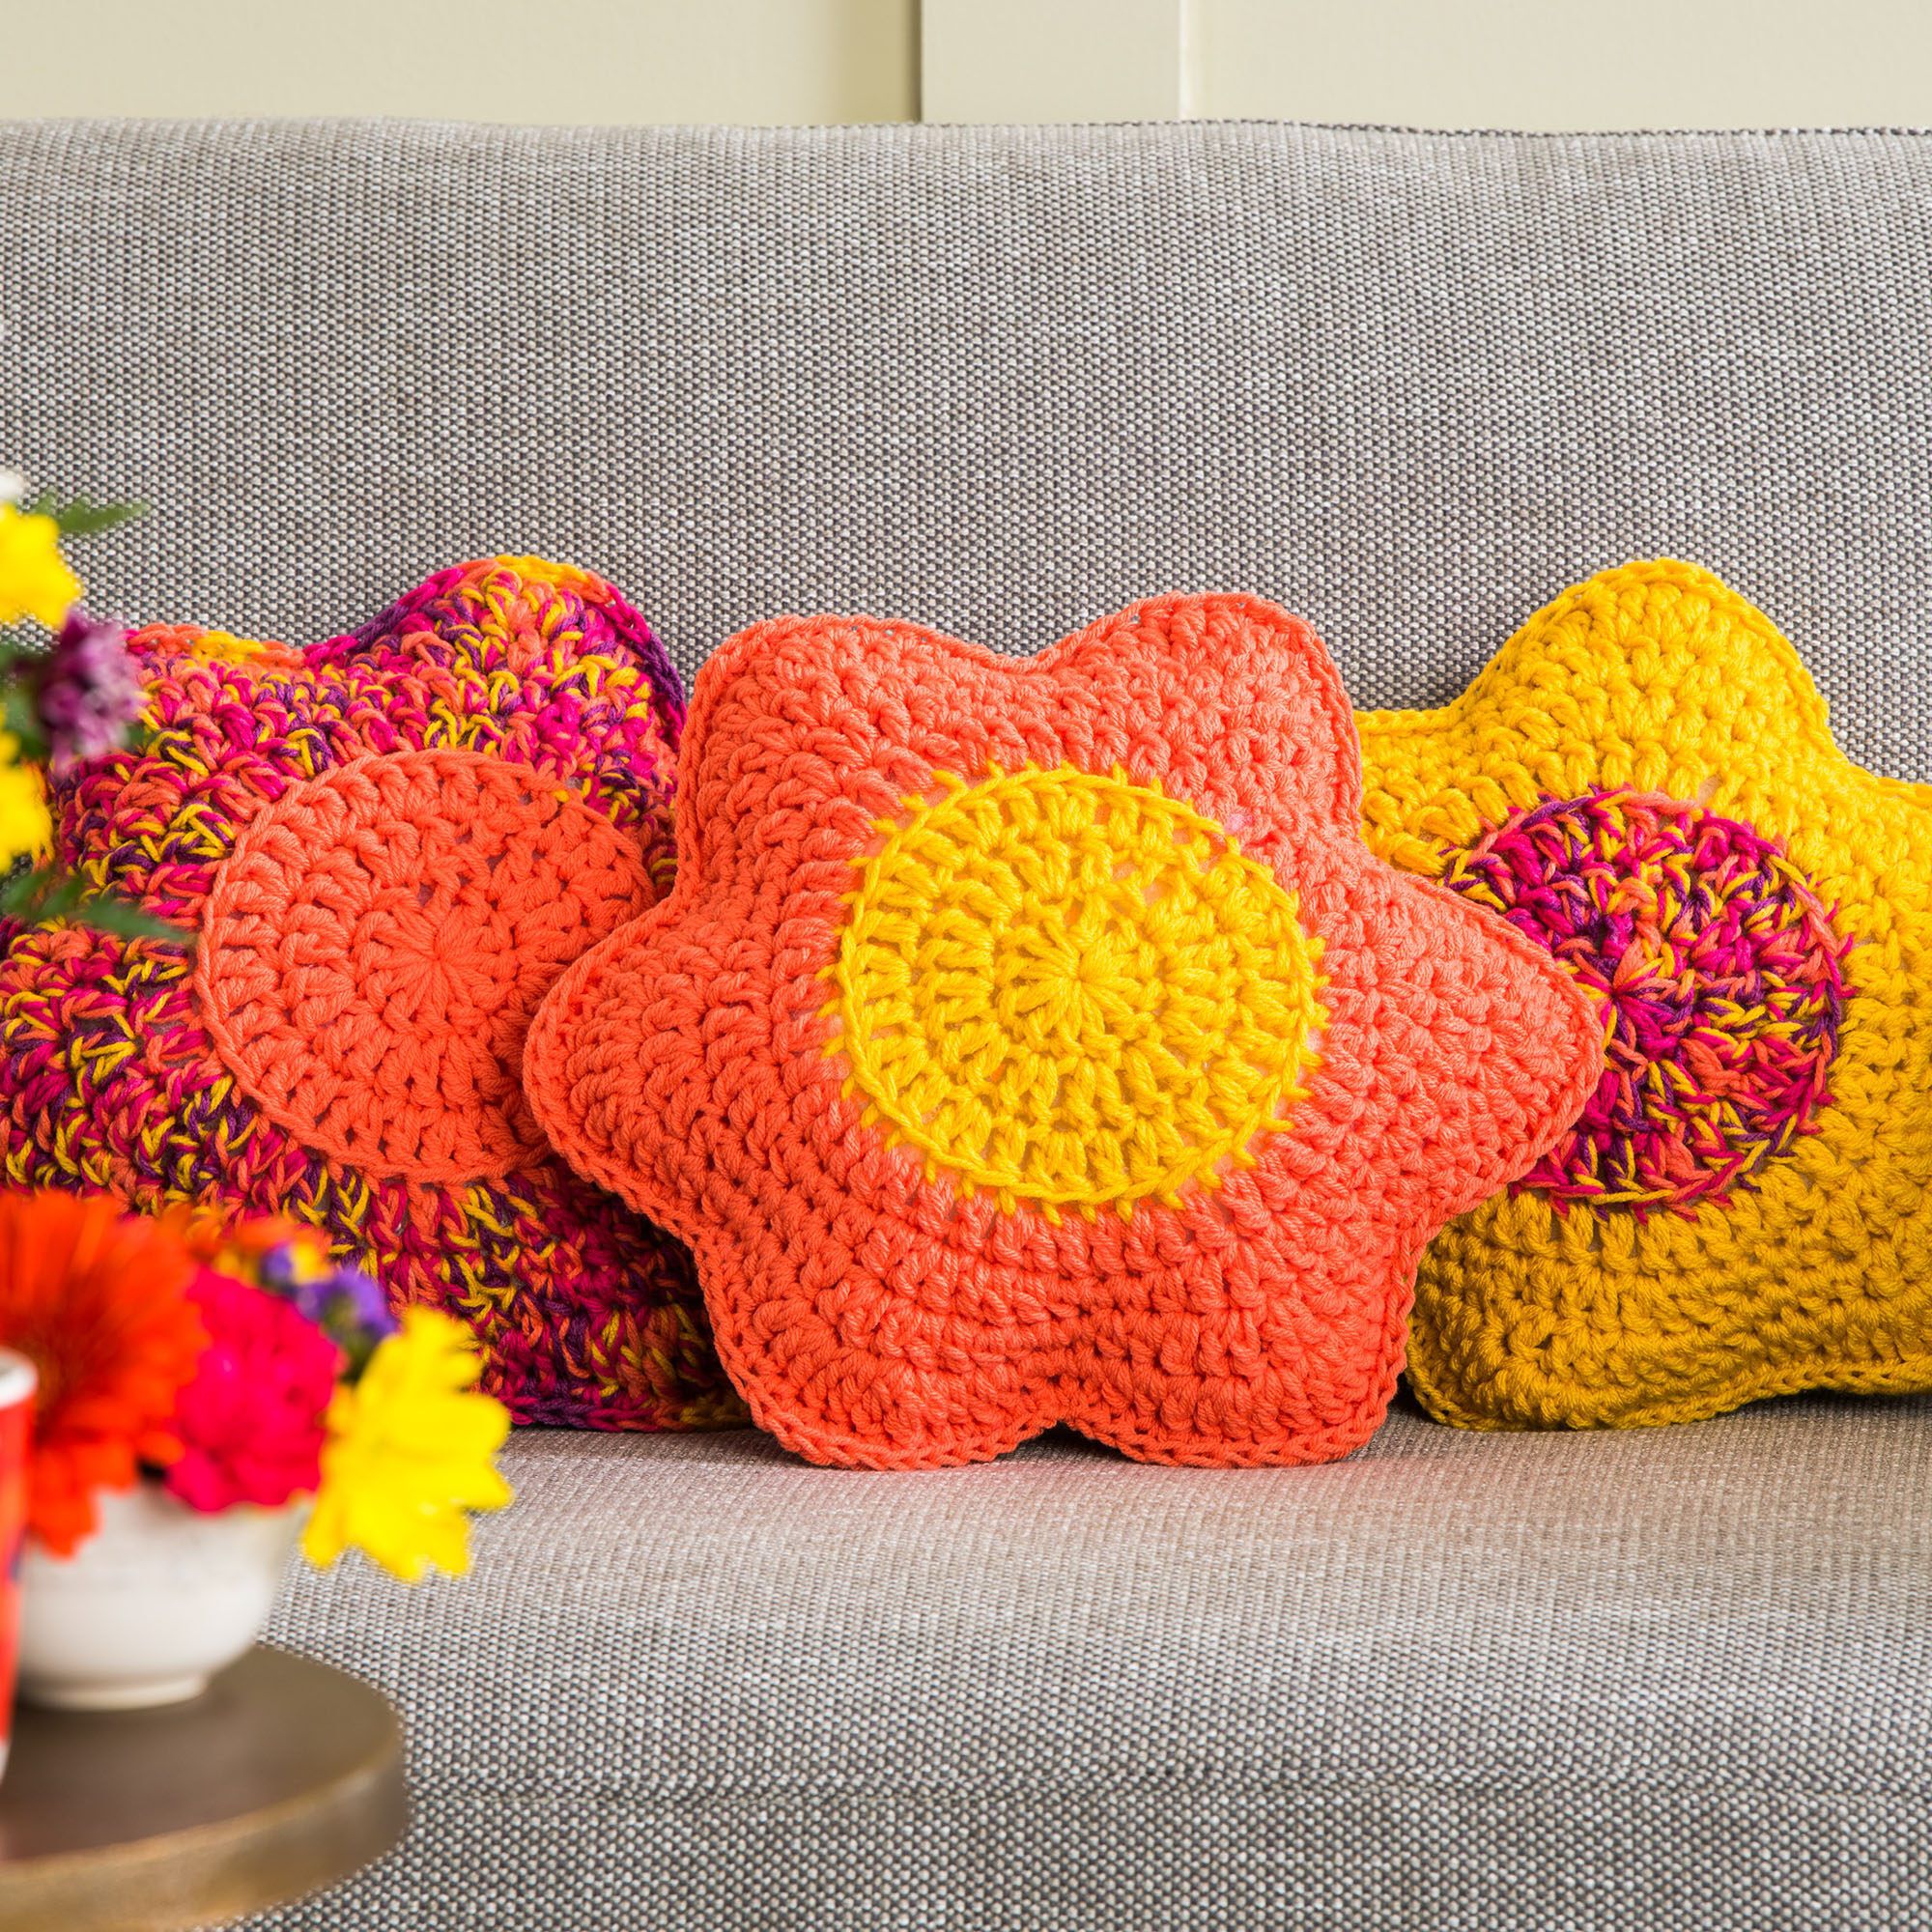
Free Crochet Flower Petals Pillow Pattern
Materials Needed
- Yarn: 2 skeins of Lion Brand Heartland (100% acrylic; 251 yds / 229 m per 5 oz / 142 g skein) in “Great Smoky Mountains” (a soft heathery taupe) OR any worsted weight (#4) yarn. Total yardage: approximately 500 yards.
- Hook: Size I/9 (5.5 mm) crochet hook, or size needed to obtain gauge.
- Notions: Yarn needle, scissors, stitch markers (optional).
- Finished Size: Approximately 12 inches (30.5 cm) wide x 14 inches (35.5 cm) tall, excluding hanging loop.
Gauge
4 inches (10 cm) = 14 stitches wide x 10 rows tall in half double crochet (hdc). Gauge is critical for this project to ensure the scrubbie lies flat and fits comfortably in the hand. Adjust hook size if necessary.
Abbreviations (US Terms)
- ch – chain
- sc – single crochet
- hdc – half double crochet
- dc – double crochet
- sl st – slip stitch
- st(s) – stitch(es)
- sk – skip
- sp – space
- yo – yarn over
- rep – repeat
- RS – right side
- WS – wrong side
Pattern Instructions
Special Stitch Note: This pattern uses a simple textured stitch that creates a gentle “nubby” surface, perfect for gentle scrubbing without being too abrasive. The stitch is a variation of the half double crochet worked in the third loop.
Dishcloth Body (Make 1)
Foundation Row: Ch 37 loosely. (This gives a width of about 12 inches after blocking.)
Row 1 (RS): Hdc in the 3rd ch from hook (the 2 skipped chs count as the first hdc). Hdc in each remaining ch across. Turn. You should have 36 hdc (including the turning ch as a stitch).
Row 2 (WS): Ch 2 (counts as first hdc here and throughout). *Hdc in the third loop of the next st. The third loop is the horizontal bar on the back of the hdc, just below the top two loops. Insert hook under that bar, yo, pull up a loop (3 loops on hook), yo, pull through all 3 loops.* Repeat from * to * across to the last st. Hdc in the top of the turning ch from the previous row. Turn.
Row 3 (RS): Ch 2. Hdc in the front loop only (FLO) of each st across. Hdc in the top of the turning ch. Turn.
Row 4 (WS): Ch 2. Hdc in the third loop of each st across (as in Row 2). Hdc in the top of the turning ch. Turn.
Row 5 (RS): Ch 2. Hdc in the back loop only (BLO) of each st across. Hdc in the top of the turning ch. Turn.
Row 6 (WS): Ch 2. Hdc in the third loop of each st across. Hdc in the top of the turning ch. Turn.
Row 7 (RS): Ch 2. Hdc in the front loop only (FLO) of each st across. Hdc in the top of the turning ch. Turn.
Rows 8 – 27: Repeat Rows 2 – 7 three more times. This will create the repeating texture pattern. After Row 27, your piece should measure approximately 13-14 inches tall.
Final Row (WS): Ch 1 (does not count as a stitch). Sc in each st across. Fasten off, leaving a 12-inch tail for seaming.
Edging and Hanging Loop
Round 1 (Edging): With RS facing, join yarn with a sl st in any corner of the dishcloth. Ch 1. Work a round of sc evenly around the entire edge, working 3 sc in each corner. When you reach the starting corner, sl st to the first sc to join. Do not fasten off.
Round 2 (Scallop Edging – optional but recommended): Ch 1. *Sk 1 st, 5 dc in the next st, sk 1 st, sl st in the next st.* Repeat from * to * around the entire edge, adjusting as needed at corners (you may need to skip 2 sts or add an extra dc in a corner to keep the edge flat). When you reach the starting point, sl st to the first sl st. Fasten off and weave in the end.
Hanging Loop: Fold the dishcloth in half widthwise. At the center of the top edge, attach yarn with a sl st. Ch 15 (or desired loop length). Sl st back into the same st to form a loop. Fasten off and weave in ends securely.
Finishing
- Weave in Ends: Using a yarn needle, weave in all loose ends along the wrong side of the work, following the direction of the stitches. Trim excess yarn closely.
- Blocking (Recommended): Soak the dishcloth in cool water for 15 minutes. Gently squeeze out excess water (do not wring). Lay flat on a blocking mat or towel, shaping to the finished dimensions of 12”x14”. Smooth the scalloped edging and the hanging loop into place. Pin if necessary. Allow to air dry completely. This evens out the stitches and gives the dishcloth a professional look.
- Optional – Light Starching: For a stiffer, more structured dishcloth that stands up well in the sink, you can spray it lightly with fabric starch before blocking.
Tips
- Maintain Consistent Tension: The third-loop stitch can be tricky at first. Practice on a small swatch until you can work it without pulling the loop too tight or too loose. Consistent tension ensures your textured stripes are even and the dishcloth lies flat.
- Use a Stitch Marker for the Turning Chain: The ch-2 at the start of each row counts as a stitch. Place a stitch marker in the top of that ch-2 from the previous row so you know exactly where to work the last stitch of the current row. This prevents accidental increases or decreases.
- Customize the Size: To adjust the width, chain any odd number (e.g., 31 for a narrower cloth, 43 for wider). For height, simply repeat the 6-row pattern sequence (Rows 2-7) more or fewer times. Remember to always end with a sc border row to stabilize the edges.