Designer: @bondo_toys
Hello everyone who loves amigurumi...
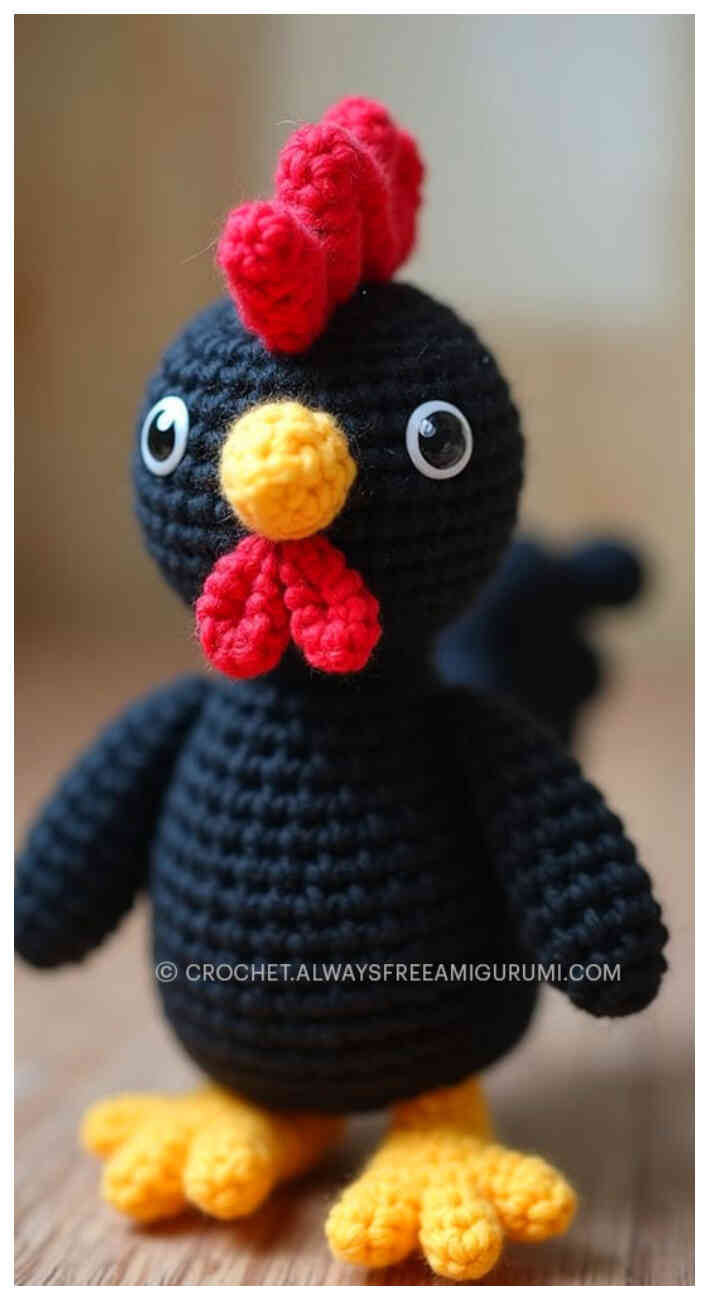
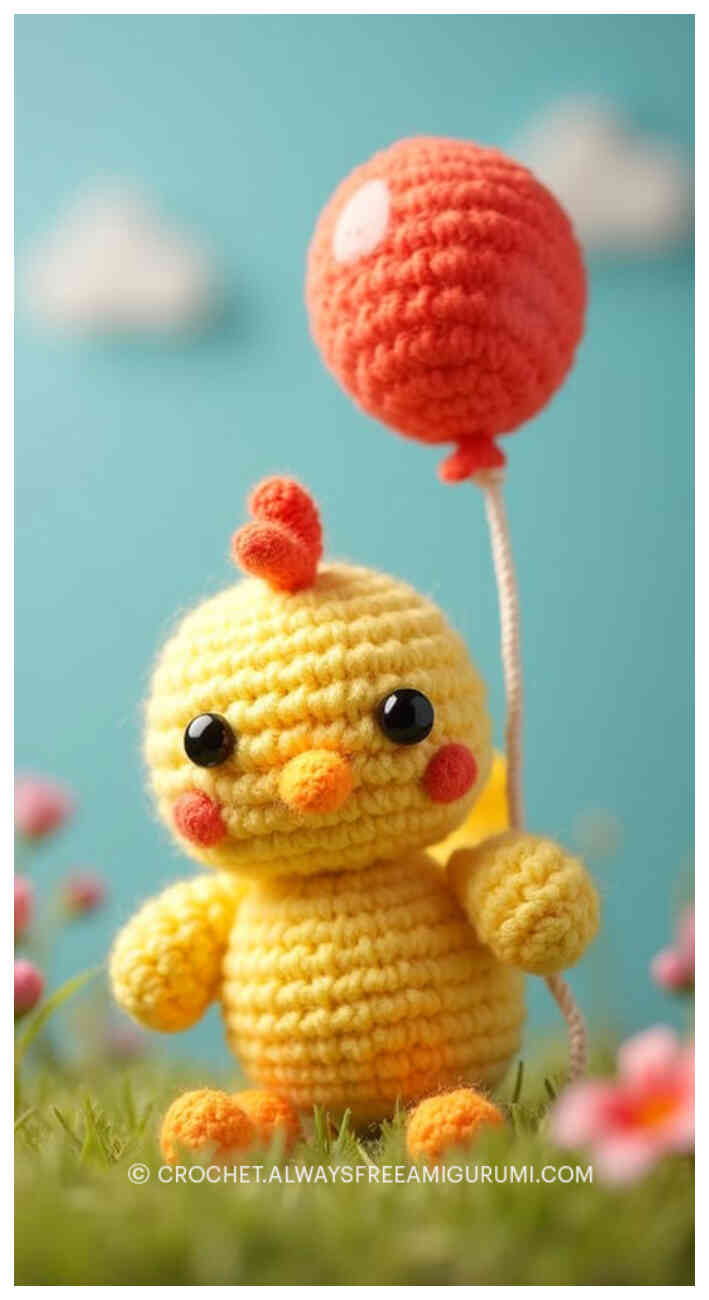
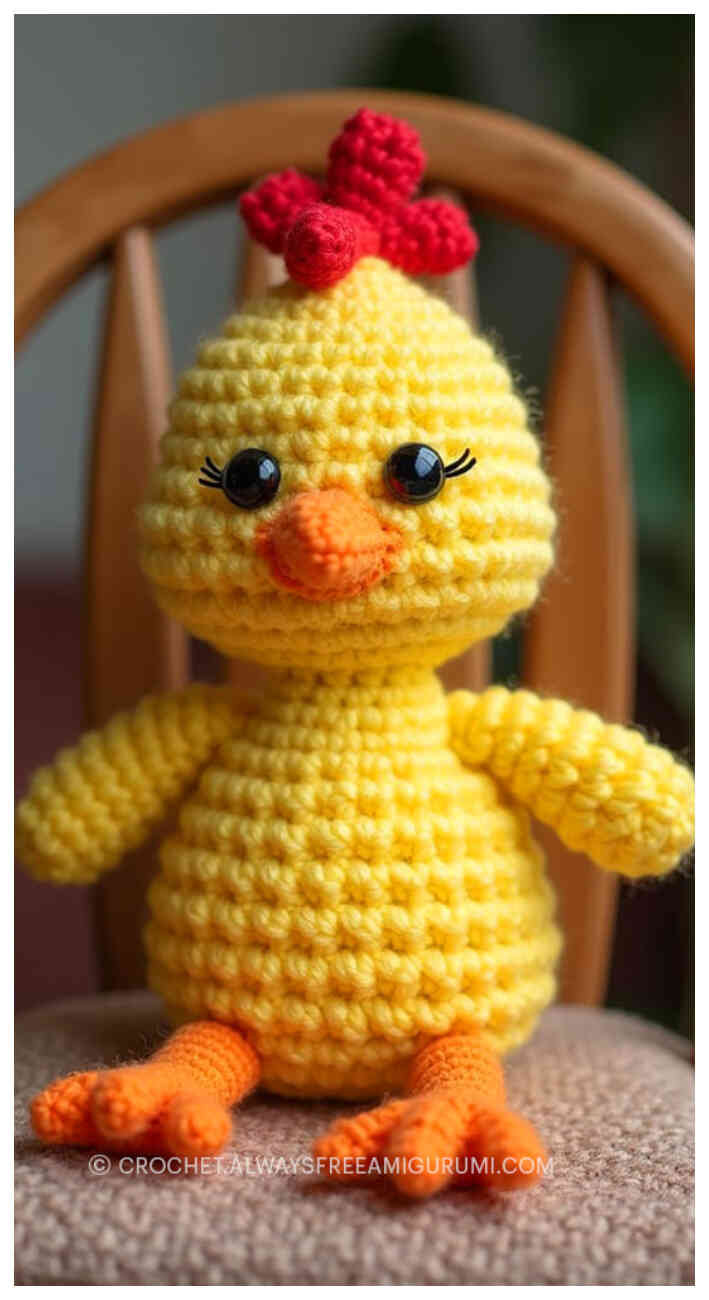
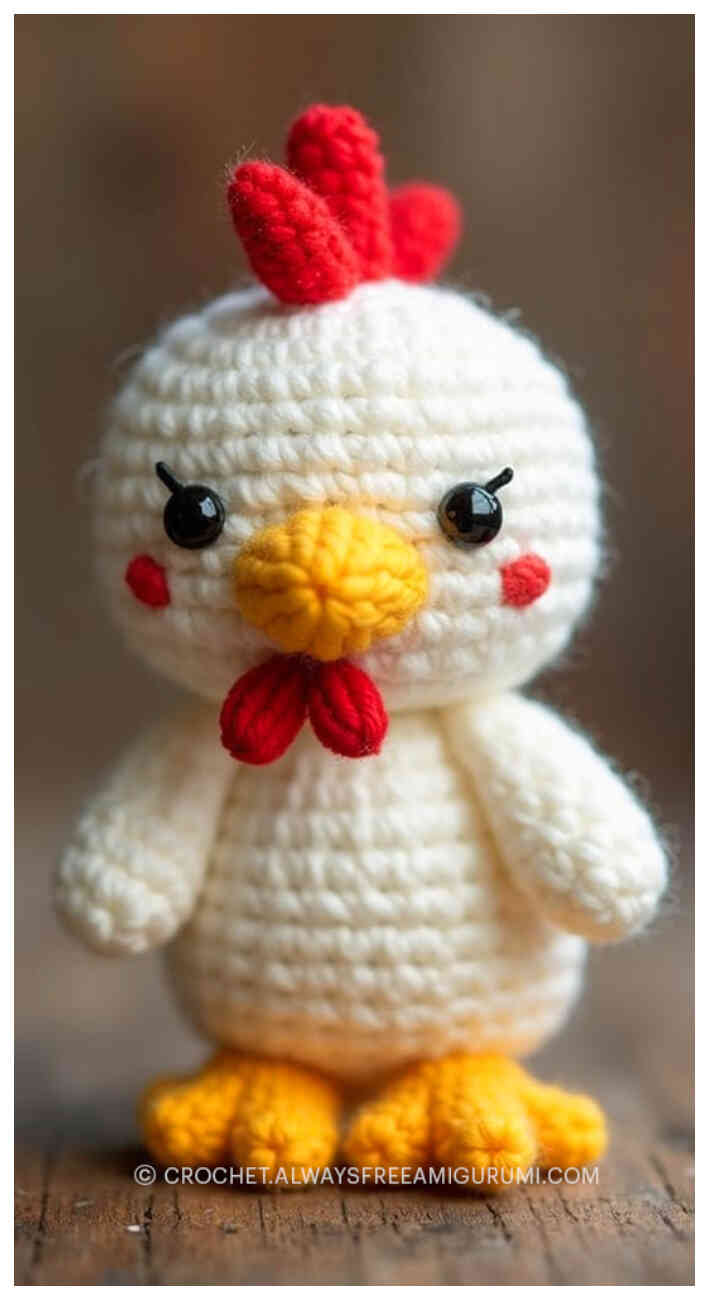
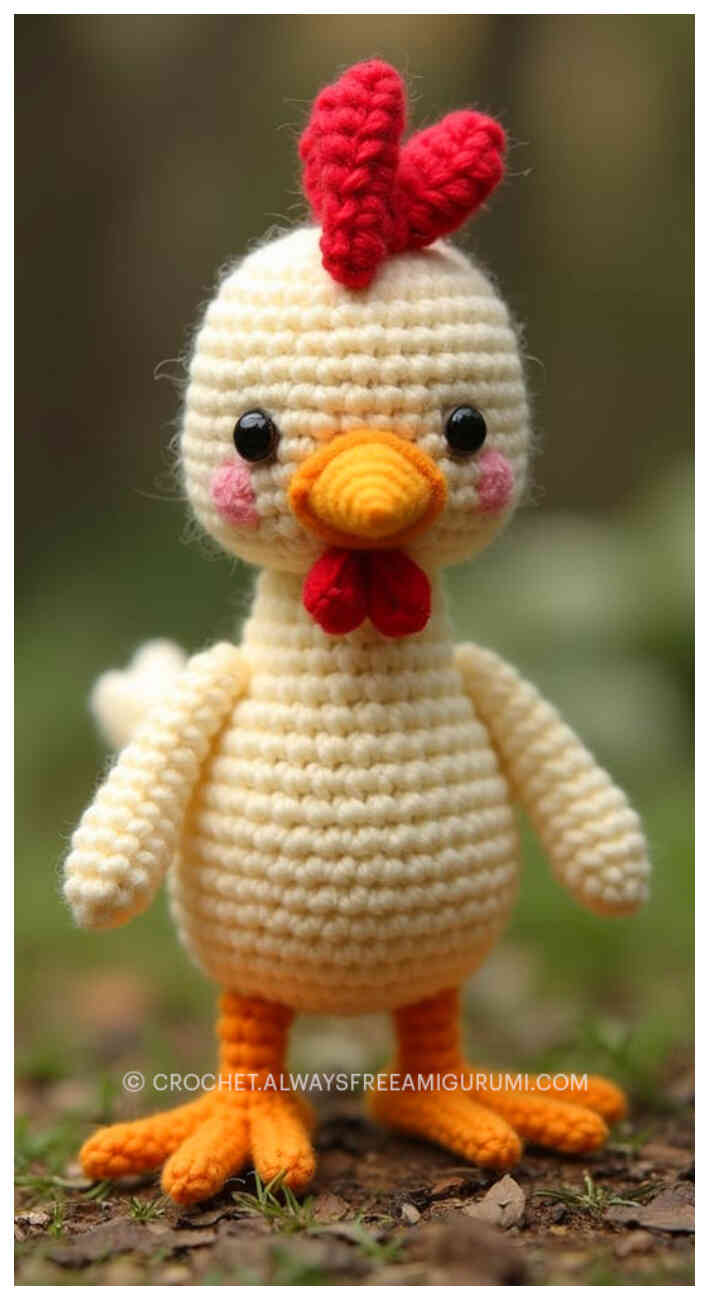
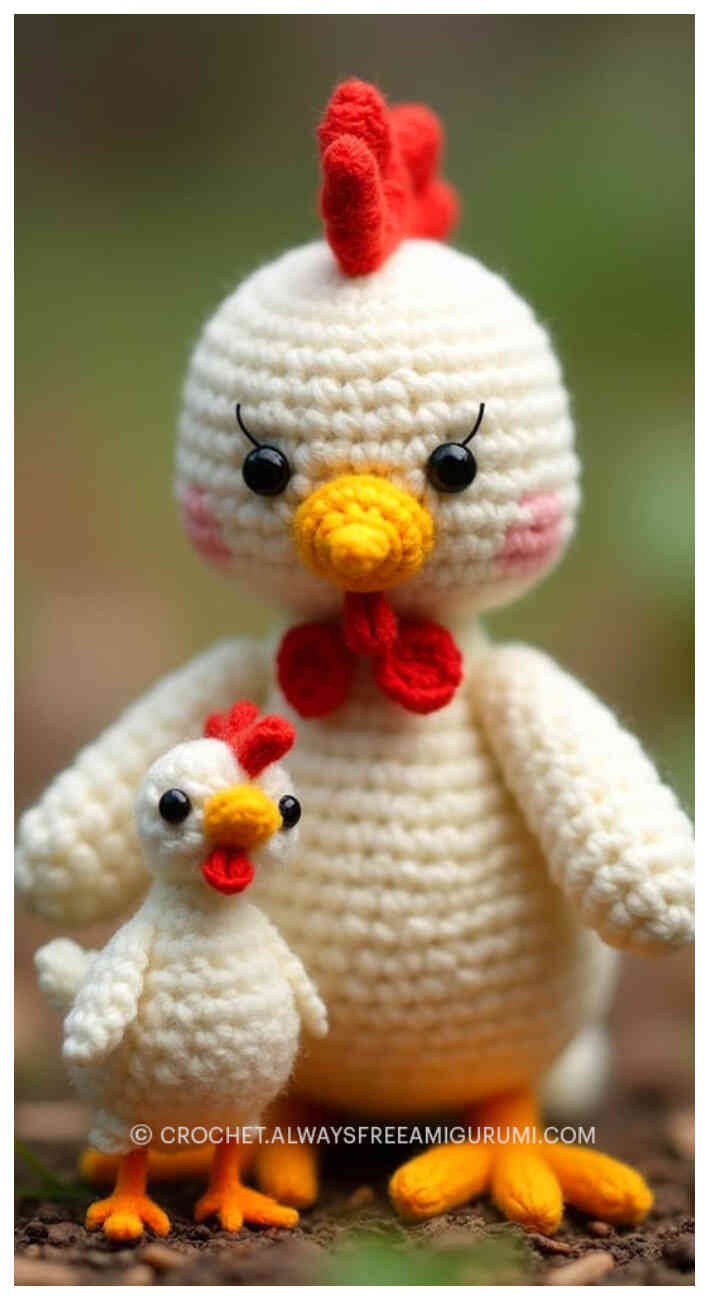
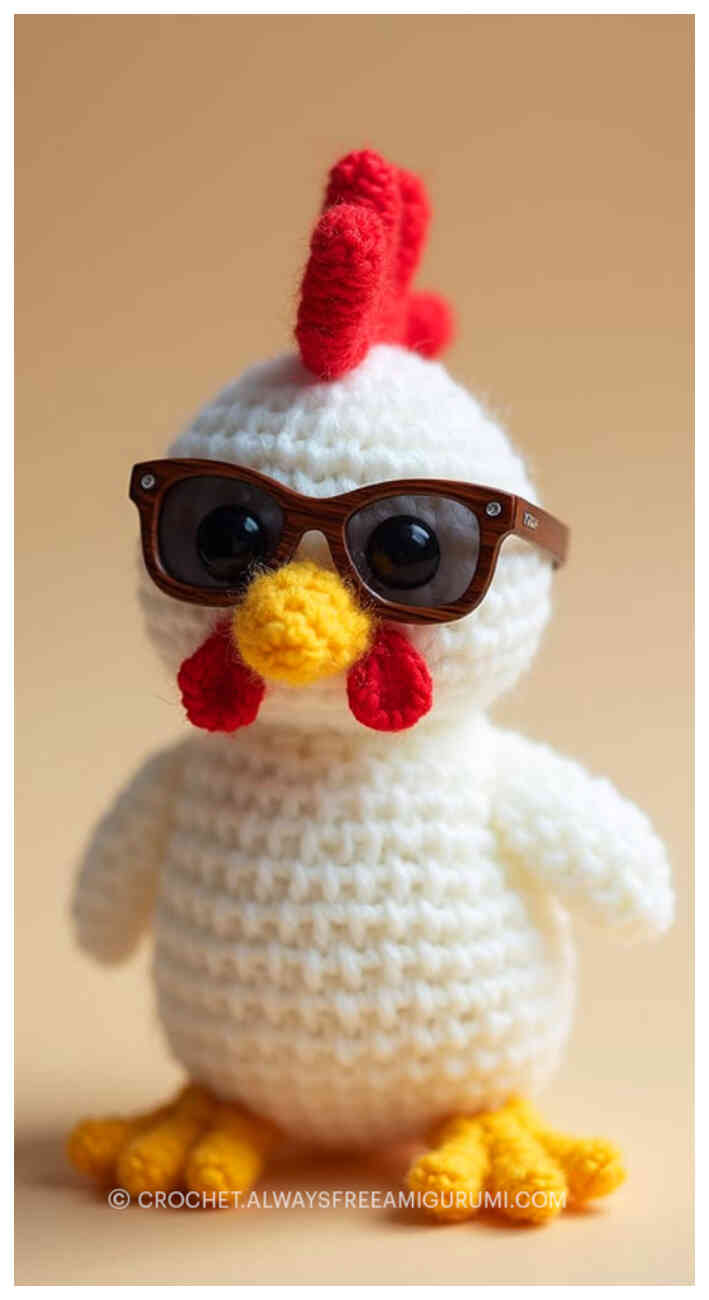
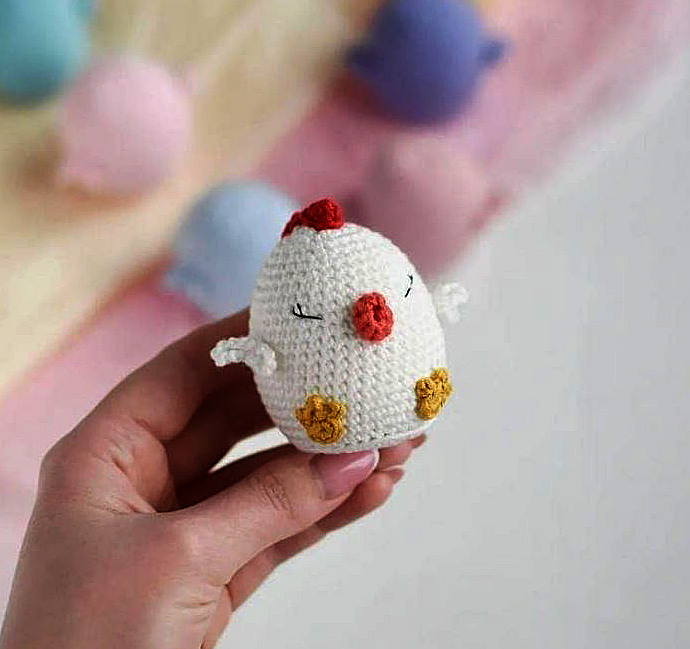
Today I shared the amigurumi easter chicken crochet pattern for you. Below you will find a step-by-step tutorial of this pattern and you will complete it without any difficulty. Thanks to the creator for this cute pattern.
Amigurumi cats, amigurumi dolls, amigurumi dogs, amigurumi unicorns, amigurumi lambs, amigurumi dinosaurs, amigurumi foxes, amigurumi bears, amigurumi giraffes, amigurumi pigs, amigurumi birds, amigurumi bunny, amigurumi elephants, amigurumi hippos, amigurumi monkeys... All the amigurumi toy crochet patterns and ideas you are looking for are here.
Don't forget to visit our YouTube channel for different ideas.
Have a great time...
You will need:
- Gazzal Baby Cotton yarn (60% cotton, 40% acrylic, 50 g/ 165 m): white color #3410, red #3439, orange #3418, mustard #3447
- 2.0 mm crochet hook
- Black sewing thread for embroidering eyes
- Sewing needle and scissors
- Sewing pins
- One plastic circle (the size is equal to the diameter of the bottom). You can cut it out of a plastic lid
- Fiberfill
FREE EASTER CHICKEN CROCHET PATTERN
Abbreviations:
R - row
ch - chain
sl st - slip stitch
sc - single crochet
inc - increase (2 sc in one stitch)
dec - decrease (2 sc together)
[...] - number of stitches you should have at the end of the row
(...) - repeat whatever is between the brackets the given number of times
Head and body (one piece)
With main color yarn:
R 1: 6 sc in magic ring [6]
R 2: (inc) repeat 6 times [12]
R 3: (1 sc, inc) repeat 6 times [18]
R 4: (2 sc, inc) repeat 6 times [24]
R 5: (3 sc, inc) repeat 6 times [30]
R 6: 1 sc, inc, (4 sc, inc) repeat 5 times, 3 sc [36]
R 7: 35 sc in BLO, then crochet the tail: 1 sc in the front loop, 4 ch, from the 2nd ch from the hook: 4 sl st (the last sl st in the front loop of a crochet stitch of R 36); 3 ch, from the 2nd ch from the hook: 3 sl st (the last sl st in the front loop of a crochet stitch of R 36).
R 8: (5 sc, inc) repeat 6 times [42]
R 9-14: 42 sc (6 rows)
Put and glue a plastic circle on the bottom.
R 15: 12 sc, 10 ch, sl st in the 1st ch (10th ch from the hook), 8 ch, sl st in the 1st ch (8th ch from the hook), 18 sc, 8 ch, sl st in the 1st ch (8th ch from the hook), 10 ch, sl st in the 1st ch (10th ch from the hook), 12 sc [42]
R 16-17: 42 sc (2 rows)
R 18: (5 sc, dec) repeat 6 times [36]
R 19-20: 36 sc (2 rows)
R 21: (4 sc, dec) repeat 6 times [30]
R 22: 30 sc
R 23: (3 sc, dec) repeat 6 times [24]
R 24: 24 sc
R 25: (2 sc, dec) repeat 6 times [18]
Stuff with fiberfill.
R 26: (1 sc, dec) repeat 6 times [12]
Fasten off.
Crest
With red color yarn:
Part #1
R 1: 6 sc in magic ring [6]
R 2: inc, 5 sc [7]
Fasten off and leave a long tail for sewing.
Part #2
R 1: 6 sc in magic ring [6]
R 2: (inc, 2 sc) repeat 2 times [8]
Fasten off and leave a long tail for sewing.
Beak
With orange color yarn:
R 1: 6 sc in magic ring [6]
R 2: (inc, 2 sc) repeat 2 times [8]
Fasten off and leave a long tail for sewing.
Feet (make 2)
With mustard color yarn:
R 1: 6 sc in magic ring [6]
R 2: 2 ch, sl st in the 2nd ch from the hook, sl st in the foundation of the chain, (2 ch, sl st in the 2nd ch from the hook, sl st in the next st) repeat 2 times
Fasten off and leave a long tail for sewing.
Assembly
Sew the feet to the body as shown in the picture, working with needle and thread around the foot and fixing each toe.
Sew the crest on the head: the part #1 is forward, the part #2 is behind.
Sew the beak to the face, positioning it as shown in the picture.
Mark the places for eyes with sewing pins. Embroider the eyes with black thread (each eye is 3 sc long).
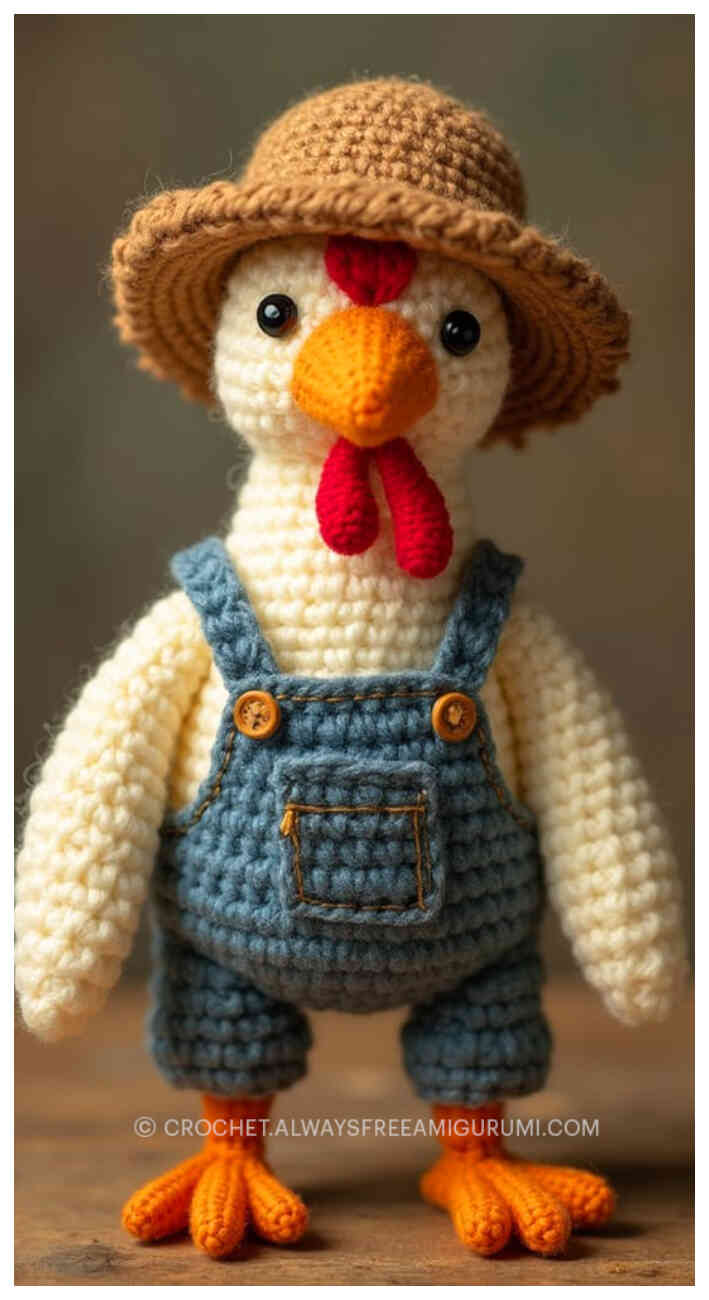
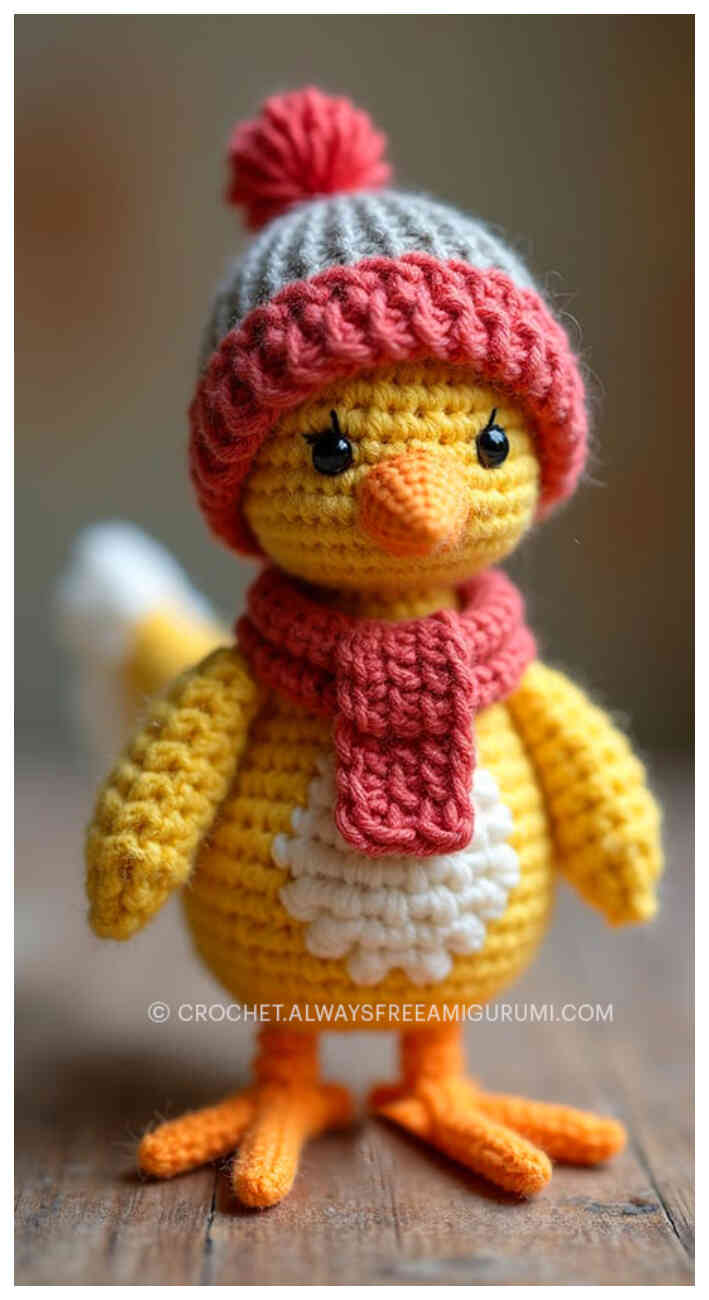
More amigurumi chicken ideas: